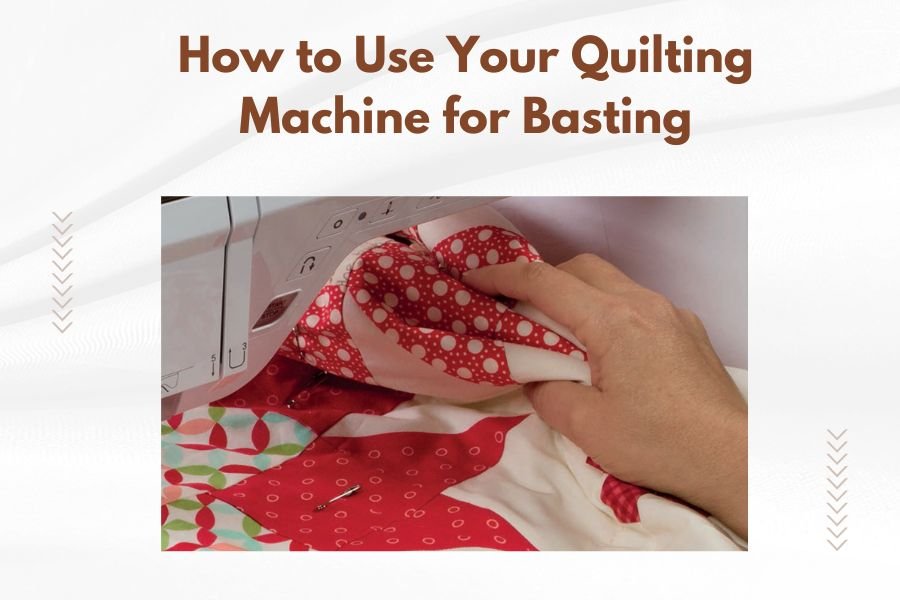
Using your quilting machine for basting creates even, temporary stitches that hold quilt layers together before final quilting.
Machine basting saves hours compared to hand basting and gives you better control over fabric placement and tension.
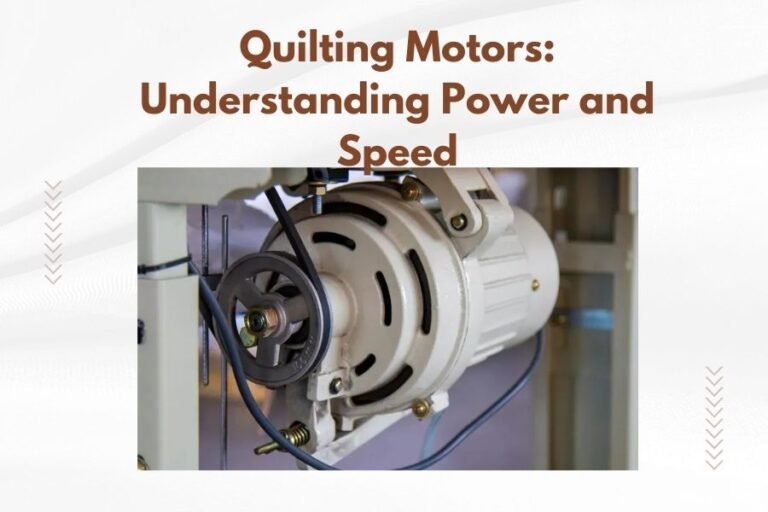
What Is Machine Basting in Quilting
Machine basting uses long, loose stitches to temporarily hold your quilt sandwich together. Think of it like paper clips holding documents – they keep everything in place until you’re ready for the permanent binding.
Your quilting machine can create these temporary stitches much faster than hand basting. The process involves adjusting your stitch length to the longest setting and reducing thread tension.
Why Choose Machine Basting Over Hand Basting
I found that machine basting cuts prep time by up to 75% compared to hand methods. You’ll finish a queen-size quilt sandwich in 30 minutes instead of 2-3 hours.
Machine basting also creates more consistent stitch spacing. Your hands won’t get sore, and you can maintain better posture throughout the process.
Speed Benefits
A typical queen-size quilt needs about 200-300 basting stitches. Hand basting takes roughly one minute per stitch. Machine basting covers the same area in seconds.
Consistency Advantages
Your machine maintains uniform stitch length automatically. Hand basting often creates uneven spacing, which can cause puckering or shifting during final quilting.
Setting Up Your Quilting Machine for Basting
Start by cleaning your machine and installing a fresh needle. A size 80/12 universal needle works well for most cotton fabrics.
Stitch Length Adjustment
Set your stitch length to the maximum setting, usually 5-6mm. This creates long stitches that are easy to remove later.
Some machines have a specific basting stitch setting. Check your manual for this time-saving option.
Thread Tension Settings
Reduce your upper thread tension to 2-3. Lower tension prevents the thread from digging into your fabric layers.
Test on fabric scraps first. Your stitches should lie flat without puckering or creating loose loops.
Presser Foot Selection
Use a walking foot or even-feed foot for best results. This foot helps move thick layers through your machine smoothly.
If you don’t have a walking foot, your regular zigzag foot will work. Just sew more slowly and guide the fabric gently.
Preparing Your Quilt Sandwich
Lay your backing fabric face-down on a large flat surface. Smooth out all wrinkles and tape the edges down if needed.
Center your batting over the backing, leaving 2-3 inches of backing showing on all sides. Add your quilt top face-up, centered over the batting.
Layer Positioning Tips
Work from the center outward when smoothing layers. This pushes air bubbles and wrinkles toward the edges.
Pin the center first, then add pins every 6-8 inches in a grid pattern. Use curved safety pins for easier removal.
Size Considerations
Large quilts may not fit under your machine arm. Plan to baste in sections, working from one end to the other.
Machine Basting Techniques
Start basting from the center and work outward. This prevents fabric from bunching up as you sew.
Straight Line Basting
Sew straight lines across your quilt, spacing them 4-6 inches apart. Start with horizontal lines, then add vertical lines to create a grid.
Keep your hands flat on either side of the presser foot. Don’t pull or push the fabric – let the walking foot do the work.
Diagonal Basting Method
Some quilters prefer diagonal basting lines. This method works well for quilts with strong directional patterns.
Start at one corner and sew diagonally to the opposite corner. Add parallel lines 6-8 inches apart.
Spray Basting Alternative
You can combine spray basting with machine basting for extra security. Apply spray basting first, then add machine stitches around the edges.
Common Machine Basting Problems
Puckering happens when your tension is too tight or you’re pulling the fabric. Stop and readjust your settings.
Thread Breaking Issues
Old or cheap thread breaks more often during basting. Use quality cotton or polyester thread for better results.
Check your needle too. A dull or bent needle can cause thread breaks and skipped stitches.
Fabric Shifting Problems
Layers shifting during basting usually means you didn’t pin enough or your pins are too far apart. Add more pins before continuing.
Prevention Strategies
Roll large sections of your quilt and clip them to keep bulk away from your sewing area. This reduces drag on the fabric.
Removing Basting Stitches
Remove basting stitches as you complete each section of final quilting. This prevents accidentally quilting over them.
Cut every few stitches with small scissors, then pull out the thread pieces. A seam ripper works well for stubborn stitches.
Timing Your Removal
Don’t remove all basting at once. Keep stitches in unquilted areas until you finish those sections.
Machine Types and Basting
Any sewing machine can handle basting, but some work better than others for large quilts.
| Machine Type | Best For | Limitations |
|---|---|---|
| Regular Sewing Machine | Small to medium quilts | Limited throat space |
| Long-arm Machine | All quilt sizes | Requires frame setup |
| Mid-arm Machine | Medium to large quilts | More expensive option |
Working with Limited Space
Regular machines work fine for basting if you roll and manage your quilt bulk properly. Take your time and don’t force thick sections through the machine.
Professional Tips for Better Results
I came across several expert techniques that make machine basting more effective. Many quilting professionals recommend using contrasting thread colors so you can see basting lines clearly.
Thread Color Strategy
Bright pink or yellow thread shows up well against most fabrics. Avoid colors that blend with your quilt top.
Bobbin Thread Considerations
Use the same color thread in your bobbin for easier identification during removal.
Workspace Setup
Create a large work surface by pushing tables together. Your quilt should lie flat without hanging over edges.
Good lighting helps you see wrinkles and fabric alignment issues before they become problems.
Troubleshooting Guide
When your machine skips stitches during basting, first check your needle. Batting fibers can dull needles quickly.
Stitch Quality Issues
Uneven stitches often mean you’re sewing too fast or your presser foot pressure is wrong. Slow down and adjust pressure if your machine has this feature.
Tension Adjustments
If your bobbin thread shows on top, loosen your upper tension slightly. If top thread shows on the bottom, tighten upper tension.
Conclusion
Machine basting transforms quilt preparation from a tedious chore into a quick, manageable task. With proper setup and technique, you’ll create secure, even basting that makes final quilting much easier.
Remember to start with correct machine settings, work from the center outward, and remove basting stitches as you progress through final quilting. Your quilting machine is a powerful tool that can handle this job beautifully when you understand the process.
Can I use regular thread for machine basting?
Yes, regular cotton or polyester thread works perfectly for machine basting. Choose a color that contrasts with your quilt top so you can easily see and remove the stitches later.
How far apart should machine basting lines be?
Space your basting lines 4-6 inches apart for most quilts. Smaller projects can use wider spacing, while large quilts with slippery fabrics may need closer lines every 3-4 inches.
What happens if I accidentally quilt over basting stitches?
Quilting over basting stitches creates a mess that’s difficult to fix. If this happens, carefully cut the basting thread between your quilting stitches and remove it in small pieces using tweezers or a seam ripper.
Do I need a special presser foot for machine basting?
A walking foot or even-feed foot gives the best results because it helps move thick quilt layers evenly. Your regular presser foot can work, but you’ll need to sew more slowly and guide the fabric carefully.
How do I baste a quilt that’s too big for my machine?
Roll the bulk of your quilt and secure it with clips, leaving only the area you’re currently basting flat under the machine. Work systematically from one end to the other, repositioning the rolled sections as you progress.