
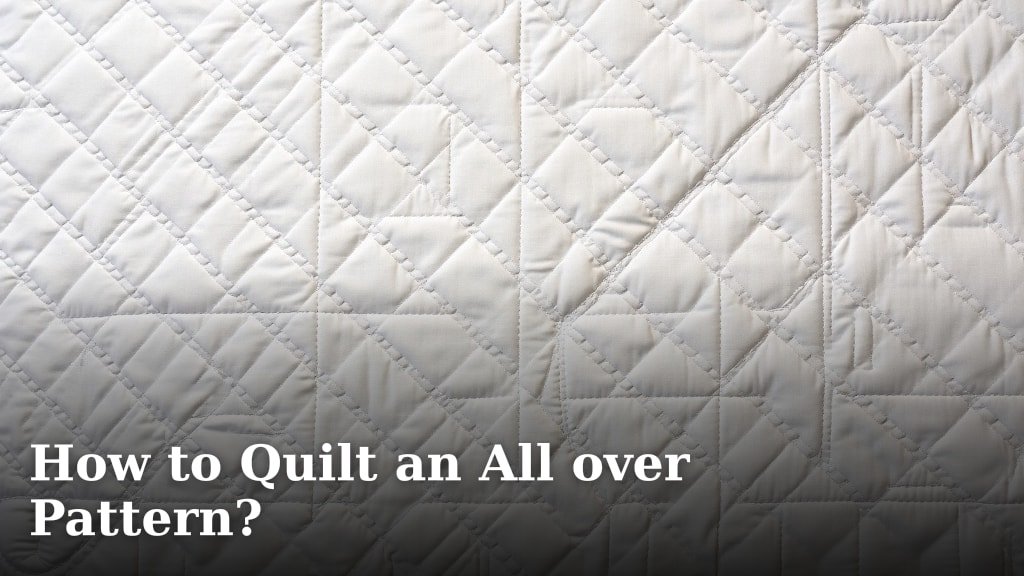
Quilting an all-over pattern means your design covers the entire quilt top. You use a repeating motif for a cohesive look. This method is perfect for achieving a professional finish on your quilts, giving them a beautiful, unified texture that enhances the overall design. It’s a popular choice for quilters looking to make a big impact.
An all-over quilt pattern can transform a simple quilt into a work of art. It’s a wonderful way to add dimension and visual interest to your projects. Many quilters choose this approach for its elegance and simplicity, allowing the quilting itself to become a key design element. You’ll find it works wonderfully on everything from baby quilts to large bed quilts.
- An all-over pattern covers your entire quilt top.
- It uses a repeating motif for a unified look.
- This method creates a professional finish.
- It adds texture and visual interest.
- It’s a versatile technique for any quilt size.
Ready to learn how to get this stunning look on your next quilt? Let’s walk through the steps to quilt an all-over pattern with ease.
Getting Started with All-Over Quilting Patterns
So, you’re ready to quilt an all-over pattern? That’s fantastic! This technique can make your quilts truly shine. It means your quilting design covers the entire quilt top. Think of it like a beautiful wallpaper for your quilt. It adds texture and visual appeal evenly across the whole piece. Let’s break down how to do it step-by-step.
Choosing Your All-Over Pattern Design
The first big decision is selecting the pattern itself. What kind of look are you going for? There are so many options available. You can go for something simple or something more elaborate. Your choice will depend on your skill level and the overall style of your quilt.
Types of All-Over Patterns
Many quilters opt for what are called “pantographs.” These are designs pre-printed on paper or digital files. They are designed to be repeated across the quilt. Some popular pantograph designs include:
- Feather motifs: These add a delicate, organic touch.
- Meandering lines: A simple, flowing line that fills the space.
- Geometric shapes: Such as small stars, dots, or squares for a modern feel.
- Floral elements: Delicate flowers or leaves can add a charming look.
You can also create your own repeating motif. This might be a simple stitch pattern or a small, custom design. Many quilters find inspiration in quilting books and online resources. We found that looking at finished quilts on Pinterest can spark great ideas!
Factors to Consider When Choosing
Think about the size of your quilt. A busy, detailed pattern might overwhelm a small baby quilt. Conversely, a very simple pattern might get lost on a king-sized quilt. Also, consider the fabric. Busy fabric prints can sometimes compete with the quilting design. In those cases, a simpler pattern often works best. We found that a pattern that complements, rather than competes with, your fabric is key.
Preparing Your Quilt for All-Over Stitching
Proper preparation is essential for a successful quilting project. This is especially true when you’re planning to cover the entire quilt top with stitches. A well-prepped quilt ensures smooth stitching and a beautiful final result.
The Importance of Basting
Basting is how you hold your quilt sandwich together. This includes the quilt top, batting, and backing. Good basting prevents shifting and puckering while you quilt. Many quilters use safety pins or spray basting. For all-over quilting, it’s vital that the layers are smooth and secure. We found that using plenty of pins, spaced evenly, makes a big difference.
Research shows that proper basting reduces the risk of skipped stitches and uneven quilting (The Quilting Company). Make sure your quilt top and backing are flat. There should be no wrinkles or folds. This stability is your foundation for a great quilting experience.
Choosing the Right Batting
The batting is the fluffy layer inside your quilt. It affects the loft and drape of your finished quilt. Cotton batting gives a flat, traditional look. Polyester batting offers more puffiness and is lightweight. A blend can offer a balance of both. For all-over patterns, especially dense ones, consider a lower-loft batting. This makes it easier for your machine to glide over the surface. We found that a medium-loft cotton-poly blend is a versatile choice for many projects.
Setting Up Your Sewing Machine for Quilting
Your sewing machine is your primary tool for this project. Making sure it’s set up correctly will save you time and frustration. You want smooth, even stitches and easy movement of the quilt.
Essential Machine Features and Tools
First, ensure your machine is clean and well-oiled. A quilting machine often has a larger throat space. This is the area to the right of the needle. It gives you more room to maneuver your quilt. A darning or free-motion quilting foot is a must-have. This foot allows the fabric to move freely under the needle. It should have a You’ll also need a walking foot if you plan to quilt straight lines; our guide lists the best for beginners.low shank or high shank depending on your machine. You’ll also need a walking foot if you plan to quilt straight lines or a pantograph that follows straight paths. Many experts recommend using a walking foot for consistent stitch length on all-over patterns.
Adjusting Your Machine Settings
You’ll want to drop or cover your feed dogs. These are the little teeth that move the fabric. Dropping them allows you to control the fabric movement freely. Set your stitch length to a medium setting, around 2.0mm to 2.5mm. This creates a strong, consistent stitch. Many quilters suggest using a new, sharp needle. A size 80/12 or 90/14 needle is good for most quilting cottons. Change your needle frequently, at least every quilt project, or sooner if you notice skipped stitches.
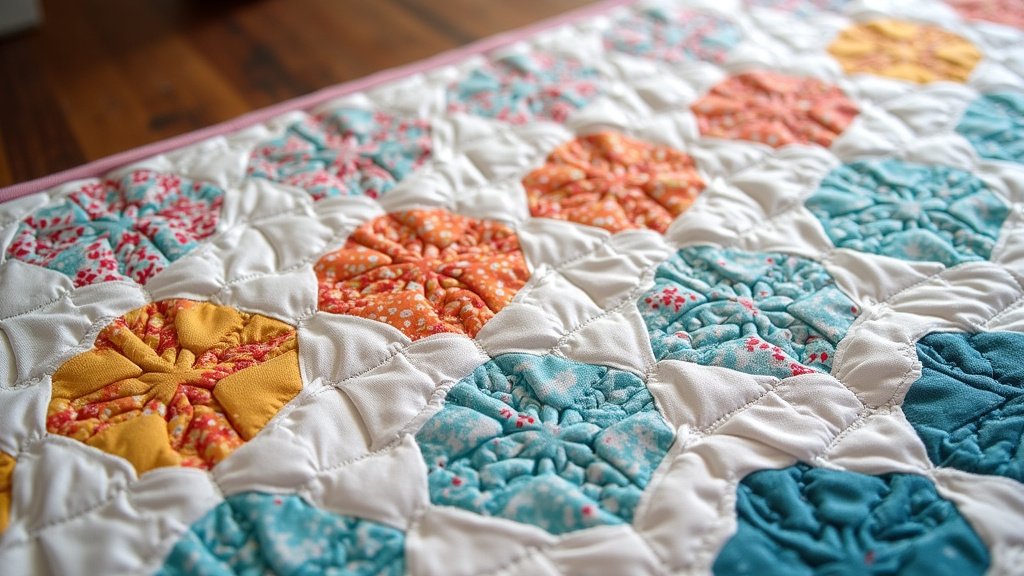
Quilting the All-Over Pattern: Step-by-Step
Now comes the fun part – bringing your design to life! Take your time and enjoy the process of transforming your quilt top with stitches.
Centering and Starting Your Pattern
For pantographs, you’ll usually start in the center of the quilt. You can mark the center point of your quilt top and backing. Align your pantograph paper or digital pattern. Use painter’s tape to secure the paper pantograph to the quilt. If using a digital pantograph, load it into your machine’s software. Start quilting at the center and work your way outwards. This helps prevent distortion as you move across the quilt.
Using a Pantograph Guide (Paper or Digital)
If you’re using a paper pantograph, you’ll need a guide or stylus. This tool follows the pattern on the paper and guides your needle. You simply move the quilt sandwich so the stylus traces the lines. For digital pantographs, your machine’s screen will guide you. You’ll move your quilt to follow the on-screen pattern. Many quilters find it helpful to practice on a scrap piece first. This gets you comfortable with the movement and speed. We found that a smooth, consistent pace is more important than speed.
Free-Motion Quilting Techniques for All-Over Designs
If you’re free-motion quilting, you’ll guide the quilt yourself. You’ll move the fabric in any direction you choose. Start with simple, repeating shapes. Draw your pattern lightly on the quilt top with a washable marker. You can also use chalk. Begin in the center and stitch your design. Move the quilt smoothly and consistently. Don’t lift the pressure foot until you’ve completed a section or your thread runs out. Many beginners find that a simple stipple or meander is a great way to start. Research indicates that practicing free-motion on scraps improves control and stitch quality (American Quilter’s Society).
Managing Bulk and Corners
As you quilt, you’ll encounter bulk, especially in the corners and edges. This can make it harder to maneuver. Try to roll up sections of the quilt that aren’t being quilted. This keeps them out of the way. When you reach the edge, carefully guide the quilt. Don’t force it. For pantographs that go right to the edge, you might need to quilt off the edge. This creates a smooth transition. We found that having a large, flat surface to support the quilt is very helpful.
Finishing Your All-Over Quilted Piece
Once the quilting is complete, it’s time for the final steps. These ensure your quilt looks neat and professional. It’s the culmination of all your hard work!
Trimming and Squaring Up
After quilting, your quilt might not be perfectly square. The quilting process can sometimes cause slight shifting. Use a long quilting ruler and a rotary cutter to trim away any excess backing and batting. Square up your quilt by making sure the corners are 90-degree angles. This creates clean edges for binding. We found that squaring up is a satisfying step that really makes the quilt look finished.
Binding Your Quilt
Binding is the fabric strip that goes around the outer edge of your quilt. It encloses the raw edges and gives a polished look. Measure the perimeter of your squared-up quilt. Cut strips of fabric to the appropriate width and length for your binding. Attach the binding by sewing it to the front of the quilt. Then, fold it over to the back and stitch it down. Many quilters prefer to hand-stitch the binding for a truly professional finish. Hand-stitching also allows for perfect tension on the corners.
Here’s a quick checklist to keep you on track:
- Choose an all-over pattern that suits your quilt and skill level.
- Ensure your quilt is basted securely and smoothly.
- Set up your machine with a free-motion or walking foot.
- Practice your chosen pattern on scraps.
- Quilt patiently, managing bulk as needed.
- Trim, square up, and bind your quilt for a polished finish.
Conclusion
You’ve learned how to quilt an all-over pattern, transforming your quilt top into a textured masterpiece. From selecting the perfect design to preparing your quilt and setting up your machine, you’ve gathered the key steps. Remember, patience and practice are your best friends here. We found that finishing your quilt with careful trimming and binding makes all the difference. Your next step is to gather your supplies and start your first all-over quilted project. You’ve got this!
Frequently Asked Questions
What’s the difference between all-over quilting and custom quilting?
All-over quilting uses a repeating pattern across the entire quilt for a uniform look. Custom quilting involves unique, separate designs in different areas like borders, sashing, and blocks. Think of all-over as a consistent texture and custom as a decorated quilt.
Can I use an all-over pattern on a very small quilt, like a baby quilt?
Yes, you absolutely can! For smaller quilts, choose a simpler or smaller-scale all-over pattern. This prevents the quilting design from overwhelming the quilt. A delicate meander or small geometric shapes often work wonderfully.
How do I prevent my bobbin thread from showing on the front of the quilt?
This usually happens when your top tension is too tight or your bobbin tension is too loose. Try adjusting your top tension slightly looser or your bobbin tension slightly tighter. We also found that using a new, sharp needle and ensuring your machine is clean helps prevent thread issues.
What’s the best way to start quilting an all-over pantograph pattern?
It’s generally best to start in the center of your quilt and work your way outwards. This helps to avoid pushing the fabric around and causing unnecessary puckering or distortion. Securing your pantograph pattern well with painter’s tape is also essential for a smooth start.
My quilting stitches look uneven. What could be wrong?
Uneven stitches can be caused by several factors. Ensure your feed dogs are dropped and you are using a free-motion or walking foot correctly. Also, try to maintain a consistent speed as you move the quilt. Practicing on scrap fabric first can help you find a rhythm and improve stitch quality.
