
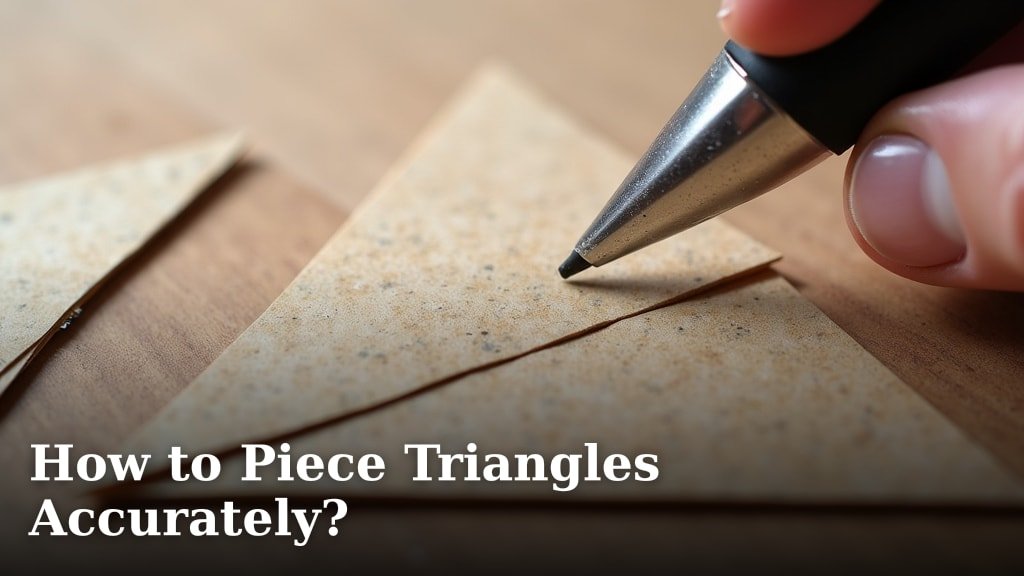
The key to piecing triangles accurately in quilting is to start with a precise cutting method and maintain consistent seam allowances. Many quilters find that using a specialized ruler or a consistent marking technique makes a huge difference. This helps ensure your points meet perfectly and your finished project lays flat. It’s less about magic and more about careful technique.
Getting your triangles just right can feel like a puzzle, but it doesn’t have to be frustrating. We’ve found that paying attention to even small details, like the grainline of your fabric and the pressure on your sewing machine, leads to much better results. Accurate piecing means your blocks will fit together like a dream. Your quilt will look so much more professional.
- Cut your fabric precisely.
- Use a consistent 1/4 inch seam allowance.
- Marking your fabric can help.
- Press your seams correctly.
- Don’t stretch your fabric.
Ready to make your triangle piecing perfect every time? Let’s walk through exactly how to achieve those sharp points and flat seams.
Mastering the Art of Piecing Triangle Blocks
Getting your triangle pieces to line up perfectly is a common quilting challenge. We found that careful cutting and consistent sewing are the most important steps. This guide will walk you through the best techniques for accurate triangle piecing.
Precise Cutting: The Foundation of Accuracy
Before you even think about sewing, your cutting needs to be spot on. This is where many triangle projects go wrong. Even a small error here can lead to mismatched points later on. Think of it like building a house – a wobbly foundation makes the whole structure unstable.
Choosing the Right Cutting Tool
Using the correct tools can make a big difference. Many quilters swear by specialized rulers designed for cutting triangles. These rulers often have clear markings and safety features. They help you cut multiple layers of fabric at once if needed.
A good quality rotary cutter is essential. Make sure your rotary blade is sharp. A dull blade can cause fabric to shift or fray. This leads to inaccurate cuts. We found that a fresh blade makes the cutting process smoother and more precise.
Understanding Fabric Grainline
Fabric grain is a key factor in how your pieces behave. The lengthwise grain (warp) is usually the strongest. The crosswise grain (weft) has more stretch. The bias grain runs diagonally and has the most stretch. Triangles, especially on the bias, can easily get distorted.
Always try to cut your triangles so that the grainline runs along the longest, straightest edge of the piece. This helps your triangles maintain their shape. Avoid stretching or pulling the fabric as you cut. This is especially important for bias-cut pieces. We found that being mindful of the grain prevents wavy edges.
Marking Your Fabric for Precision
Sometimes, just cutting isn’t enough. Marking your fabric can provide extra guidance. This is particularly helpful for half-square triangles or quarter-square triangles. You can mark the exact 1/4 inch seam line. You can also mark the diagonal line for sewing.
Use a washable fabric marker or a chalk pencil. Make sure the markings are visible but won’t permanently stain your fabric. Many quilters mark a small dot or dash at the 1/4 inch mark on both sides of the seam line. This gives you a visual cue when sewing.
Sewing with a Consistent Seam Allowance
Your sewing machine is your next best friend for accurate triangle piecing. The 1/4 inch seam allowance is the standard in quilting. This measurement is critical for ensuring your blocks come out the correct size. The 1/4 inch seam allowance is the standard in quilting, and this guide explains the math behind perfect seams.
Calibrating Your Sewing Machine
How do you ensure your 1/4 inch seam allowance is truly 1/4 inch? Many sewing machines have a standard 1/4 inch foot. However, not all feet are created equal. It’s a good idea to test your machine’s accuracy.
You can do this by drawing a line 1/4 inch from the needle. Sew along this line with scrap fabric. Then, measure the seam allowance with a ruler. If it’s not exactly 1/4 inch, you might need to adjust your stitch placement or use a specialized 1/4 inch foot with a guide. Many quilters found that using painter’s tape on the needle plate can also serve as a seam guide. It’s a simple trick that works well.
Maintaining Consistent Pressure and Speed
The way you feed fabric through your machine matters. Avoid pushing or pulling the fabric. Let the feed dogs do the work. Gently guide the fabric instead. This prevents stretching and ensures your seam allowance stays consistent throughout the entire seam.
Consistent sewing speed is also important. Sewing too fast can lead to skipped stitches or uneven seams. Sewing too slowly might cause the fabric to bunch up. Many quilters find a steady, moderate pace works best. Practice sewing long seams on scrap fabric to get a feel for it.
Pressing: The Final Touch for Flat Seams
Pressing is not the same as ironing. Ironing involves moving the iron back and forth, which can distort your fabric. Pressing means lifting the iron and setting it down on the fabric. This method helps your seams lay flat and prevents stretching.
Pressing Towards the Darker Fabric
A common quilting rule is to press seams towards the darker fabric. This helps to prevent the darker fabric from showing through the seam line. It creates a cleaner, more professional look. When piecing triangles, this rule is especially helpful.
However, with some triangle units, you might need to press seams open. This is often done to reduce bulk, especially when many seams meet at a single point. We found that experimenting with pressing open or to one side can help you decide what works best for your specific project. The goal is a flat seam.
Using a Pressing Cloth
For delicate fabrics or when you want extra assurance against scorching, a pressing cloth can be useful. A thin piece of cotton fabric or a specialized pressing cloth can be placed over your seam. Then, you press the iron on top of the cloth. This protects your work and ensures a smooth finish. Many quilters use a piece of silk organza for this purpose.
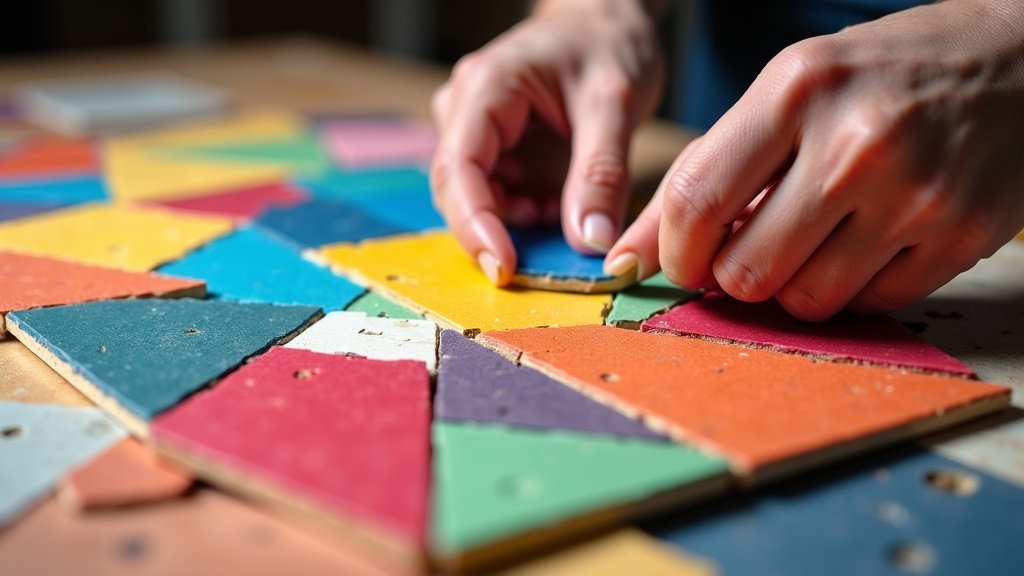
Common Triangle Piecing Pitfalls and Solutions
Even with the best intentions, mistakes can happen. Understanding common issues helps you fix them or avoid them altogether.
The Case of the Missing Points
Are your triangle points not meeting perfectly? This is often due to inaccurate cutting or inconsistent seam allowances. If your seams are too wide, your points will be cut off. If they are too narrow, you might have excess fabric that makes the points look blunt.
Check your seam allowance first. Recalibrate your machine if needed. Also, ensure you are not stretching the fabric as you sew. Sometimes, trimming the seam allowance to 1/4 inch *after* sewing can help expose the tips of the points. This is a quick fix for minor issues.
Wavy or Puckered Seams
Wavy seams usually indicate that the fabric has been stretched during sewing. This can happen if you’re pulling the fabric or if the grainline wasn’t respected during cutting. Re-sewing the seam without stretching, or using a slightly shorter stitch length, might help.
For very wavy seams, you might need to carefully unpick and re-sew. Ensure you are guiding, not pulling, the fabric. A walking foot on your sewing machine can also help feed layers evenly, reducing stretching. Many quilters found that a walking foot is a game-changer for piecing bulky or slippery fabrics.
Triangle Blocks That Don’t Measure Correctly
If your finished triangle blocks are not the size they should be, it almost always comes back to cutting and sewing. Did you cut accurately? Is your seam allowance consistent? These are the first things to check.
Use your quilting ruler to measure the finished block. If it’s too small, your seams might be too wide. If it’s too large, your seams might be too narrow. It’s a good idea to make a test block first. This allows you to catch any errors before committing to your entire quilt top. We found that making a single test block saves a lot of frustration later.
Quick Checklist for Perfect Triangle Piecing
Here’s a quick rundown to keep in your sewing room:
- Sharp rotary blade for precise cuts.
- Check your 1/4 inch seam allowance accuracy.
- Guide, don’t pull, fabric while sewing.
- Press seams flat, not ironed.
- Press towards darker fabric or open to reduce bulk.
- Make a test block if unsure.
Conclusion
You’ve learned that accurate triangle piecing isn’t about luck; it’s about mastering the basics. We’ve covered how precise cutting with the right tools and attention to fabric grain are your starting point. Consistent seam allowances, guided by a calibrated sewing machine, and proper pressing techniques are what bring it all together. By focusing on these key steps, you’ll create beautiful, flat seams and perfectly matched points every time. Now, take your newfound skills and piece your next triangle block with confidence!
Frequently Asked Questions
How do I prevent my bias-cut triangle edges from stretching out?
When cutting triangles on the bias, be extra gentle. Avoid pulling or stretching the fabric as you cut. Consider starching your fabric beforehand to give it more stability. We found that a sharp rotary blade is also essential to prevent fraying and distortion.
What’s the best way to trim excess fabric from triangle points after sewing?
If your points are slightly blunt after sewing, you can carefully trim the seam allowance to 1/4 inch from the very tip of the point. Use a small, sharp pair of scissors or a seam ripper for precision. This trick can help expose sharp points without altering your seam allowance significantly.
My triangles are coming out slightly different sizes. What am I doing wrong?
This usually points to either inaccurate cutting or an inconsistent seam allowance. Double-check that your rotary cutter is sharp and your ruler is placed firmly on the fabric. Measure your sewing machine’s 1/4 inch seam allowance with a ruler and adjust if needed. Making a test block first can save you a lot of trouble.
Can I use a regular sewing machine foot if I don’t have a 1/4 inch foot?
Yes, you can! Many quilters successfully use their standard presser foot by adding a guide. You can use painter’s tape on your needle plate to mark your 1/4 inch seam line. Some people also find that using the edge of a standard foot as a guide works if you know its measurement accurately.
How do I deal with bulky seams when piecing multiple triangles together?
Pressing your seams strategically can help reduce bulk. Sometimes, pressing seams open is better than pressing them to one side, especially where many seams intersect. You might also consider trimming down the seam allowance slightly in these high-bulk areas. A test block will show you which pressing method works best for your fabric and pattern.
