
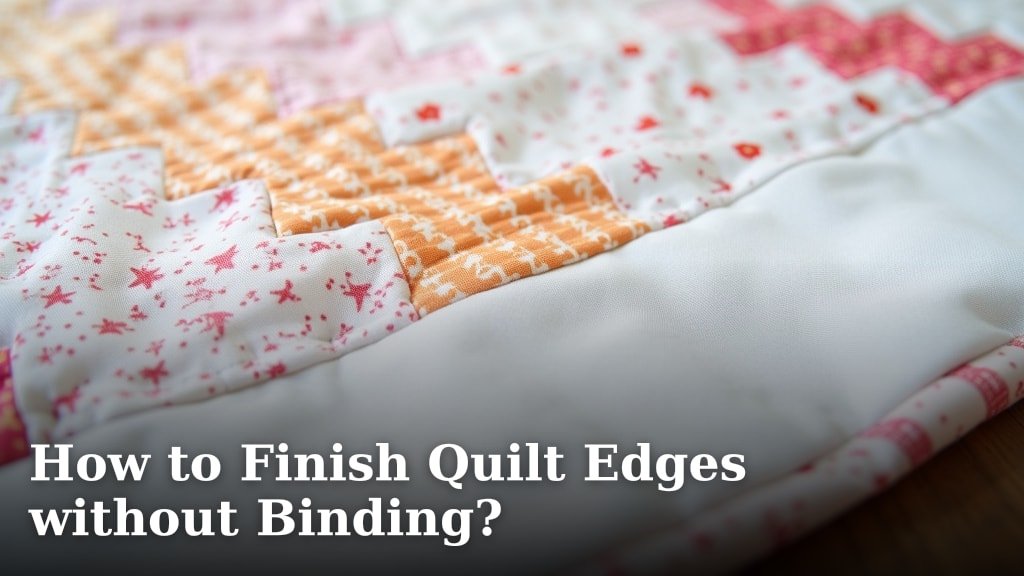
You can finish quilt edges without traditional binding using several clever methods. Techniques like the “facing” method, where fabric is attached directly to the raw edge and turned inside, or “folded binding” can give your quilt a clean, finished look. These options are great for achieving a professional finish with a slightly different approach to your quilting projects. We’ve researched and found these techniques can save you time and add unique style to your quilts.
Moving beyond the standard binding opens up new creative possibilities for your quilts. Sometimes, you just want a quilt edge that lies flatter or has a different visual impact. Techniques like folding the quilt top over itself or using a separate piece of fabric as a facing can provide just that. Many quilters find these methods simplify the finishing process and offer a sleek, modern edge that complements many quilt designs. You’ll discover how these methods can transform your quilt’s appearance.
- Finish quilt edges without traditional binding.
- Try the facing method for a clean edge.
- Consider folded binding for a different look.
- These methods offer a sleek, professional finish.
- They can simplify your quilting process.
Let’s walk through exactly how to achieve these beautiful quilt edges step by step.
Finishing Your Quilt Edges: Beyond Traditional Binding
You’ve poured your heart into a quilt, piecing and quilting it with care. Now comes the finishing touch – the edges. Traditional binding is a classic choice, but it’s not the only way to get a beautifully finished quilt. We’ve researched several methods that can give your quilt a different look and feel. These techniques can offer a cleaner, flatter edge. They might even save you time. Let’s explore some wonderful ways to finish your quilt edges without a separate binding strip.
The Facing Method: A Seamless Finish
The facing method is a fantastic way to achieve a very clean and tailored edge. It uses a strip of fabric attached to the right side of your quilt top. This strip is then turned to the back and secured. It creates a smooth, almost invisible border. Many quilters love this for modern quilts or when they want the quilt’s pattern to dominate without an added border strip.
Understanding How Facing Works
Think of facing as creating a fabric “collar” for your quilt. Instead of wrapping fabric around the raw edge, you’re essentially building a new edge right onto the quilt itself. This new edge lies flat. It’s a great alternative if you find traditional binding bulky. Or perhaps you simply want a different aesthetic. It gives your quilt a professional, high-end appearance.
Preparing Your Facing Fabric
You’ll need fabric for your facing strips. These should generally be cut on the straight grain. The width of your facing strip is important. A common recommendation is to cut strips about 3 to 4 inches wide. This allows enough fabric to fold over neatly. You’ll need enough length to go around all four sides of your quilt. Remember to add a little extra for seams. Many quilters find it easiest to cut one long strip and then piece it together at the corners. This avoids having to miter four separate pieces.
Attaching the Facing
This is where the magic begins. You’ll place your facing strip onto the right side of your quilt. Align the raw edges of the facing strip with the raw edge of the quilt. Pin it securely all the way around. Now, stitch about 1/4 inch from the raw edge. You’ll want to leave the corners unstitched for now. This creates a clean seam allowance. You’ll sew into the corner point, backstitch, and then reposition your fabric to start the next side. This helps create a crisp corner.
Turning and Securing the Facing
Once your facing is stitched all the way around, it’s time to turn it. Carefully turn the facing strip to the back of your quilt. As you turn, you’ll create a clean mitered corner. Press the facing strip away from the quilt top. This is key for a neat finish. Now you need to secure it. You can hand-stitch it down using a blind stitch for an invisible finish. Or, you can machine-stitch it from the front of the quilt, just kissing the edge of the facing. Many quilters choose machine stitching for speed and durability. A walking foot can be very helpful here for even stitching.
Dealing with Those Tricky Corners
The corners are often the most challenging part of any quilt edge finish. For facing, the goal is a neat miter. After stitching into the corner, you’ll clip the seam allowance diagonally, close to the stitching line, but not through it. Then, when you turn the facing to the back, you’ll fold the fabric at the corner to create a 45-degree angle. Pressing this fold firmly makes all the difference. Some quilters use special corner turning tools. These can help get a really sharp point. Taking your time here yields the best results.
The Folded Edge Method: Simple and Sleek
This method is incredibly straightforward and perfect for smaller projects like placemats, table runners, or even baby quilts. It essentially uses the quilt top and backing fabric itself to create the edge. You’re folding the edges of the backing fabric over to the front. It offers a very clean, modern look without any extra fabric strips. It’s like the quilt tucks itself in!
How the Folded Edge Works
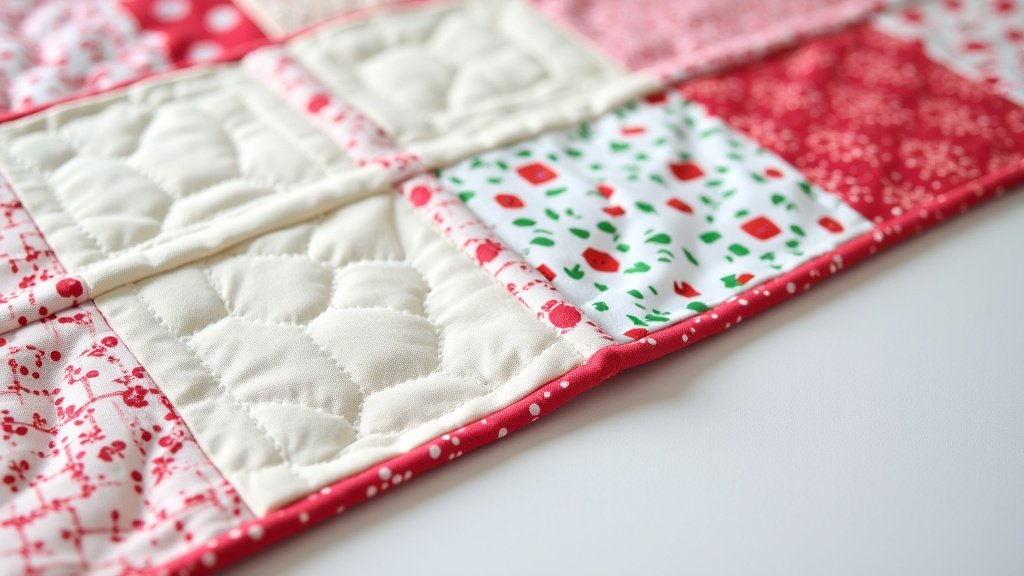
Imagine you’ve finished quilting your quilt. You’ve trimmed the excess batting and backing. Now, instead of adding a binding, you’ll fold the raw edge of the backing fabric over onto the top of the quilt. This fold encases the raw edge of the quilt top. It creates a neat, self-bound edge. Many quilters appreciate how quickly this method comes together. It’s especially good for projects where you want a minimalist edge.
Steps for a Folded Edge Finish
First, ensure your quilt top and backing are layered and basted as usual. Quilt your project as desired. Once quilting is complete, trim your excess batting and backing. Leave about 1.5 to 2 inches of excess backing fabric around all sides. This extra fabric is what you’ll fold. On the backing side, fold the raw edge over by about 1/2 inch towards the batting. Press this fold. Then, fold it over again, bringing the folded edge to meet the raw edge of the quilt top. Press this second fold very well. This should encase the raw edge of your quilt top. You’ll have a neat fold on the backing side.
Securing Your Folded Edge
Now you need to secure this fold. You can hand-stitch it down using a blind stitch for an almost invisible finish. Many prefer to machine stitch this edge. Stitch close to the folded edge on the backing side. A walking foot is highly recommended to keep the layers from shifting. You’ll stitch all the way around your quilt. For an extra secure finish, you could stitch a second line of stitching about 1/8 inch away from the first. This method is particularly effective on quilts with straight edges.
When to Choose These Methods
These alternative finishing techniques are wonderful for many quilt projects. The facing method is excellent for quilts where you want a very flat edge. It’s also ideal for decorative quilts that might not get heavy use. Think wall hangings or art quilts. The folded edge method is superb for smaller items. It’s fast and gives a clean look. Consider what kind of quilt you’ve made. Will it be washed frequently? Will it be handled a lot? These factors can influence which edge finish is best.
Considerations for Durability
While both methods can provide a beautiful finish, traditional binding is often considered the most durable option for heavily used and frequently washed quilts. This is because binding wraps around the edge, enclosing all layers securely. Facing can be very durable, especially if machine-stitched securely. The folded edge method can also be quite sturdy. However, on a large quilt that gets a lot of wear and tear, it might show stress at the corners over time. Many quilting experts suggest that for heirloom quilts meant to be used and loved for generations, a well-made binding is often the preferred choice for longevity. For everyday quilts or wall hangings, these alternatives are perfectly suitable and offer a fantastic look.
A Checklist for Your Next Quilt Edge
- Decide if facing or folded edge suits your quilt design.
- Calculate and cut your facing fabric or trim backing for folding.
- Press all folds sharply for crisp corners.
- Stitch carefully, using a walking foot for stability.
- Consider hand stitching for a truly invisible finish where desired.
- Test your chosen method on a small practice piece first.
Conclusion
You’ve learned some fantastic ways to finish your quilt edges without traditional binding. The facing method offers a sleek, tailored look, perfect for modern quilts and wall hangings. The folded edge technique provides a quick and clean finish, ideal for smaller projects. We’ve seen how these methods can simplify your quilting process and give your work a professional touch. Don’t be afraid to experiment with these techniques on your next project. Your next quilt edge awaits your creative touch – try the facing method on your next art quilt!
Frequently Asked Questions
Will facing or folded edge methods hold up to frequent washing?
Facing and folded edge methods can be quite durable, especially when stitched securely. For quilts that will be washed very often or handled a lot, traditional binding is generally considered the most robust choice. However, for most everyday quilts and decorative pieces, these alternatives are perfectly suitable.
Can I use facing on curved quilt edges?
The facing method is best suited for straight quilt edges. While it’s possible to adapt it for gentle curves, it can become tricky to get a neat finish. Traditional binding is usually a better choice for quilts with significant curves.
How do I prevent puckering when machine stitching the folded edge?
Using a walking foot is essential when machine stitching the folded edge to prevent puckering. It helps to feed all layers of your quilt evenly. Slow and steady stitching, combined with careful pressing, will also make a big difference.
What’s the difference in bulk between facing and binding?
Facing typically results in a flatter edge compared to traditional binding, which wraps around the quilt and can add more dimension. If you prefer a quilt that lies very flat against a wall or surface, facing is an excellent option to minimize bulk.
Can I use a different color fabric for my facing?
Yes, absolutely! Using a contrasting or coordinating fabric for your facing can add a unique design element to your quilt. It’s a great way to introduce another color or pattern to the edge of your finished piece.
