A loose needle threader hook on your quilting machine can be tightened by gently adjusting the hook’s mounting screw or replacing worn components. Most loose threader hooks result from regular use wearing down the connection points.
You’ll need basic tools like a small screwdriver and possibly replacement parts to fix a loose needle threader hook properly. The repair typically takes 10-15 minutes once you locate the problem area.
What Causes a Needle Threader Hook to Come Loose
Your needle threader hook doesn’t just randomly decide to wiggle around. There are clear reasons why this happens.
Regular use puts stress on the small parts. Every time you engage the threader, tiny metal components move against each other. Over time, this creates wear.
Vibration from your quilting machine gradually loosens screws and connections. Think of it like a car – all that movement eventually shakes things loose.
Common Wear Points
I found that certain areas fail more often than others. The mounting screw usually loosens first. This small screw holds the entire threader assembly in place.
The hook itself can bend or wear down. Metal fatigue happens when you use the threader hundreds of times. The hook tip gets rounded or develops tiny cracks.
Spring mechanisms lose tension over time. Your threader relies on small springs to return to position. Weak springs mean sloppy movement.
Signs Your Hook Needs Attention
How do you know when your threader hook is getting loose? Watch for these warning signs.
- The hook doesn’t align with your needle eye anymore
- You hear rattling when the machine runs
- The threader fails to catch thread consistently
- The hook visibly moves when you touch it lightly
Tools You’ll Need for the Fix
Don’t worry – you won’t need a full machine shop to fix this problem. Most repairs use simple household tools.
Basic Tool List
- Small Phillips head screwdriver
- Flat head screwdriver (tiny size)
- Needle-nose pliers
- Good lighting or flashlight
- Magnifying glass (helpful but not required)
Optional Supplies
Some fixes might need extra materials. Keep these handy just in case.
- Thread locker (blue type, not red)
- Small replacement screws
- Cotton swabs for cleaning
- Machine oil
Safety First – Preparing Your Machine
Before you start poking around inside your quilting machine, let’s make sure you stay safe.
Turn off your machine completely. Unplug it from the wall. This prevents accidental starts while your hands are near moving parts.
Remove your needle and lower the presser foot. This gives you better access and prevents accidental pricks.
Machine Positioning
Position your machine where you have good light and room to work. You’ll be looking at small parts, so proper lighting matters.
Have your user manual nearby. Every machine is slightly different, and the manual shows exactly where things are located.
Step-by-Step Repair Process
Now let’s get that loose hook tightened up. We’ll start with the simplest fixes first.
Step 1 – Locate the Problem
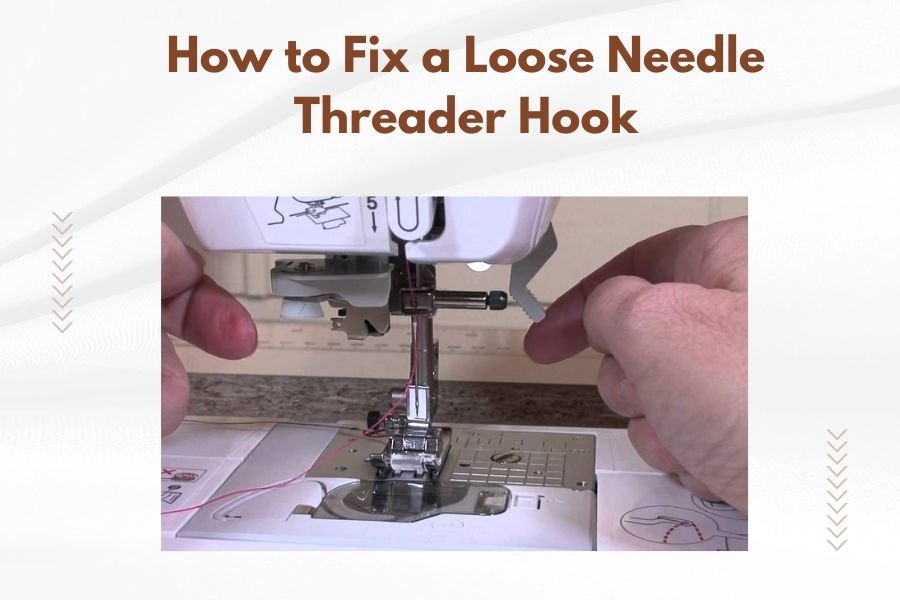
Find your needle threader assembly. On most quilting machines, it sits near the needle area on the front of the machine.
Gently move the hook with your finger. Does it wobble? Can you see where it connects to the machine body?
Look for obvious loose screws. Sometimes you can spot the problem right away.
Step 2 – Check the Mounting Screw
Most loose threader hooks come from one loose screw. This screw holds the entire assembly in place.
Look for a small screw near the base of the threader. It might be hidden under a small cover or plate.
Try tightening this screw gently with your screwdriver. Don’t overtighten – you can strip the threads or crack plastic parts.
Testing the Tightness
After tightening, test the hook movement. It should move smoothly through its intended path but not wiggle randomly.
If the screw won’t tighten or keeps coming loose, you might need thread locker. Put a tiny drop on the screw threads before tightening.
Step 3 – Inspect the Hook Itself
Sometimes the mounting is fine, but the hook has problems. Look closely at the hook tip and shaft.
A bent hook won’t thread needles properly even if it’s mounted tight. You can carefully straighten minor bends with needle-nose pliers.
Cracked or broken hooks need replacement. Don’t try to repair a damaged hook with glue or tape.
Step 4 – Check Spring Tension
Your threader uses springs to control movement. Weak or broken springs cause sloppy operation.
Look for small coiled springs in the threader assembly. They should look evenly coiled without stretched or compressed sections.
Replacing springs requires ordering parts from your machine manufacturer. Write down your exact machine model before calling.
Advanced Troubleshooting Tips
What if the simple fixes don’t work? Let’s look at some deeper problems.
Worn Mounting Points
Sometimes the screw holes themselves wear out. This happens on machines that get heavy use.
Enlarged screw holes won’t hold tight no matter how much you tighten. You might need larger screws or professional repair.
I found that some quilters use tiny washers to take up slack in worn mounting points. This works as a temporary fix.
Misaligned Components
Your threader hook must align perfectly with the needle eye. Even small misalignments cause problems.
Some threader assemblies have adjustment screws for fine-tuning position. Check your manual for adjustment procedures.
Testing Alignment
Thread your needle manually, then activate the threader. The hook should pass cleanly through the needle eye without hitting the needle.
If the hook hits the needle or misses the eye completely, you have an alignment problem.
When to Call a Professional
Not every repair is a DIY project. Some problems need professional attention.
If your threader assembly is cracked or broken, replacement usually requires disassembling major components. This goes beyond basic maintenance.
Electronic threaders with motors and sensors need specialized knowledge. Don’t attempt repairs on computerized threading systems.
Cost Considerations
Professional repair typically costs $50-150 depending on your location and machine type. Compare this to your machine’s value before deciding.
Sometimes buying a new machine makes more sense than expensive repairs on old models.
Preventing Future Problems
Once you fix your loose threader hook, let’s keep it working properly.
Clean your threader regularly. Lint and thread bits can jam the mechanism and cause wear.
Use your threader gently. Don’t force it if the thread doesn’t catch right away. Back up and try again.
Regular Maintenance Schedule
Check your threader hook monthly for looseness. A quick visual inspection takes 30 seconds.
Oil the threader mechanism according to your manual’s schedule. Most machines need oiling every few months with regular use.
Thread Quality Matters
Cheap or old thread can damage your threader. Fuzzy thread leaves deposits that gum up moving parts.
Store thread properly to prevent deterioration. Old thread gets weak and breaks inside the threader mechanism.
Alternative Threading Methods
What if your threader hook can’t be fixed right away? You still need to finish your quilting projects.
Manual threading works fine for most quilting. Use good lighting and reading glasses if needed.
Needle threaders from sewing stores cost just a few dollars. These handheld tools work on any machine.
Threading Tips Without a Machine Threader
Cut your thread at an angle for easier insertion. A clean diagonal cut slides through needle eyes better than a frayed end.
Hold the thread close to the tip. Long dangly ends are harder to control through the needle eye.
Replacement Part Sources
If you need new threader components, where do you find them?
Your machine manufacturer is the best source for exact replacement parts. They guarantee proper fit and function.
Sewing machine repair shops often stock common threader parts. Call ahead to check availability.
Part Numbers and Identification
Write down your complete machine model number before ordering parts. Similar machines might use different components.
Take photos of the broken part if possible. This helps parts suppliers identify exactly what you need.
Cost-Effective Repair Strategies
Fixing a loose needle threader hook doesn’t have to break your budget.
| Repair Type | Typical Cost | Time Required |
|---|---|---|
| Tighten loose screw | Free | 5 minutes |
| Replace mounting screw | $2-5 | 10 minutes |
| Replace hook assembly | $15-40 | 30 minutes |
| Professional repair | $50-150 | 1-2 weeks |
Conclusion
Fixing a loose needle threader hook is usually a simple repair that takes just a few minutes. Most problems come from loose mounting screws that you can tighten with basic tools. Regular maintenance and gentle use prevent most threader problems from developing.
Remember to always work with your machine unplugged and refer to your user manual for specific details about your model. If simple tightening doesn’t solve the problem, consider professional repair before attempting complex disassembly. With proper care, your needle threader will provide years of reliable service.
Can I use super glue to fix a loose needle threader hook?
No, avoid super glue on any sewing machine parts. It can interfere with proper movement and make future repairs impossible. Use appropriate mechanical fasteners or thread locker instead.
How often should I check my needle threader for looseness?
Check your needle threader monthly if you quilt regularly. Look for any visible movement or rattling sounds during operation. Early detection prevents more serious damage.
What’s the difference between thread locker colors?
Blue thread locker is removable and perfect for small machine screws. Red thread locker creates a permanent bond that requires heat to remove. Always use blue on sewing machines.
Can I straighten a bent needle threader hook myself?
Minor bends can be carefully straightened with needle-nose pliers. Work slowly and make small adjustments. If the hook is severely bent or cracked, replacement is safer than attempted repair.
Why does my needle threader keep coming loose after I fix it?
Repeated loosening usually indicates worn mounting holes or vibration issues. The screw holes may be enlarged from wear. Consider using a slightly larger screw or thread locker for a permanent fix.