
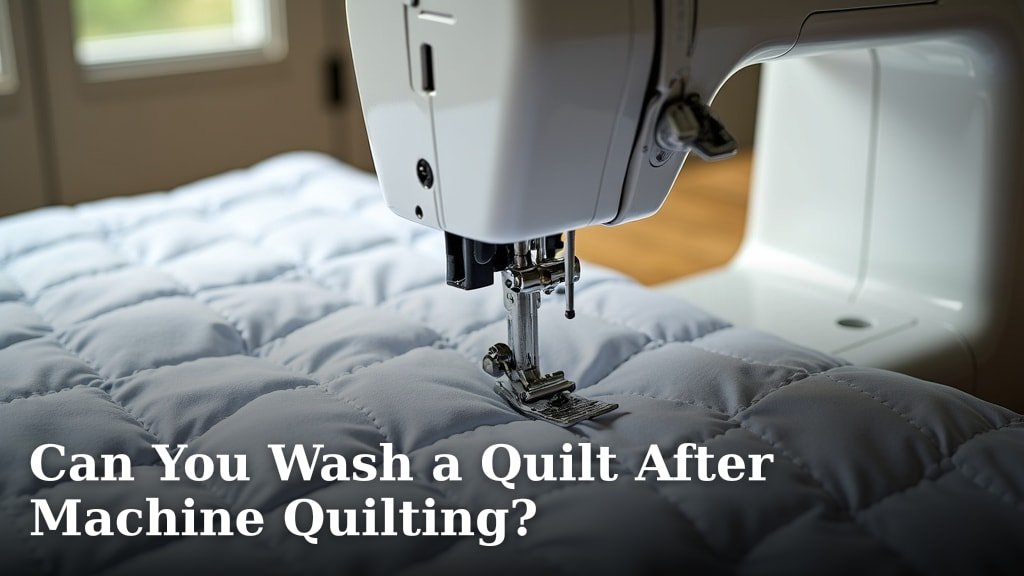
Yes, you can absolutely wash a quilt after machine quilting, and it’s actually recommended! Washing helps soften the fabric and batting, giving your quilt that lovely crinkly, heirloom look. It also removes any manufacturing chemicals or marks from the quilting process.
Many quilters consider the first wash an essential step to finish their quilt. It allows the fibers to relax and settle, often enhancing the texture and drape. Don’t worry, with a few simple steps, your newly quilted project will be perfectly safe.
- Wash quilts to soften and crinkle.
- Removes chemicals and marks.
- First wash is important for texture.
- Use gentle settings and mild soap.
- Drying carefully prevents damage.
Ready to give your beautiful, newly machine-quilted creation its first bath? We’ll guide you through the process, ensuring your quilt stays lovely and lasts for years to come.
Washing Your Quilted Creation: Is It Safe?
Yes, it’s not just safe to wash your machine-quilted projects; it’s often a crucial step for achieving that desired finish and feel. Don’t be afraid to give your quilt a bath!
Why Washing is Essential for Your Quilt
You might wonder why you’d immediately wash something you just spent hours creating. Isn’t it clean already? Well, the first wash does much more than just remove dirt.
Achieving That Signature “Crinkle”
Have you ever seen a vintage quilt with that lovely, soft, slightly puckered texture? That’s the “crinkle.” It happens when the cotton threads and batting shrink ever so slightly at different rates during the first wash. This creates a beautiful, dimensional effect that many quilters absolutely adore.
Without this initial wash, your quilt might feel a bit stiff and flat. The crinkle adds character and a cozy, well-loved look right from the start. It’s a hallmark of a truly finished quilt.
Removing Manufacturing Residue and Marks
Think about the journey your fabric took before it became your quilt. It’s been handled, processed, and likely treated with various chemicals to make it crisp and prevent wrinkles. These finishes can leave a residue that feels stiff and might even irritate sensitive skin.
Then there are the quilting marks. Many quilters use temporary pens or chalk to guide their machine quilting. While these are designed to disappear, a good wash helps ensure they’re completely gone. You wouldn’t want those blue lines showing up on your finished masterpiece, would you?
Softening the Fabric and Batting
Brand new fabric, especially cotton, can feel a bit rigid. The same goes for fresh batting. Washing helps to relax these fibers, making your quilt much softer and more pliable. It transforms it from a stiff project into a snuggly comfort item.
This softening process also improves the quilt’s drape. It will lie more smoothly over a bed or couch, feeling much more inviting. The goal is comfort, after all.
Pre-Wash or Post-Wash? Understanding the Debate
This is a common question among quilters. Some swear by pre-washing all their fabrics, while others prefer to wash the quilt only after it’s fully assembled and quilted. Each approach has its merits.
The Case for Pre-Washing Fabrics
Pre-washing your fabric before you even cut it ensures that any shrinkage happens then, not after your quilt is made. This can be important if you’re mixing different fabric types, or if you want a very flat, un-crinkled look.
- Prevents dye bleeding from darker fabrics onto lighter ones.
- Removes manufacturing chemicals before cutting.
- Ensures accurate sizing if exact dimensions are critical.
- Can make fabric softer to work with during piecing.
Many quilters find pre-washing a bit tedious, as it involves washing, drying, and then ironing all your fabric before you can even begin sewing. It’s an extra step in a long process.
The Case for Post-Washing (After Quilting)
Washing your quilt only after it’s completely machine-quilted is what creates that beloved crinkly effect we discussed earlier. The differential shrinkage of the fabric, batting, and thread works its magic.
- Achieves the desirable crinkly texture.
- Removes all temporary marking lines at once.
- Softens the entire quilt uniformly.
- Saves time by avoiding pre-washing all fabrics.
The main concern here is potential dye bleeding. If you have very dark, vibrant colors next to stark whites, there’s a risk. However, with modern, high-quality quilting fabrics, this risk is much lower than it used to be. Many quilters prefer this method for the aesthetic outcome.
Here’s a quick comparison:
| Feature | Pre-Washing Fabrics | Post-Washing Quilt |
|---|---|---|
| Shrinkage Control | Before cutting, more predictable sizing. | After quilting, creates crinkle. |
| Dye Bleeding | Reduces risk significantly. | Small risk if fabrics are not colorfast. |
| Softness | Fabric softens before use. | Quilt softens evenly, more pliable. |
| “Crinkle” Effect | Minimizes it. | Maximizes it, highly desired. |
| Effort/Time | More steps before starting. | Fewer steps before finishing. |
Ultimately, the choice depends on your personal preference and the desired look of your finished quilt. For that classic, soft, crinkly quilt, post-washing is definitely the way to go.
Preparing Your Quilt for Its First Bath
Before you toss your beautiful, newly finished quilt into the washing machine, a little preparation can go a long way in protecting it. Think of it like getting ready for a spa day.
Checking for Loose Threads
Take a moment to carefully inspect both the front and back of your quilt for any loose threads. Snip them close to the fabric, but be careful not to cut into the stitches themselves. Long, dangling threads can get caught in the washer’s agitator or wrapped around other parts, potentially causing damage or unraveling stitches. A clean finish starts with neat edges.
Protecting Delicate Embellishments
Does your quilt have any special embellishments like beads, buttons, or delicate appliques? If so, you’ll want to take extra precautions. Machine washing might be too harsh for these elements.
- Consider hand-washing if your quilt is heavily embellished.
- If machine washing, place the quilt in a large mesh laundry bag. This acts as a protective barrier.
- Turn the quilt inside out if possible, especially if the embellishments are on one side.
Sometimes, simply covering the delicate parts with a piece of old pantyhose or a fine mesh can offer enough protection. It’s all about minimizing direct friction.
The Washing Process: Gentle Care is Key
Your quilt needs a gentle touch, especially for its first wash. We want to clean it, not put it through a tumble-dry challenge. Think delicate cycle, cool water, and mild detergent.
Choosing the Right Machine and Cycle
A front-loading washing machine is generally preferred over a top-loader with a central agitator. Why? Because the agitator can be rough on your quilt, pulling and stretching the stitches. If you only have a top-loader with an agitator, you might consider using a laundromat’s large capacity front-loader or even a bathtub for hand washing, especially for larger quilts.
Select the “delicate” or “gentle” cycle. This setting uses slower spin speeds and gentler tumbling actions, which are perfect for a handmade item like a quilt.
Water Temperature and Detergent Selection
Always use cold water for washing your quilt. Cold water is far less likely to cause colors to bleed and helps prevent excessive shrinkage. Hot water can be too harsh for delicate fibers and dyes. You want to preserve those vibrant colors!
Opt for a mild, dye-free, fragrance-free detergent. Harsh chemicals and strong perfumes can strip the natural fibers or leave residues. Some quilters even use detergents specifically designed for delicate items or baby clothes. A little goes a long way – don’t overdo it with the soap.
A Word on Color Catchers
Are you worried about colors bleeding, especially if you have deep reds, blues, or purples next to white? This is where color catcher sheets come in handy. These disposable sheets are designed to absorb loose dyes in the wash water, preventing them from transferring to other fabrics. Toss a few in with your quilt, particularly for the first wash. They act like a little insurance policy for your colors!
Drying Your Quilt: Patience and Protection
The drying stage is just as important as the washing. Improper drying can lead to damage, uneven shrinkage, or even mold. Let’s make sure your quilt dries beautifully.
Gentle Machine Drying (Low Heat)
If you’re using a dryer, select the lowest heat setting or even an “air fluff” cycle. High heat is the enemy of quilts. It can cause excessive shrinkage, damage the batting, and prematurely wear out your fabrics. You’re aiming for a slow, gentle dry.
Remove the quilt from the dryer while it’s still slightly damp. This helps prevent over-drying and wrinkles. You can then lay it flat to finish air drying. For larger quilts, you may need to pause the dryer every 15-20 minutes to redistribute the quilt and prevent one section from over-drying.
Air Drying: The Best Method
For the absolute safest drying method, especially for larger or more delicate quilts, air drying is king. It takes longer, but it’s much gentler on the fibers.
- Lay your quilt flat on a clean, dry surface, such as a bed or several towels on the floor.
- If hanging, drape it over multiple lines or a shower curtain rod to distribute the weight evenly. Avoid hanging by just one edge, as the weight of the wet quilt can stretch or distort it.
- Ensure good air circulation around the quilt.
- Flip and reposition the quilt periodically to promote even drying.
Always make sure your quilt is completely dry before storing it. Even slight dampness can lead to mildew and damage over time. Give it an extra day out if you’re not sure.
Your First Wash Checklist
To recap, here’s a quick checklist to guide you through your quilt’s first wash:
Check for Loose Threads: Snip any strays on front and back.
Protect Embellishments: Use a mesh bag or hand wash if needed.
Use Cold Water: Always, to prevent color bleeding and shrinkage.
Choose Gentle Cycle: “Delicate” or “gentle” setting only.
Add Mild Detergent: Dye-free, fragrance-free, sparingly.
Consider Color Catchers: A few sheets for peace of mind.
Dry on Low Heat or Air Dry: Patience is key for longevity.
Follow these steps, and your machine-quilted masterpiece will come out of its first wash soft, crinkly, and ready for a lifetime of snuggles. You did it!
Conclusion
Washing your machine-quilted masterpiece isn’t just allowed; it’s a vital step to bring your creation to life. You’ve seen how this simple process transforms stiff fabric into a soft, inviting textile with that sought-after crinkly heirloom look. By carefully choosing your settings and products, you protect your hard work.
You now have all the knowledge to give your quilt its first bath with confidence. Embrace the wash cycle; it truly finishes your quilt, making it ready for years of comfort and enjoyment. Go ahead, make your beautiful quilt even better!
Frequently Asked Questions
How often should I wash my quilt after the first wash?
It depends on how much it’s used. For decorative quilts, wash infrequently, perhaps once a year. For bed quilts or those used often, wash as needed, using the same gentle methods you used for the first wash.
Can I use fabric softener when washing my quilt?
It’s generally best to avoid fabric softeners on quilts. They can build up on fibers, potentially reducing absorbency and causing stiffness over time. Your quilt will naturally soften with gentle washing and use.
What if my quilt is too big for my washing machine?
For very large quilts, consider taking it to a laundromat with commercial-sized front-loading machines. Alternatively, you can hand wash it in a clean bathtub. Gently agitate it with your feet, rinse well, and press out excess water before air drying.
Is it okay to iron my quilt after washing?
You can iron your quilt if you prefer a flatter, less crinkled look. Use a low heat setting and iron from the center outwards to avoid distorting the shape. Many quilters prefer the natural crinkle and skip ironing.
What should I do if my colors bleed during the first wash despite using color catchers?
If you notice color bleeding, immediately rewash the quilt in cold water with more color catcher sheets. Do not put it in the dryer. If the bleeding persists, a specialized color run remover product might be necessary, but test it on an inconspicuous spot first.
