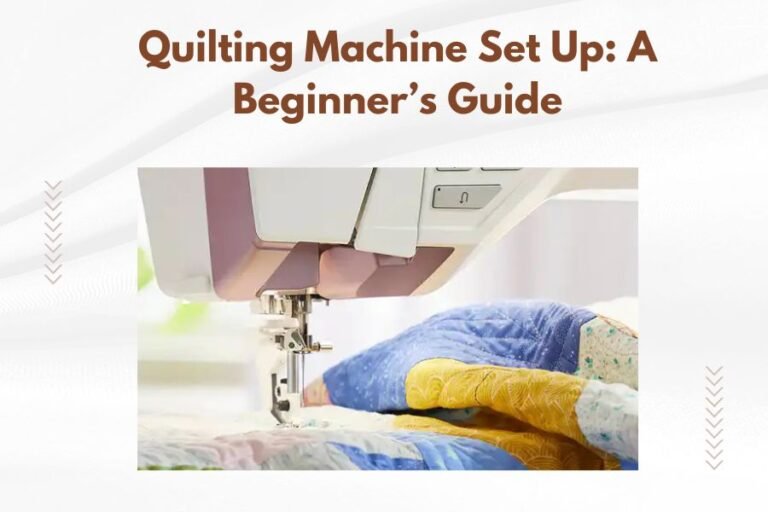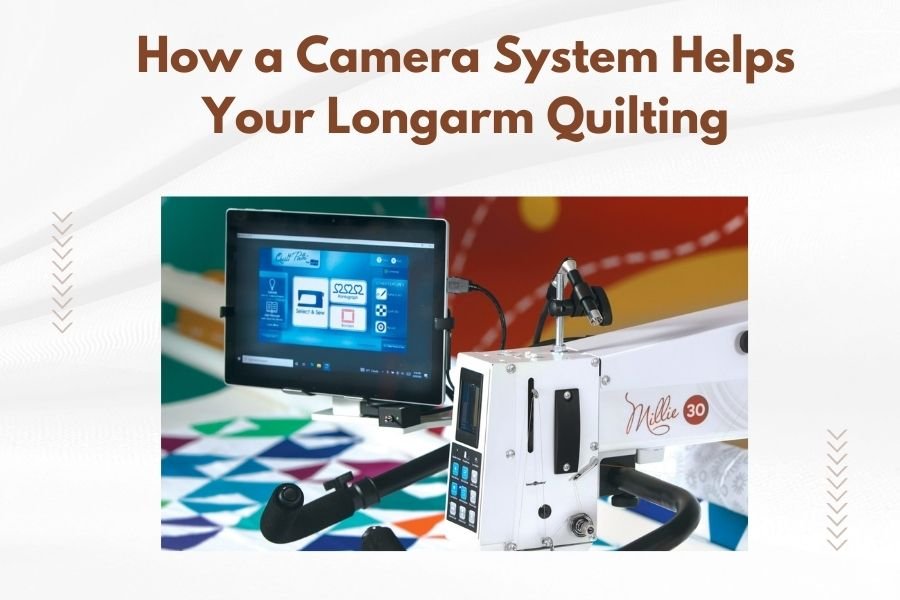
A camera system for longarm quilting gives you precision stitching control by showing real-time footage of your needle and quilt surface on a display screen.
Camera systems help longarm quilters see exactly where they’re stitching, making it easier to follow patterns, maintain consistent spacing, and create professional-looking quilts.
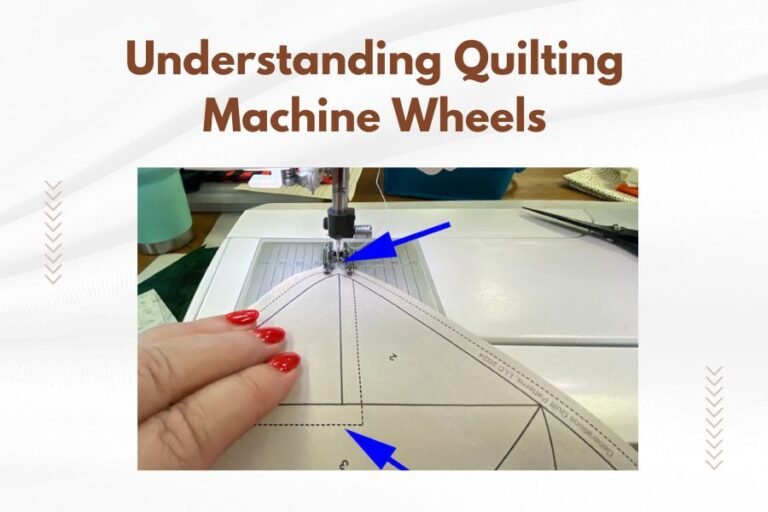
What Is a Longarm Quilting Camera System
Think of it as having a magnifying glass with superpowers. A camera system mounts near your longarm machine’s needle area and connects to a screen or tablet.
You get a close-up view of your stitching area without hunching over or straining your neck. The camera follows your needle wherever it goes on the quilt.
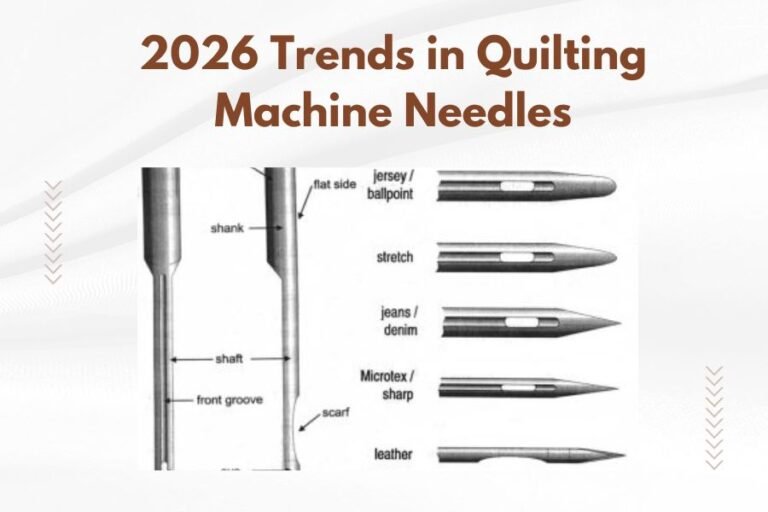
Basic Camera System Components
Most systems include three main parts:
- A small camera that attaches to your machine head
- A display screen or tablet mount
- Connecting cables or wireless transmitter
Some premium models add LED lighting rings around the camera lens. This gives you bright, clear visibility even in dim quilting spaces.
How Camera Systems Improve Your Quilting Accuracy
Ever tried threading a needle in poor light? That’s what longarm quilting without a camera can feel like.
The camera eliminates guesswork. You see exactly where your next stitch will land before you move the machine.
Pattern Following Made Simple
Following printed patterns becomes much easier when you can see the pattern lines clearly on screen. You don’t have to squint or lean in close to see where you’re going.
Many quilters find they can follow more detailed patterns with camera assistance. Feathers, spirals, and geometric designs become manageable projects instead of frustrating challenges.
Consistent Stitch Spacing
The magnified view helps you maintain even spacing between quilting lines. You can see if you’re drifting too close to previous stitching or leaving gaps that look uneven.
Research from quilting equipment manufacturers shows that quilters using camera systems report 40% fewer spacing errors in their finished projects.
Physical Benefits of Using a Camera System
Your body will thank you for this upgrade. No more neck strain from constantly looking down at your work.
You can maintain better posture while quilting longer sessions. The screen positions at eye level, so you’re not hunched over your machine all day.
Reduced Eye Strain
The magnification reduces the strain on your eyes. You’re not squinting to see fine details or trying to focus on small pattern markings.
Many quilters report they can work longer sessions without the headaches that used to come from eye strain.
Better Ergonomics
You can position the display screen at the perfect height and angle for comfortable viewing. This keeps your head in a neutral position while you work.
Some quilters mount screens on adjustable arms that move with the machine head. Others prefer stationary screens positioned at their preferred viewing angle.
Types of Camera Systems Available
You have several options depending on your budget and needs. Let’s break down the main categories.
Wired Camera Systems
These connect directly to your display screen with cables. They’re typically less expensive and don’t need charging.
The main downside is cable management. You’ll need to route cables so they don’t interfere with your quilting motion.
Basic Wired Models
Entry-level wired cameras start around $200-300. They offer basic magnification without extra features like recording or image capture.
Advanced Wired Systems
Higher-end wired systems include features like adjustable magnification, image capture, and better low-light performance. Expect to pay $400-600 for these models.
Wireless Camera Systems
Wireless models eliminate cable clutter but need regular charging. They typically cost more than wired versions.
The freedom from cables makes machine movement smoother. You don’t have to worry about snagging or pulling on wires.
Battery Life Considerations
Most wireless cameras run 6-8 hours on a single charge. Some models include backup batteries or quick-charge features.
Always check battery life specs before buying. Nothing’s worse than having your camera die mid-project.
Key Features to Look For
Not all camera systems are created equal. Here are the features that make the biggest difference in daily use.
Image Quality and Magnification
Look for at least 1080p resolution. Anything less will look pixelated when magnified.
Adjustable magnification lets you zoom in for detailed work or zoom out for broader pattern views. Most good systems offer 2x to 10x magnification.
Lighting Quality
LED ring lights around the camera lens eliminate shadows. This is especially important if your quilting area doesn’t have perfect overhead lighting.
Some cameras let you adjust light brightness. This helps when working with different fabric colors that reflect light differently.
Screen Size and Mounting Options
Larger screens are easier to see but cost more and take up more space. Most quilters find 7-10 inch screens offer the best balance.
Adjustable mounting arms let you position the screen exactly where you want it. Fixed mounts are cheaper but less flexible.
| Feature | Basic Systems | Premium Systems |
|---|---|---|
| Resolution | 720p | 1080p or 4K |
| Magnification | Fixed 2-4x | Adjustable 2-10x |
| Lighting | Basic or none | Adjustable LED ring |
| Recording | No | Video and photos |
Installation and Setup Process
Installing most camera systems takes about an hour. You don’t need to be a tech expert, but basic tool skills help.
Camera Mounting
The camera usually clamps or bolts to your machine head near the needle area. Follow the manufacturer’s instructions carefully for proper positioning.
Position the camera so it has a clear view of the needle and surrounding quilt area. Test the view angle before final tightening.
Screen Positioning
Mount the screen where you can see it comfortably while quilting. Many quilters prefer the screen slightly to one side rather than directly in front.
Test different positions while actually quilting. What looks good when standing still might not work when you’re in motion.
Cable Management Tips
For wired systems, secure cables so they don’t interfere with machine movement. Use cable clips or ties to keep everything tidy.
Leave some slack in the cables for machine movement. Too tight and you’ll pull connections loose.
Learning to Use Your Camera System
There’s a short learning curve when you first start using a camera system. Your brain needs time to adjust to watching a screen instead of looking directly at your work.
Start with Simple Projects
Begin with basic straight-line quilting or simple curves. This lets you get comfortable with the camera view without tackling challenging patterns.
Practice basic movements like starting and stopping stitches while watching the screen. It feels weird at first but becomes natural quickly.
Adjust Settings for Your Eyes
Spend time adjusting magnification, brightness, and contrast to match your preferences. Everyone’s eyes are different.
What works for other quilters might not work for you. Take time to find your perfect settings.
Common Beginner Mistakes
New users often set magnification too high initially. This creates a very narrow field of view that’s hard to navigate.
Start with lower magnification and increase it only when you need to see fine details.
Maintenance and Care
Camera systems need regular cleaning and basic maintenance to work properly.
Lens Cleaning
Clean the camera lens regularly with appropriate cleaning cloths. Dust and lint from quilting can accumulate quickly.
Use lens cleaning solutions designed for camera equipment. Household cleaners can damage lens coatings.
Screen Care
Clean screens gently with microfiber cloths. Avoid harsh chemicals that might damage the display.
Many screens have protective films that can be replaced when they get scratched or cloudy.
Cost Considerations and Value
Camera systems range from $200 for basic models to over $1000 for premium setups. Consider how much you quilt when deciding on budget.
Return on Investment
If you quilt professionally, a camera system can improve your speed and accuracy. This often pays for the system cost within a few months.
Hobby quilters benefit from reduced frustration and better results. The value is harder to measure but very real.
Financing Options
Many quilting equipment dealers offer payment plans for camera systems. Some manufacturers provide direct financing too.
Consider buying during quilting trade shows where dealers often offer show specials and bundle deals.
Troubleshooting Common Issues
Most camera system problems are easy to fix once you know what to look for.
Poor Image Quality
Blurry images usually mean the lens needs cleaning or the camera is positioned incorrectly. Check focus settings if your camera has them.
Color problems often come from lighting issues. Adjust LED settings or add more room lighting.
Connection Problems
Wireless systems sometimes lose connection. Check battery levels and move closer to the receiver if possible.
Wired systems can have loose cable connections. Check all plugs and connections when you have display issues.
When to Call for Help
Contact customer service when you have persistent problems after trying basic troubleshooting. Most manufacturers provide good technical support.
Conclusion
A camera system transforms your longarm quilting experience by giving you clear, magnified views of your work area. You’ll stitch more accurately, maintain better posture, and tackle more detailed patterns with confidence.
The initial investment pays off through improved quilt quality and reduced physical strain. Whether you’re a professional quilter or dedicated hobbyist, a camera system makes every quilting session more productive and enjoyable.
Start with a basic system if you’re budget-conscious, or invest in premium features if you quilt frequently. Either way, you’ll wonder how you ever quilted without one.
What magnification level works best for most quilting projects?
Most quilters find 4x to 6x magnification ideal for general quilting work. This provides good detail visibility while maintaining a useful field of view. Use higher magnification only for very detailed pattern work or when your eyesight needs extra help.
Can I install a camera system on any longarm quilting machine?
Most camera systems work with standard longarm machines, but check compatibility before buying. Some older machines or unusual models might need custom mounting solutions. Contact the camera manufacturer with your machine model details to confirm compatibility.
How long does it take to get comfortable using a camera system?
Most quilters adapt to camera systems within 2-3 quilting sessions. Your brain needs time to process the screen view instead of direct vision. Start with simple patterns and gradually work up to more detailed projects as you build confidence with the system.
Do wireless camera systems have lag time that affects quilting?
Quality wireless systems have minimal lag time that doesn’t interfere with normal quilting speeds. Cheap wireless cameras might have noticeable delays. Look for systems specifically designed for quilting applications rather than general-purpose wireless cameras.
What happens if my camera system breaks during a big quilting project?
You can always continue quilting without the camera system, though you’ll lose the magnification and positioning benefits. Many quilters keep backup lighting and magnifying glasses available for emergencies. Check warranty terms before buying and consider systems with good repair service reputations.