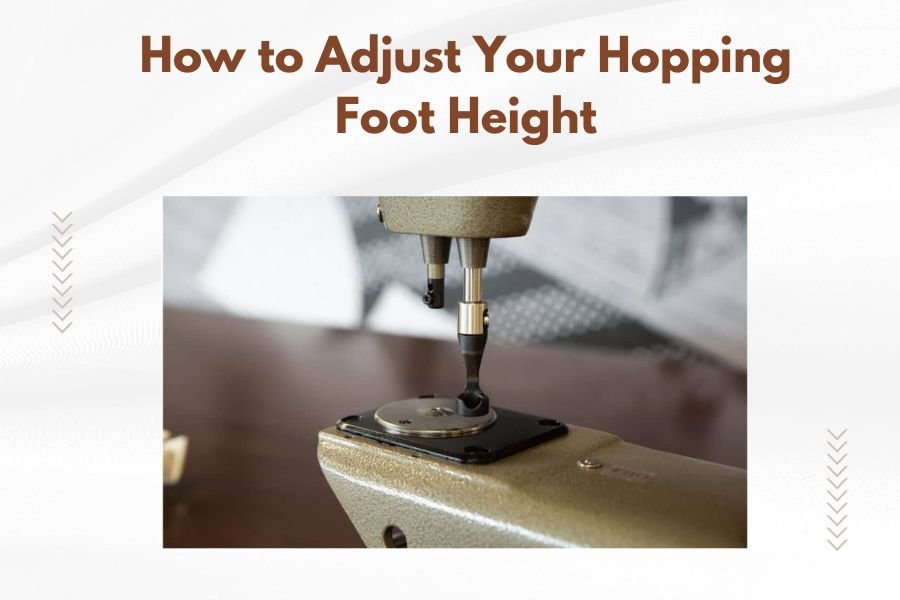
To adjust your hopping foot height, turn your machine’s presser foot pressure dial or lift mechanism until you have about the thickness of a business card between the foot and fabric.
Most quilting machines have either a dial system or lever mechanism that controls hopping foot height, and proper adjustment prevents fabric puckering while maintaining smooth fabric movement.
Why Hopping Foot Height Matters for Your Quilting
Your hopping foot acts like a gentle hand guiding fabric through your machine. When the height is wrong, everything goes sideways fast.
Too high? Your fabric slides around like it’s on ice. Too low? The foot grips so tight that your beautiful quilt starts bunching up like an accordion.
I found that most quilting problems stem from this one simple adjustment. Get it right, and your stitches become smooth and even.
Signs Your Hopping Foot Height Needs Adjustment
Your machine gives you clear signals when something’s off. Here’s what to watch for:
- Fabric bunches or puckers as you quilt
- Thread keeps breaking during stitching
- Stitches look uneven or loose
- You struggle to move the fabric smoothly
- The fabric slides too freely under the foot
When Fabric Moves Too Easily
If your fabric glides around with zero resistance, your foot sits too high. Think of it like trying to write on paper that’s floating in the air.
When Fabric Won’t Move at All
Can’t budge your fabric? The foot’s pressing down too hard. Your machine is basically holding your quilt hostage.
Tools You Need for Adjustment
Good news – you don’t need fancy equipment. Most adjustments require items sitting on your desk right now:
- Business card or index card
- Scrap fabric (same thickness as your project)
- Small screwdriver (sometimes)
- Your machine’s manual (trust me on this one)
Step-by-Step Adjustment Process
Ready to get your hopping foot dialed in perfectly? Let’s walk through this together.
Step 1: Prepare Your Machine
Turn off your machine and raise the presser foot completely. Place your quilt or fabric sample under the foot area.
Make sure you’re using the same fabric thickness you plan to quilt. A single layer of cotton behaves differently than a thick batting sandwich.
Step 2: Lower the Foot to Starting Position
Bring your hopping foot down until it just touches the fabric surface. Don’t apply pressure yet – just make contact.
Step 3: Use the Business Card Test
Slide a business card between the foot and fabric. You want just enough space for the card to move freely without being loose.
Too tight to slide the card? Raise the foot slightly. Card falls out easily? Lower the foot a touch.
Alternative Thickness Guides
Don’t have a business card handy? Try these common items:
- Index card (slightly thicker – good for heavy quilts)
- Thin magazine page (thinner – for delicate fabrics)
- Dollar bill (similar thickness to business card)
Step 4: Test Your Adjustment
Thread your machine and stitch a small test area. Move the fabric in different directions as you sew.
The fabric should glide smoothly without bunching. You should feel slight resistance but not struggle to move it.
Different Machine Types and Their Adjustments
Not all quilting machines work the same way. Here’s how to handle the most common types:
Dial-Controlled Pressure Systems
Many machines have numbered dials from 0 to 9. Start at the middle setting (around 4 or 5) and adjust from there.
Higher numbers = more pressure. Lower numbers = less pressure. Simple, right?
Lever-Based Systems
Some machines use a small lever instead of a dial. These usually have three positions: light, medium, and heavy pressure.
Start with medium and adjust based on your fabric’s behavior.
Spring-Loaded Mechanisms
Older machines often use springs to control pressure. You’ll see a small screw or knob that adjusts spring tension.
Turn clockwise for more pressure, counterclockwise for less. Make tiny adjustments – a quarter turn changes a lot.
Fine-Tuning for Different Fabric Types
Every fabric has its own personality. What works for cotton might not work for silk or denim.
Lightweight Fabrics
Delicate materials need a gentle touch. Set your foot pressure lighter than usual.
Think of handling tissue paper – you want control without crushing it.
Heavy or Thick Quilts
Thick batting and multiple layers need more pressure to stay put during quilting.
Increase pressure gradually until the fabric moves smoothly without slipping.
Stretchy or Knit Fabrics
These troublemakers love to stretch out of shape. Use light pressure and move the fabric slowly.
I found that rushing with stretchy fabrics always backfires.
Common Adjustment Mistakes to Avoid
Let me save you some frustration by sharing the mistakes I see most often:
Making Huge Adjustments
Small changes make big differences. Turn that dial one notch at a time, not three or four.
Forgetting to Test
Always test your adjustment before starting your real project. A small test square saves hours of frustration.
Using the Wrong Fabric for Testing
Test with the same materials you’ll actually quilt. A thin cotton scrap won’t tell you how thick batting will behave.
Ignoring Thread Tension
Foot pressure and thread tension work together. If one’s wrong, both look wrong.
Troubleshooting Persistent Problems
Sometimes the adjustment seems right, but problems persist. Here’s what might be happening:
Uneven Stitching Despite Proper Height
Check your thread tension settings. Uneven stitches often come from tension issues, not foot pressure.
Fabric Still Bunching
Your quilting speed might be too fast for your pressure setting. Slow down and see if that helps.
Breaking Thread
This usually means too much pressure. Back off slightly and test again.
Maintaining Your Hopping Foot Mechanism
Keep your adjustment system working smoothly with basic care:
- Clean lint from around the pressure mechanism monthly
- Oil moving parts according to your manual’s schedule
- Check for loose screws or worn springs yearly
- Never force stuck adjustment knobs – get professional help
When to Seek Professional Help
Sometimes DIY adjustments aren’t enough. Call a technician if:
- Your adjustment dial or lever feels stuck
- The foot won’t stay at your set height
- Pressure seems uneven across the foot
- You hear grinding noises during adjustment
A good technician can spot worn parts before they cause bigger problems.
Conclusion
Adjusting your hopping foot height is one of those small things that makes a huge difference in your quilting. Remember the business card test – it works every time for getting that perfect balance between control and smooth fabric movement.
Take your time with adjustments and always test before diving into your real project. Your quilts will thank you with smoother stitches, less puckering, and way fewer headaches during those long quilting sessions.
Most importantly, don’t be afraid to readjust as you work. Different sections of your quilt might need slightly different settings, and that’s perfectly normal. Happy quilting!
How often should I check my hopping foot height?
Check your hopping foot height whenever you switch to different fabric types or thicknesses. Many quilters also do a quick check at the start of each quilting session to ensure consistent results.
Can I damage my machine by adjusting the hopping foot incorrectly?
Gentle adjustments won’t harm your machine, but forcing stuck mechanisms can cause damage. If your adjustment dial or lever feels stuck or requires excessive force, stop and consult a technician rather than risk breaking internal components.
Why does my hopping foot height seem to change during long quilting sessions?
Heat from extended use can cause slight expansion in metal parts, and vibration may gradually shift adjustment settings. Some machines also have springs that compress slightly over time during use, requiring minor readjustment for consistent pressure.
Should the hopping foot height be the same for hand-guided and computer-controlled quilting?
Computer-controlled quilting often requires slightly less pressure since the machine moves the fabric in precise, consistent motions. Hand-guided quilting typically needs a bit more pressure to maintain control during variable-speed movements.
What’s the difference between hopping foot pressure and regular presser foot pressure?
Hopping feet are designed for continuous fabric movement during free-motion quilting, requiring lighter, more consistent pressure. Regular presser feet apply firmer, static pressure for straight-line sewing where the fabric doesn’t need to move freely in all directions.