A 1/4 inch seam allowance is the standard measurement used in quilting to join fabric pieces together, creating precise, flat seams that prevent puckering and distortion.
Using the correct 1/4 inch seam allowance consistently throughout your quilt ensures accurate piecing, proper pattern alignment, and professional-looking results every time.
Why the 1/4 Inch Seam Allowance Rules Quilting
You might wonder why quilters stick to this exact measurement. The answer is simple: it works perfectly for most quilting patterns and keeps your blocks the right size.
When you use a different seam allowance, your finished blocks shrink or grow. A 6-inch block becomes 5.5 inches with larger seams. Your quilt top won’t fit together properly.
Research from quilting guilds shows that consistent seam allowances are the top factor in successful quilt construction. Even a tiny variation of 1/16 inch can throw off an entire row.
The Math Behind Perfect Seams
Here’s how the math works in your favor. When you sew two pieces together with 1/4 inch seams, you lose 1/2 inch total from the width.
A 2.5-inch fabric strip becomes exactly 2 inches when sewn. Pattern designers calculate everything around this standard.
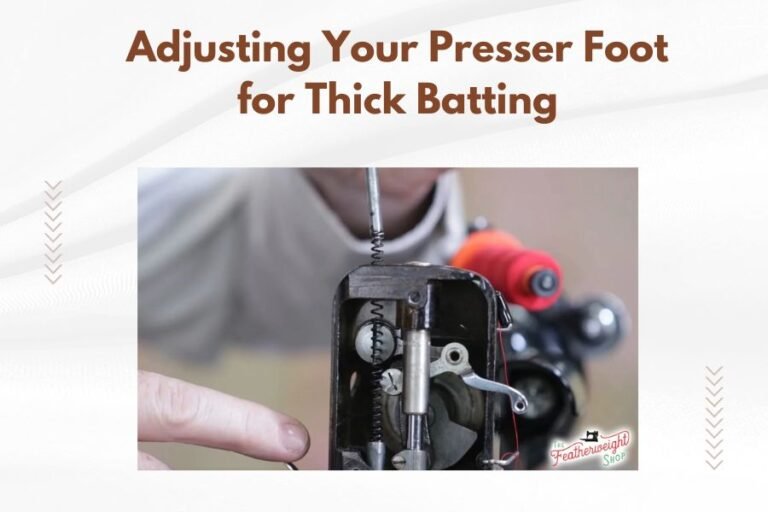
Setting Up Your Machine for Accurate Seams
Your sewing machine needs the right setup to deliver consistent results. Most machines come with a 1/4 inch foot, but not all are created equal.
Choosing the Right Presser Foot
A true 1/4 inch quilting foot has a guide that helps you keep fabric aligned. The right edge of the foot sits exactly 1/4 inch from the needle.
I found that many standard feet are slightly off. Test yours by sewing a practice seam and measuring the result. If it’s not exactly 1/4 inch, you need a different foot.
Testing Your Foot Accuracy
Cut two 2.5-inch squares. Sew them together using your foot as a guide. Measure the sewn unit.
It should measure exactly 2 inches wide when pressed. If not, adjust your needle position or get a new foot.
Needle Position Adjustments
Many modern machines let you move the needle left or right. This feature helps you get perfect 1/4 inch seams even with a standard foot.
Move the needle until your seam measures exactly right. Mark this setting with tape so you remember it.
Measuring and Marking Techniques
You don’t always need to draw seam lines, but knowing how helps in tricky situations.
When to Mark Seam Lines
Mark seam lines when sewing curves, matching points, or working with bias edges. These situations need extra precision.
Use a fabric-safe pencil or washable marker. Draw lightly so marks don’t show through light fabrics.
Tools for Perfect Marking
A quilting ruler with 1/4 inch markings makes this job easy. Place the 1/4 inch line on the fabric edge and draw along the ruler.
Some quilters prefer using a seam guide that sticks to the machine bed. Position it 1/4 inch from the needle and use it as a fence.
Pressing for Flat Results
Pressing your seams correctly makes the difference between a lumpy quilt and a smooth one. The way you press affects how seams lay.
Press to the Dark Side
Generally, press seam allowances toward the darker fabric. This prevents dark colors from showing through light ones.
When seams meet, press them in opposite directions. This creates less bulk and helps seams nest together perfectly.
The Press vs Iron Debate
Press, don’t iron. Pressing means lifting and lowering the iron. Ironing means sliding it around.
Sliding stretches fabric and distorts your careful measurements. Keep that iron moving up and down only.
Common Problems and Quick Fixes
Even experienced quilters face seam allowance challenges. Here are the most common issues and how to solve them.
Inconsistent Seam Width
Your seams vary in width, making blocks different sizes. This usually happens when you don’t watch the fabric edge carefully.
Solution: Slow down and focus on keeping the fabric edge aligned with your guide. Speed comes with practice.
Fabric Drifting During Sewing
Fabric shifts as it goes under the foot, creating wider or narrower seams. This happens more with slippery or bias-cut fabrics.
Use a walking foot for better fabric control. Pin more often when working with challenging fabrics.
Seam Allowances Too Wide
Your finished blocks are smaller than expected. You’re taking seams wider than 1/4 inch.
Double-check your foot position and needle placement. Make test seams until you get it right.
Seam Allowances Too Narrow
Blocks are larger than the pattern calls for. Narrow seams also weaken the construction.
Move your needle position or adjust your fabric guide. Narrow seams might not hold up to quilting stress.
Special Situations Requiring Extra Care
Some quilting techniques challenge your seam allowance skills. Here’s how to handle them.
Curves and Bias Edges
Curved seams and bias-cut fabric stretch easily. Take your time and use more pins than usual.
Consider basting curved seams by hand first. This extra step prevents shifting and puckering.
Matching Points and Intersections
When seam lines must meet perfectly, pin at the intersection points first. Sew slowly over these areas.
If points don’t match, check that your seam allowances are consistent on both pieces.
Working with Small Pieces
Tiny pieces like those in miniature quilts need extra attention. A slight seam variation has a bigger impact.
Use a shorter stitch length for better control. Consider using a smaller seam allowance if the pattern allows.
| Fabric Strip Width | Finished Width | Best Use |
|---|---|---|
| 1.5 inches | 1 inch | Narrow sashing, binding |
| 2.5 inches | 2 inches | Standard strips, borders |
| 3.5 inches | 3 inches | Wide sashing, large blocks |
| 4.5 inches | 4 inches | Block backgrounds, borders |
Tools That Make Life Easier
The right tools help you achieve perfect seams without frustration.
Essential Measuring Tools
A clear quilting ruler with 1/4 inch markings is your best friend. Choose one that’s at least 6 inches long for versatility.
A seam gauge helps check seam width as you sew. It’s small enough to keep by your machine.
Machine Accessories That Help
A magnetic seam guide sticks to your machine bed and acts as a fence. Position it 1/4 inch from the needle.
Some quilters prefer tape placed on the machine bed as a guide. Use painter’s tape that won’t leave residue.
Building Muscle Memory
Consistent seam allowances become automatic with practice. Here’s how to build that skill faster.
Practice Exercises
Cut practice strips and sew them together. Measure each seam and adjust your technique as needed.
Sew for accuracy first, then gradually increase your speed. Fast, inaccurate sewing just creates more work later.
Creating Reference Samples
Keep a sample of perfect seam allowance by your machine. When in doubt, compare your work to the sample.
I found that having a physical reference prevents gradual drift in seam width during long sewing sessions.
Troubleshooting Finished Quilts
Sometimes you discover seam problems after your quilt top is done. Don’t panic – you have options.
When Blocks Don’t Fit
If blocks are slightly different sizes, you can often make minor adjustments in sashing or border widths.
For bigger discrepancies, you might need to remake problem blocks. It’s worth the effort for a better finished quilt.
Border Challenges
When borders don’t fit properly, the issue often traces back to inconsistent seam allowances in the quilt center.
Measure through the center of your quilt top for border lengths. Don’t measure the edges, which might be stretched.
Conclusion
Mastering the 1/4 inch seam allowance transforms your quilting from frustrating to fun. This simple skill ensures your blocks fit together perfectly and your finished quilts lay flat and smooth. Remember to test your equipment, practice consistently, and press carefully. With time, accurate seam allowances become second nature, letting you focus on the creative joy of quilting rather than wrestling with technical problems.
What happens if my seam allowances vary by 1/16 inch?
Small variations of 1/16 inch can accumulate across a quilt top, causing noticeable size differences in blocks and making assembly difficult. A row of ten blocks with seams 1/16 inch too wide will be 5/8 inch shorter than expected.
Can I use a different seam allowance for the entire quilt?
You can use 3/8 inch or other measurements, but you’ll need to recalculate all cutting dimensions in your pattern. Most quilting patterns are designed specifically for 1/4 inch seams, making changes complicated and error-prone.
How do I fix blocks that are already sewn with wrong seam allowances?
For blocks that are too small, add narrow borders or sashing to bring them to the correct size. For oversized blocks, you might be able to trim them down if there’s enough seam allowance, or remake them if the size difference is significant.
Should I backstitch at the beginning and end of each seam?
In quilting, backstitching is usually unnecessary because seams cross each other and get secured by intersecting stitches. Backstitching can add bulk at seam intersections, though it doesn’t hurt to use it on seams that won’t be crossed by others.
Why do my seam allowances look uneven after pressing?
Uneven appearance after pressing usually indicates inconsistent seam width during sewing. The fabric may also be shifting due to improper pressing technique – use a lifting motion instead of sliding the iron, and press from the right side of the fabric first.