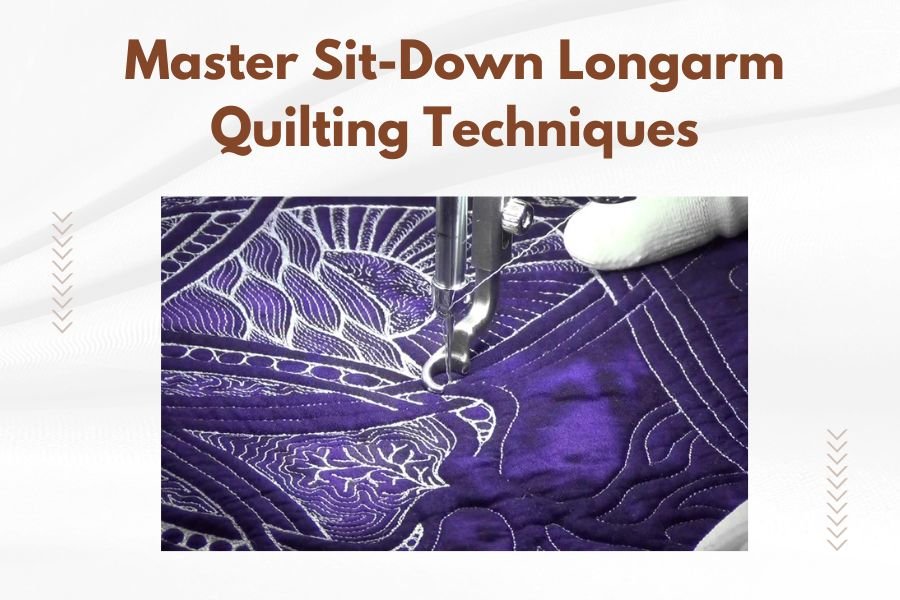
Sit-down longarm quilting techniques focus on proper posture, smooth fabric movement, and consistent stitching speed to create professional quilts with minimal physical strain.
Master these foundational skills by maintaining straight shoulders, guiding fabric with steady hands, and practicing basic pantograph patterns before advancing to free-motion designs.
Essential Setup for Sit-Down Longarm Success
Your quilting success starts before you even touch the fabric. Getting your machine and workspace ready makes all the difference.
Adjust your chair height so your elbows bend at 90 degrees when your hands rest on the fabric. Your feet should sit flat on the floor. This prevents shoulder tension and back pain during long quilting sessions.
Set your machine’s stitch length between 10-12 stitches per inch for most patterns. From what I read, this range gives you good coverage without making the quilt too stiff.
Proper Machine Threading
Start with high-quality thread that won’t break mid-project. Cotton thread works great for cotton quilts. Polyester thread offers more strength for heavy fabrics.
Thread tension should feel balanced. Too tight creates puckering. Too loose makes messy stitches. Test on fabric scraps first.
Frame Loading Made Simple
Load your backing fabric first, pulling it snug but not tight. Think of it like stretching a canvas – firm enough to stay put, loose enough to move smoothly.
Add your batting next, smoothing out any wrinkles. Top fabric goes on last. Many experts say taking time here prevents headaches later.
Mastering Basic Hand Movements
Your hands control everything in sit-down longarm quilting. Learning the right movements takes practice, but these tips speed up the process.
Place both hands on the fabric, about 12 inches apart. Your dominant hand leads the direction. Your other hand follows and supports the fabric.
The Push-Pull Technique
Push the fabric away from you with your dominant hand while pulling gently with your other hand. This creates smooth, controlled movement.
Keep your movements slow and steady at first. Speed comes naturally as your muscle memory develops.
Common Hand Position Mistakes
Don’t grip the fabric too tightly. Light pressure works better than white-knuckle control.
Avoid moving your hands too close together. This reduces your control over fabric direction.
Developing Consistent Stitching Speed
Matching your hand speed to your machine speed creates even stitches. This coordination takes time to develop, so be patient with yourself.
Start with your machine on a slow setting. Move the fabric at a walking pace. Research shows that beginners get better results starting slow than jumping into fast stitching.
Finding Your Natural Rhythm
Everyone has a natural speed that feels comfortable. Some quilters work fast with small stitches. Others prefer slower movements with longer stitches.
Practice makes your natural rhythm emerge. Don’t force a speed that feels awkward.
Speed Control Exercises
Try quilting straight lines at different speeds. Notice how stitch length changes when you speed up or slow down.
Practice figure-eight patterns to build hand-eye coordination. These curves teach you to maintain consistent speed through direction changes.
Essential Pantograph Patterns for Beginners
Pantographs give you beautiful quilting patterns without designing your own. They’re perfect for building confidence and skills.
Start with simple patterns like loops, waves, or basic geometric shapes. Complex patterns can wait until your basic movements feel natural.
Following Pantograph Lines
Place the pantograph pattern under your machine’s laser or stylus guide. Follow the lines smoothly without stopping and starting.
Don’t worry about perfect accuracy on your first tries. Getting the general shape right matters more than following every tiny detail.
Popular Beginner Patterns
- Serpentine waves – great for practicing smooth curves
- Basic loops – builds consistent circular movements
- Simple geometric designs – teaches straight lines and angles
- Feather patterns – develops more advanced curve control
Transitioning Between Pattern Sections
Plan your transitions before you start quilting. Know where each pattern section ends and the next begins.
Overlap your stitching slightly at transition points. This prevents gaps in your quilting coverage.
Free-Motion Quilting Fundamentals
Free-motion quilting gives you complete creative control. You design the patterns as you stitch, responding to your quilt’s unique needs.
Begin with simple shapes like spirals, flowers, or paisley designs. Build complexity gradually as your confidence grows.
Planning Your Design Path
Think about where you’ll start and end each design element. Avoid creating areas where you’ll get trapped with no exit path.
Sketch your ideas on paper first. This helps you work out the movement flow before committing to fabric.
Basic Free-Motion Shapes
| Shape | Difficulty | Best For |
|---|---|---|
| Spirals | Beginner | Fill areas, corners |
| Flowers | Intermediate | Focal points, borders |
| Feathers | Advanced | Elegant borders, sashing |
| Echo quilting | Beginner | Around applique, highlighting |
Troubleshooting Common Problems
Every quilter faces challenges. Knowing how to fix common issues keeps your projects moving forward.
Thread breaks usually mean tension problems or dull needles. Check both before continuing.
Fixing Uneven Stitches
Uneven stitches come from inconsistent hand speed or machine settings. Slow down and focus on matching your movement to the machine rhythm.
Practice on scraps until your stitches look uniform. Don’t rush this learning phase.
Dealing with Fabric Puckering
Puckering happens when you pull the fabric too hard or your tension is too tight. Loosen your grip and check your machine settings.
Sometimes the backing fabric bunches up underneath. Stop and smooth it out rather than quilting over wrinkles.
Managing Thread Nests
Thread nests form on the backing when your top tension is too loose or you start stitching too fast.
Remove the tangled thread carefully. Adjust your tension and start stitching slowly when you resume.
Building Quilting Stamina
Long quilting sessions can tire your hands, shoulders, and eyes. Building stamina helps you work longer with less fatigue.
Take breaks every 30-45 minutes. Stand up, stretch your shoulders, and rest your eyes.
Preventing Physical Strain
Keep your shoulders relaxed while quilting. Tension creeps in when you concentrate hard, but tight muscles lead to pain.
Change your quilting position occasionally. Lean back in your chair or adjust your fabric angle to use different muscle groups.
Hand and Wrist Care
Stretch your fingers and wrists between quilting sessions. Simple flexing exercises prevent stiffness and cramping.
If your hands start to ache, take a longer break. Pushing through pain can lead to injuries that sideline your quilting for weeks.
Advanced Technique Development
Once you master basic movements, you can explore more challenging techniques that set your quilts apart.
Micro-stippling creates texture without competing with your quilt’s main design. Dense stitching in small areas adds visual weight and interest.
Combining Multiple Techniques
Mix pantograph patterns with free-motion elements for unique results. Use pantographs for large areas and add free-motion details in borders or focal points.
Vary your thread colors to highlight different quilting areas. Contrasting thread makes your stitching pop. Matching thread creates subtle texture.
Creating Custom Patterns
Design your own quilting patterns by combining simple shapes in new ways. Start with basic elements you already know and arrange them differently.
Document patterns you create successfully. Take photos or sketch them for future projects.
Conclusion
Mastering sit-down longarm quilting techniques takes patience and practice, but the results are worth the effort. Start with proper setup and basic hand movements before advancing to complex patterns. Remember that every expert quilter started as a beginner, making the same mistakes you might be making now.
Focus on consistency over speed in your early learning phase. Good technique developed slowly lasts longer than rushed skills that need constant correction. Your quilts will improve dramatically as these movements become second nature, and you’ll find yourself able to tackle more ambitious projects with confidence.
What’s the best thread weight for sit-down longarm quilting?
40-weight thread works best for most sit-down longarm projects. It’s strong enough to handle the machine tension while creating smooth, even stitches that won’t overpower your quilt design.
How long should I practice before attempting my first real quilt?
Practice for at least 10-15 hours on scraps and sample quilts before starting an important project. This gives you time to develop muscle memory and troubleshoot common problems without risking a special quilt.
Can I use any batting type with sit-down longarm machines?
Cotton and polyester battings work well with sit-down longarm machines. Avoid very thick or dense battings that resist needle penetration, as these can cause thread breaks and uneven stitching.
What should I do if my stitching looks wobbly?
Wobbly stitching usually means you’re moving the fabric too fast for your machine speed. Slow down your hand movements and maintain steady pressure on both hands to create smoother stitch lines.
How do I know when my machine needs professional maintenance?
Schedule professional maintenance when you notice frequent thread breaks, uneven tension despite adjustments, or unusual noises during operation. Regular annual maintenance prevents major problems and extends your machine’s life.