The best quilting stabilizer depends on your fabric weight, quilting density, and project type – with tearaway stabilizers working best for lightweight fabrics and cutaway stabilizers ideal for heavy quilting.
Choose your quilting stabilizer by matching the stabilizer weight to your fabric weight, then selecting tearaway for temporary support or cutaway for permanent backing based on your quilting design complexity.
What Makes a Good Quilting Stabilizer
You want a stabilizer that supports your fabric without changing how it feels or looks. The right choice prevents puckering, keeps your stitches even, and removes cleanly when you’re done.
Think of stabilizer like a good friend who helps you move furniture. They’re there when you need support, but they don’t get in your way or stick around longer than welcome.
Types of Quilting Stabilizers Explained
Tearaway Stabilizers
These work like paper that tears away after quilting. You’ll love them for lightweight cotton and simple designs. They give just enough support without bulk.
I found that tearaway stabilizers work best when you can tear gently in all directions. Sharp, sudden pulls can damage your stitches.
When to Use Tearaway
- Cotton fabrics under 4 oz per yard
- Simple straight-line quilting
- Projects where you want soft drape
- Baby quilts and clothing
Cutaway Stabilizers
These stay put permanently. You trim away the excess, but some remains under your stitches. They’re your best friend for stretchy fabrics and dense quilting patterns.
Research shows that cutaway stabilizers reduce stitch distortion by up to 40% compared to tearaway options on knit fabrics.
Best Uses for Cutaway
- Knit or stretchy fabrics
- Dense decorative quilting
- Heavy thread or multiple thread layers
- Projects that need long-term stability
Water-Soluble Stabilizers
These dissolve completely in water. Perfect when you can’t have any stabilizer showing or when working with delicate fabrics that might tear.
You’ll pay more for water-soluble options, but they’re worth it for special projects like lace quilts or applique work.
Water-Soluble Applications
- Delicate vintage fabrics
- Lace or sheer materials
- Free-standing lace designs
- Applique with fine details
How to Match Stabilizer Weight to Your Fabric
Lightweight Fabrics (Under 4 oz)
Cotton voile, silk, and thin quilting cottons need gentle support. A medium-weight tearaway stabilizer usually works perfectly.
Too heavy, and your fabric will feel stiff. Too light, and you’ll get puckering around your stitches.
Medium-Weight Fabrics (4-8 oz)
Most quilting cottons fall here. You can use either tearaway or cutaway, depending on your quilting density.
I found online that matching stabilizer weight to fabric weight gives the most natural feel after quilting.
Heavy Fabrics (Over 8 oz)
Denim, canvas, and upholstery fabrics need strong cutaway stabilizers. Don’t try to save money with lightweight options – they won’t do the job.
Choosing Based on Your Quilting Design
Simple Straight Lines
Basic grid quilting or straight channels work fine with tearaway stabilizers. You’re not stressing the fabric much, so minimal support works.
Curved and Decorative Patterns
Free-motion quilting and decorative stitches need cutaway stabilizers. All that direction changing puts stress on your fabric fibers.
Dense Fill Patterns
Stippling, feathers, and other dense patterns require the strongest stabilizers you can find. Your fabric takes a beating during all that stitching.
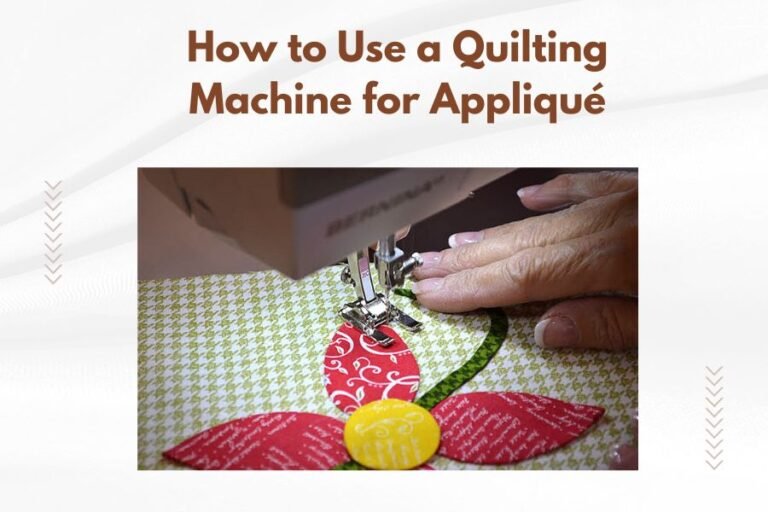
Applique Work
Water-soluble stabilizers work best here. You can wash away any traces without affecting your applique edges.
Common Stabilizer Mistakes to Avoid
Using Too Little Stabilizer
Skimping on coverage leads to puckering at the edges. Always use pieces bigger than your quilting area.
Proper Coverage Rules
Add at least 2 inches beyond your quilting lines in all directions. More is better than less when it comes to stabilizer coverage.
Wrong Removal Technique
Pulling tearaway stabilizers the wrong direction can distort your stitches. Always tear parallel to your stitching lines when possible.
Mixing Incompatible Types
Don’t layer different stabilizer types unless you know they work together. Water-soluble over tearaway can create a mess.
Testing Your Stabilizer Choice
Make a Sample First
Always test on scraps before starting your real project. Use the same fabric, thread, and quilting pattern you plan for the final piece.
This 10-minute test can save hours of frustration later. I learned this lesson the hard way on a large wall hanging that needed complete re-doing.
What to Check in Your Sample
- Smooth stitch formation
- Easy stabilizer removal
- No puckering or distortion
- Good fabric drape after removal
Special Considerations for Different Projects
Baby Quilts
Safety comes first. Use only stabilizers that remove completely or are guaranteed safe if small pieces remain.
Wall Hangings
These don’t need soft drape, so cutaway stabilizers work great. The extra body can actually help them hang better.
Clothing Items
Comfort matters most here. Tearaway or water-soluble stabilizers keep garments soft and flexible.
Storage and Handling Tips
Keep Stabilizers Flat
Folded stabilizers create weak lines that tear in the wrong places. Store them flat or rolled on tubes.
Control Static
Some stabilizers stick to everything due to static. A light spray of anti-static solution helps them behave better.
Budget-Friendly Stabilizer Options
Buy in Bulk
Large rolls cost less per yard than pre-cut pieces. You’ll use more than you think once you start quilting regularly.
Generic vs. Name Brand
Many generic stabilizers perform just as well as expensive brands. Test a small amount before committing to large quantities.
Conclusion
Choosing the right quilting stabilizer doesn’t have to be complicated. Match the stabilizer weight to your fabric, pick tearaway for simple projects and cutaway for complex ones, and always test first. Remember that good stabilizer is invisible in the final product – it supports your work without changing the feel or look you want.
Start with these basics, and you’ll make better choices every time. Your quilts will look more professional, and you’ll spend less time fighting puckered fabric or distorted stitches.
What happens if I use the wrong stabilizer weight?
Too light causes puckering and uneven stitches. Too heavy makes your fabric stiff and changes its drape. The right weight disappears after use, leaving only your beautiful quilting.
Can I reuse stabilizer pieces?
Only cutaway stabilizers can sometimes be reused if they haven’t been stitched through. Tearaway and water-soluble types are single-use products that lose their effectiveness once disturbed.
How do I remove stubborn tearaway stabilizer?
Score the stabilizer with a blunt needle along your stitch lines first. This creates controlled tear points. Then tear parallel to your stitching direction, working from multiple angles if needed.
Is it safe to layer different stabilizers?
Yes, but stick to compatible types. Two tearaway layers work fine, as do cutaway over tearaway. Avoid putting water-soluble under other types unless you plan to dissolve it completely.
What’s the shelf life of quilting stabilizers?
Most stabilizers last years if stored properly in cool, dry places. Water-soluble types can become brittle over time, while tearaway and cutaway stabilizers remain stable almost indefinitely when kept flat and dry.