
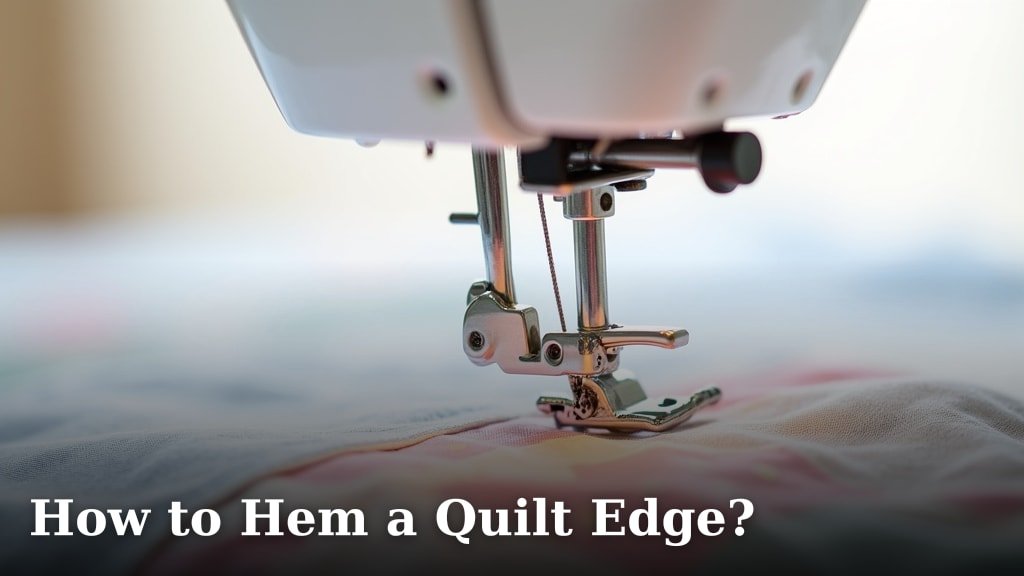
The easiest way to hem a quilt edge is by folding the raw edge twice and then stitching it down. This technique creates a clean, finished look that will last. You’ll want to make sure your stitches are secure and even. This simple method will give your quilt a professional finish you can be proud of.
Many quilters wonder about the best way to bind their creations. Successfully hemming a quilt edge ensures your hard work is protected and presented beautifully. We found that using a consistent seam allowance is key. It’s also important to press your folds well before sewing.
- Fold the raw edge under twice.
- Press the folds firmly.
- Stitch close to the folded edge.
- Use a strong thread that matches your quilt.
- Ensure your stitches are straight and consistent.
Let’s walk through exactly how to get a beautiful hem on your quilt, step by step.
Finishing Your Quilt: A Simple Edge Hemming Guide
You’ve poured your heart and soul into piecing your quilt top. Now comes the final touch: finishing the edges. Hemming a quilt edge might sound daunting, but we’ve found a straightforward method that yields beautiful, lasting results. This technique is perfect for those who want a clean finish without the fuss of traditional binding. Let’s get your quilt looking polished and ready for snuggles!
Preparing Your Quilt for a Neat Hem
Before you even think about folding, a little preparation goes a long way. Ensuring your quilt top is squared up and that your batting and backing are trimmed evenly is essential for success. You want a clean canvas to work with, so you can achieve that crisp hemline you’re aiming for.
Trimming Excess Batting and Backing
Once your quilt sandwich is complete and you’ve basted it securely, it’s time to trim. You’ll want to trim the batting and backing so they are flush with the edges of your quilt top. Use a rotary cutter and a long ruler for this step. This creates a uniform edge to work with, which is key for an even hem. Aim to cut carefully, following the line of your quilt top precisely. This step might seem tedious, but it truly makes a difference in the final appearance.
Squaring Up Your Quilt Top
Your quilt top needs to be perfectly square. This means all four corners should be 90-degree angles and all sides should be of equal length. Use your ruler and rotary cutter to trim any areas that are a bit wobbly or uneven. A truly square quilt will make the hemming process much smoother. We found that a good quilting ruler with clear markings is your best friend for this task. This ensures your finished quilt won’t have any wonky corners that detract from its beauty.
The Double-Fold Hemming Technique Explained
The core of this hemming method lies in a simple, yet effective, double fold. This creates a clean, finished edge that encloses the raw fabric. Think of it like giving your quilt a neat, tidy little tuck all the way around. We found this technique particularly forgiving for beginners and it still produces a professional-looking finish.
First Fold: Creating the Initial Crease
Begin by taking the raw edge of your quilt and folding it over by about 1/4 inch. Make sure this fold is parallel to the raw edge. Run your finger along the fold to crease it. Then, use a hot iron to press this fold firmly in place. This initial crease sets the stage for your second fold and helps you achieve a consistent hem width. Pressing is a critical step here; don’t rush it!
Second Fold: Enclosing the Raw Edge
Now, take that pressed edge and fold it over again. This time, you’ll fold by about 1/2 inch, or whatever width you desire for your final hem. The goal here is to completely enclose the raw edge of the batting and backing within this second fold. Again, press this fold firmly with your iron. This double fold creates a smooth, clean edge that won’t fray. Many quilters prefer a 1/2 inch hem, but you can adjust this based on your preference and the thickness of your quilt sandwich.
Choosing Your Hem Width
The width of your finished hem is largely a matter of personal preference. A narrower hem, perhaps 1/4 inch or 3/8 inch for the second fold, can give a more delicate look. A wider hem, like 1/2 inch or even 3/4 inch, offers a more substantial finish and can be easier to stitch accurately, especially on thicker quilts. We found that a 1/2 inch finished hem offers a great balance of ease and visual appeal for most quilts. Consider the scale of your quilt’s pattern, too; a busy, large-scale print might look best with a slightly wider, more grounding hem.
Securing the Hem with Stitching
With both folds pressed and in place, it’s time to stitch. You’ll sew close to the inner folded edge, about 1/8 inch away. This stitching secures the hem and gives your quilt a finished appearance. Use a thread that matches your quilt top or backing for an almost invisible stitch. Or, choose a contrasting thread for a decorative touch. Ensure your stitches are straight and even for the best look.
Thread Choice Matters
The type of thread you use can impact the final look and durability of your hem. For a classic, invisible hem, we recommend a good quality cotton or polyester thread that closely matches your quilt’s fabric. If you want your stitches to be a design element, consider a variegated thread or a bold, contrasting color. Many sewing machine manufacturers recommend a good all-purpose polyester thread for most quilting projects (Singer). Whatever you choose, make sure it’s strong enough to withstand regular washing and use. A thread that breaks easily will be a constant annoyance!
Machine Settings for Smooth Sewing
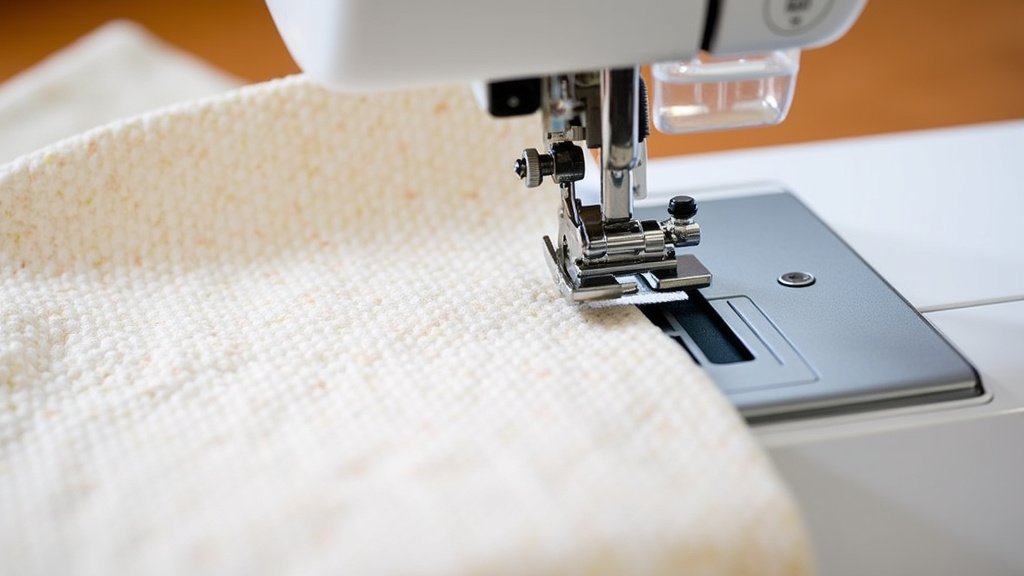
Adjust your sewing machine’s stitch length to a medium setting, around 2.0-2.5mm. This will give you a secure stitch without being too long or too short. You may want to practice on a scrap piece of fabric first to ensure your tension is correct and your stitches are consistent. Sometimes, lowering the presser foot pressure slightly can help when sewing over multiple layers of fabric. You are aiming for a Our guide to the best stitch length for quilting explains how to adjust your machine for optimal results.smooth, uninterrupted stitch line all the way around.
Tips for a Flawless Quilt Hem
Even the simplest technique can benefit from a few expert tips. These little nuggets of wisdom can help you avoid common pitfalls and achieve that perfect finish you’re dreaming of. Think of them as your secret weapons for quilt hemming success!
Working Around Corners
Corners are often the trickiest part of hemming. When you reach a corner, stop stitching with your needle down about 1/4 inch before the corner point. Pivot your quilt so you can fold the next side’s hem. Fold the corner diagonally to create a neat mitered effect. Then, fold the second side of the hem and continue stitching. This takes a little practice, but it results in a very professional-looking finish on your quilt corners. Many quilters find that ironing the mitered corner helps hold it in place before you sew.
Reinforcing Start and End Points
To ensure your stitching doesn’t unravel, always backstitch at the beginning and end of your sewing. When you start, sew forward a few stitches, then backward a few stitches, and then continue forward. Repeat this at the end of your seam. This creates a strong anchor and prevents your hem from coming undone during use or washing. We found that a few extra stitches at each end give you peace of mind about the durability of your work.
Dealing with Thick Batting
If your quilt has very thick batting, your double fold might become quite bulky. In such cases, you might opt for a narrower second fold, perhaps 3/8 inch instead of 1/2 inch. Alternatively, some quilters choose to trim the batting and backing slightly further in from the edge of the quilt top before hemming. This reduces the bulk within the fold. You can research methods for trimming batting to find what works best for your specific quilt construction (The Quilting Guild).
Checklist for a Perfectly Hemmed Quilt
Ready to put your hemming skills to the test? Here’s a quick checklist to guide you through the process and ensure you don’t miss a step:
- Ensure quilt top, batting, and backing are trimmed evenly.
- Square up your quilt top meticulously.
- Press the first 1/4 inch fold firmly.
- Press the second 1/2 inch (or desired width) fold firmly.
- Stitch close to the inner folded edge with strong, matching thread.
- Reinforce start and end points with backstitching.
- Neatly miter the corners for a professional look.
Conclusion
You’ve learned how to achieve a beautiful, clean hem on your quilt using the simple double-fold technique. Remember, squaring up your quilt and pressing those folds are your best friends for success. Taking a little extra time with these steps ensures a professional finish that makes all your hard work shine. Now that you have this method down, go ahead and give your next quilt that perfect, polished edge it deserves. Your finished quilt will look as good as it feels!
Frequently Asked Questions
How wide should the hem on my quilt be?
For most quilts, a 1/2 inch finished hem offers a great balance. This width is easy to stitch accurately and provides a nice, substantial finish. You can adjust this based on your quilt’s size and the thickness of your batting.
What’s the best way to handle quilt corners when hemming?
Corners are best handled by creating a mitered effect. Stop stitching before the corner, pivot your quilt, fold the corner diagonally, then fold the next side’s hem and continue sewing. This takes a little practice but yields a very professional look.
Can I use a sewing machine to hem my quilt?
Absolutely! A sewing machine is ideal for hemming quilts. Just be sure to use a medium stitch length and a strong thread that matches your quilt. Practicing on a scrap first can help you get your tension just right.
What if my quilt batting is very thick?
Thick batting can make the double fold bulky. You might opt for a slightly narrower second fold, or consider trimming your batting and backing a bit further in from the quilt top’s edge before you begin hemming. This reduces the bulk within the fold.
How do I prevent my hem stitches from unraveling?
To prevent unraveling, always backstitch at your starting and ending points. Sew forward a few stitches, then backward a few stitches, and repeat at the end of your seam. This creates a strong anchor for your hem.
