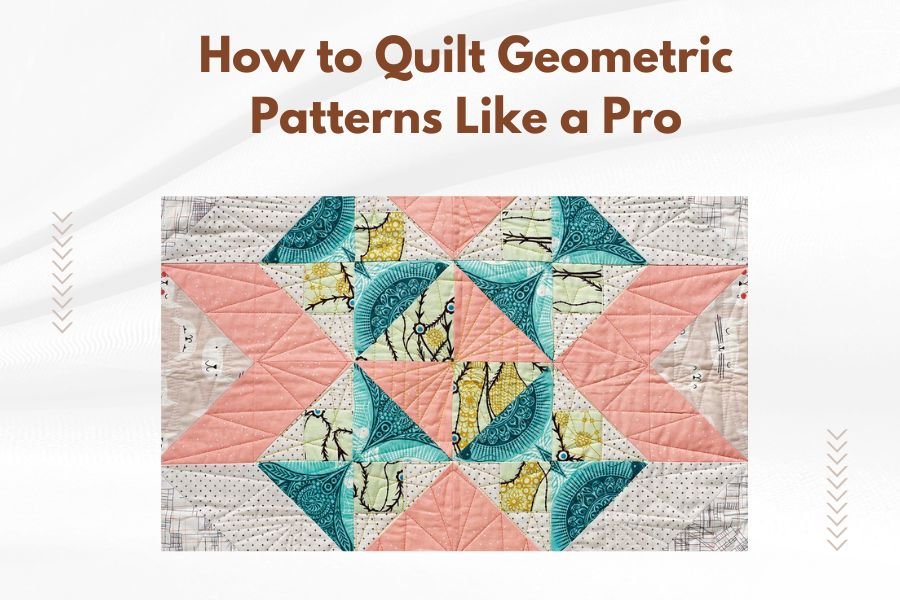
Learning how to quilt geometric patterns requires mastering basic shapes, accurate cutting, and consistent seam allowances to create professional-looking designs.
Start with simple geometric patterns like squares and triangles, then progress to more complex designs as your skills improve with practice and proper technique.
Essential Tools for Geometric Quilting
You need the right tools to create sharp, clean geometric patterns. Your success depends on precision from start to finish.
A rotary cutter and cutting mat make straight cuts easier than scissors. I found that quilters who use these tools get better results faster.
Must-Have Cutting Tools
Your cutting accuracy determines how well your pieces fit together. Poor cutting leads to wonky seams and uneven blocks.
- 45mm rotary cutter for most fabrics
- 24″ x 36″ self-healing cutting mat
- 6″ x 24″ quilting ruler with clear markings
- Square rulers in 6″, 9″, and 12″ sizes
Ruler Selection Tips
Clear acrylic rulers with bold black lines work best. The lines need to be easy to see on both light and dark fabrics.
Look for rulers with multiple angle markings. These help you cut triangles and other angled shapes without guesswork.
Sewing Machine Requirements
Any sewing machine can handle geometric quilting. You don’t need fancy features, just consistent stitching.
A quarter-inch foot attachment helps maintain even seam allowances. This small tool makes a big difference in pattern accuracy.
Understanding Seam Allowances
Geometric patterns demand precise quarter-inch seam allowances. Even tiny variations add up across multiple seams.
Test your seam allowance before starting your project. Cut two 2.5-inch squares and sew them together. The finished piece should measure exactly 4.5 inches wide.
Testing Your Quarter-Inch Seam
Most sewers think they sew accurate quarter-inch seams. Research shows that many actually sew slightly wider or narrower (Quilting Daily).
Adjust your needle position or foot placement until you get consistent results. Mark your machine with tape if needed.
Common Seam Allowance Mistakes
Stretching fabric while sewing throws off your measurements. Let the feed dogs do the work instead of pulling.
Pressing seams incorrectly also affects final measurements. Press toward the darker fabric when possible.
Basic Geometric Shapes to Master
Start with squares and rectangles before moving to triangles. These simple shapes teach you foundation skills.
Perfect squares are the building blocks of many geometric patterns. Get these right, and complex designs become manageable.
Working with Squares
Cut your squares slightly larger than needed, then trim to exact size. This approach gives you more control over accuracy.
Use a square ruler to check each piece after cutting. Your fabric can shift during cutting, causing size variations.
Square Cutting Technique
Line up your fabric edge with ruler markings, not the cutting mat lines. Mat lines can be less accurate than good rulers.
Make one smooth cut instead of multiple passes. Multiple cuts can create jagged edges that affect seam quality.
Triangle Fundamentals
Triangles intimidate many quilters, but they follow simple rules. The key is understanding grain direction and stretch.
Cut triangles with one straight edge on the fabric grain. This prevents stretching and distortion during sewing.
Half-Square Triangles
These triangles form squares when sewn together. They appear in countless geometric patterns.
Cut squares 7/8 inch larger than your finished size. Draw a diagonal line, sew on both sides, then cut apart.
Quarter-Square Triangles
These create more dynamic designs with their different grain orientation. Cut them from squares that are 1.25 inches larger than finished size.
The long side of these triangles should be on the straight grain for stability.
Planning Your Geometric Design
Sketch your pattern before cutting any fabric. Even simple geometric designs benefit from advance planning.
Graph paper helps you visualize proportions and calculate fabric needs. One square can equal one inch of your finished quilt.
Color Placement Strategy
Geometric patterns rely on contrast to show their shapes clearly. Without enough contrast, patterns disappear.
Take photos of your fabric combinations in black and white. This reveals whether you have sufficient contrast.
Value Distribution
Distribute light, medium, and dark values evenly across your design. Clustering similar values creates visual holes.
Use the 60-30-10 rule: 60% one value, 30% another, and 10% accent value for balance.
Cutting Techniques for Precision
Sharp blades cut cleaner edges than dull ones. Replace your rotary blade after every few projects.
Always cut away from your body and keep fingers clear of the blade path. Safety protects your quilting future.
Fabric Preparation
Press your fabric before cutting to remove wrinkles and folds. Wrinkled fabric leads to inaccurate cuts.
Straighten the grain by making a small cut, then tearing across the fabric width. This finds the true grain line.
Strip Cutting Method
Cut long strips first, then sub-cut into smaller pieces. This method is faster and more accurate than cutting individual pieces.
Stack up to four fabric layers for efficient cutting. More layers become hard to cut accurately.
Piecing Geometric Blocks
Sew geometric pieces in logical order to avoid set-in seams when possible. Plan your construction sequence before starting.
Pin at seam intersections to keep points aligned. Remove pins just before they reach your needle.
Chain Piecing for Speed
Sew multiple identical units without cutting threads between pieces. This assembly line approach saves time and thread.
Keep pieces organized as you chain piece them. Mix-ups happen easily with similar-looking units.
Pressing Between Steps
Press seams after each sewing step, not just at the end. Proper pressing prevents bulk and keeps blocks flat.
Use a dry iron on cotton setting. Steam can stretch your pieces out of shape.
Advanced Geometric Techniques
Paper piecing gives you perfect points and sharp angles in complex geometric designs. The paper acts as a sewing guide.
Print templates on regular copy paper, not cardstock. You need to remove the paper after sewing.
Foundation Paper Piecing
This technique lets you sew intricate geometric patterns with precision. You sew on the paper side and add fabric to the blank side.
Use a smaller stitch length (1.5 instead of 2.5) to make paper removal easier later.
| Pattern Complexity | Recommended Technique | Skill Level |
|---|---|---|
| Simple squares and rectangles | Traditional piecing | Beginner |
| Basic triangles | Traditional piecing | Beginner |
| Complex angles | Paper piecing | Intermediate |
| Curved geometric shapes | Template piecing | Advanced |
Troubleshooting Common Problems
Points that don’t meet properly usually result from inaccurate cutting or seam allowances. Check your basics first.
Blocks that measure wrong can often be trimmed to size. Use a square ruler to trim evenly from all sides.
Fixing Wonky Blocks
Small discrepancies in block size are normal. Trim all blocks to match your smallest one.
Larger problems might require taking apart seams and resewing. It’s worth the extra effort for better results.
Conclusion
Quilting geometric patterns like a pro comes down to precision, practice, and patience. Start with simple shapes and master the basics before attempting complex designs. Focus on accurate cutting, consistent seam allowances, and proper pressing techniques. These fundamentals will serve you well as you progress to more challenging geometric patterns. Remember that every expert quilter started as a beginner, so don’t get discouraged by early mistakes. Each project teaches you something new and brings you closer to quilting geometric patterns with professional results.
What’s the easiest geometric pattern for beginners?
A simple nine-patch block using only squares is perfect for beginners. It teaches basic cutting, sewing, and pressing skills without complex angles or triangles.
How do I keep my triangle points from getting cut off?
Sew with a scant quarter-inch seam allowance on triangle units, and pin carefully at intersections. Press seams away from the point when possible to reduce bulk.
Should I use starch when preparing fabric for geometric quilts?
Light starch or sizing helps stabilize fabric during cutting and sewing, making geometric piecing more accurate. Avoid heavy starch that makes fabric stiff.
What’s the best way to match seam intersections?
Nest opposing seam allowances together so they lock into place, then pin on both sides of the intersection. Sew slowly over pins for perfect points.
How do I calculate fabric requirements for geometric patterns?
Draw your quilt to scale on graph paper, count the pieces needed in each fabric, then add 25% extra for mistakes and cutting waste. Online calculators can also help with yardage estimates.