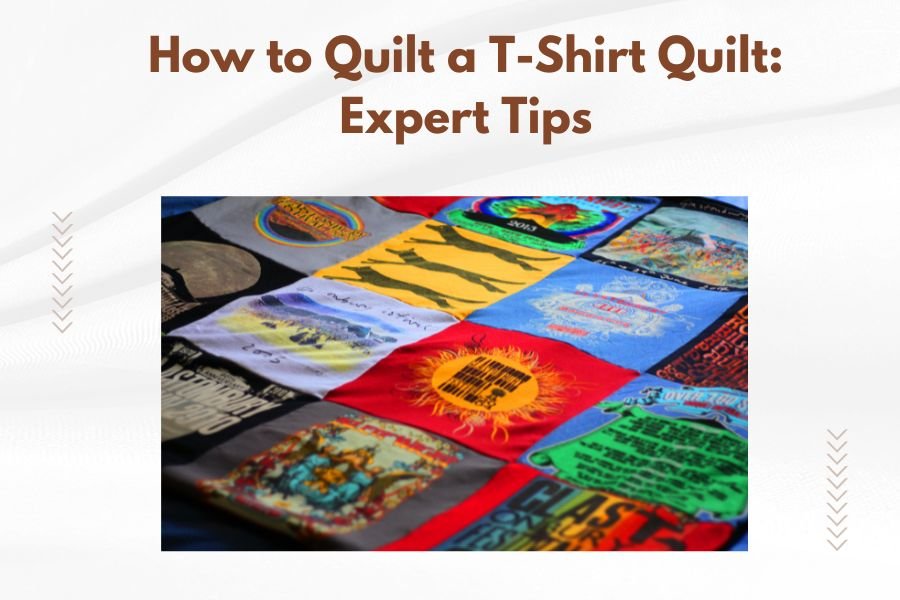
A t-shirt quilt combines your favorite memories into one cozy blanket by cutting t-shirts into squares and sewing them together with batting and backing fabric.
To quilt a t-shirt quilt successfully, you need to stabilize stretchy fabrics with interfacing, plan your layout carefully, and use proper quilting techniques to join all three layers.
What Makes T-Shirt Quilting Different
T-shirt quilting isn’t like working with regular cotton fabric. These stretchy knits fight back when you try to sew them.
Cotton fabric stays put. T-shirt material wants to stretch in every direction. This creates puckering and uneven seams if you don’t handle it right.
I found that many quilting experts recommend treating t-shirts more like working with elastic than fabric. You need special techniques to tame that stretch.
Essential Supplies for Your T-Shirt Quilt
Fabric Stabilizers
Fusible interfacing is your best friend here. This thin layer sticks to the back of each t-shirt square.
Without interfacing, your quilt will look wavy and unprofessional. The interfacing stops the stretch and makes sewing much easier.
Tools You’ll Need
- Sharp fabric scissors or rotary cutter
- Cutting mat and ruler
- Sewing machine with walking foot
- Iron and ironing board
- Safety pins or basting spray
- Seam ripper (trust me, you’ll need it)
Fabric Requirements
Plan on one t-shirt per quilt square. A throw-size quilt needs about 12-20 shirts.
You’ll also need backing fabric, batting, and binding strips. Cotton works best for backing because it’s stable and easy to work with.
Planning Your T-Shirt Quilt Layout
Choosing the Right Size
Start by deciding how big you want your finished quilt. A lap quilt works well for beginners.
Count your t-shirts first. Then figure out your grid. Six shirts make a 2×3 layout. Twelve shirts work as 3×4 or 4×3.
Design Considerations
Lay out all your t-shirts before cutting anything. Move them around until the colors and designs look balanced.
Put your favorite shirt in the center or top corner. Your eye will go there first.
Color Balance Tips
Dark shirts next to light ones create nice contrast. Don’t put all your busy designs together in one corner.
Step back and squint at your layout. This helps you see if any area looks too heavy or light.
Preparing T-Shirts for Quilting
Washing and Pressing
Wash all t-shirts first, even if they look clean. This removes sizing and shrinks the fabric.
Use low heat when drying. High heat can damage prints or cause extra shrinking.
Cutting Your Squares
Cut all squares the same size. Most quilters use 12-inch or 15-inch squares.
Center the design you want to show. Don’t worry about cutting around seams – they’ll disappear when you add interfacing.
Handling Tricky Designs
Some shirt designs don’t fit well in squares. You might need to go bigger or choose a different shirt.
Vertical designs work better in rectangular blocks. Just keep all your blocks the same size.
Applying Interfacing Like a Pro
Choosing the Right Weight
Medium-weight fusible interfacing works for most t-shirts. Lightweight interfacing won’t control stretchy fabrics enough.
I researched several quilting forums and found that most experts prefer non-woven interfacing over woven types for t-shirts.
Application Process
Cut interfacing slightly smaller than your fabric squares. This prevents it from showing at the edges.
Place the rough side down on the wrong side of your fabric. Press with a hot, dry iron for 10-15 seconds.
Getting It Right Every Time
Don’t slide the iron around. Lift and press in sections. Sliding can wrinkle the interfacing.
Let each square cool completely before moving it. The adhesive needs time to set.
Sewing T-Shirt Squares Together
Seam Allowances Matter
Use a consistent quarter-inch seam allowance. This keeps all your blocks the same finished size.
Pin each seam before sewing. T-shirt fabric likes to shift, even with interfacing.
Pressing Seams
Press seams to one side, not open. This creates stronger seams that won’t pull apart.
Alternate which direction you press each row. This helps seams nest together when you join rows.
Machine Settings
Use a slightly longer stitch length than normal. About 2.5 to 3.0 works well.
A walking foot helps feed both fabric layers evenly. This prevents puckering and stretching.
Creating the Quilt Sandwich
Layering Your Materials
Start with backing fabric face-down on a flat surface. Smooth out all wrinkles.
Add batting next, then your pieced top face-up. Each layer should be 2-3 inches larger than the one above it.
Basting the Layers
Safety pins work well for t-shirt quilts. Place them every 4-6 inches across the entire quilt.
Basting spray is faster but costs more. Spray lightly and smooth as you go.
| Basting Method | Time Required | Cost | Best For |
|---|---|---|---|
| Safety Pins | 30-45 minutes | Low | Beginners |
| Spray Basting | 10-15 minutes | Medium | Quick projects |
| Thread Basting | 60+ minutes | Very Low | Hand quilters |
Quilting Techniques for T-Shirt Quilts
Machine Quilting Options
Straight-line quilting works best for beginners. Quilt in the ditch along seam lines or create a simple grid pattern.
Your sewing machine can handle this project. You don’t need a fancy long-arm machine.
Free-Motion Quilting
This technique lets you create curvy designs and custom patterns. But it takes practice to get smooth lines.
Start with simple swirls or loops. Don’t attempt complex designs on your first t-shirt quilt.
Quilting Dense vs. Loose
T-shirt quilts don’t need heavy quilting. Too much can make the quilt stiff and hard to wash.
Quilt every 4-6 inches for good stability without losing softness.
Binding Your Finished Quilt
Cutting Binding Strips
Cut strips 2.5 inches wide from cotton fabric. You’ll need enough to go around your entire quilt plus 10 extra inches.
Join strips with diagonal seams to reduce bulk. This creates a smooth binding that lies flat.
Attaching the Binding
Trim excess batting and backing so all edges are even. Leave the binding strip unfolded for now.
Sew the binding to the front with a quarter-inch seam. Miter corners for a professional look.
Hand-Stitching the Back
Fold the binding over to the back and hand-stitch in place. This takes time but creates the best finish.
Use thread that matches your binding fabric. Small, even stitches will be nearly invisible.
Common Problems and Quick Fixes
Wavy Edges
This happens when you stretch fabric while sewing. Add more interfacing or use a walking foot.
You can also try reducing pressure on your presser foot. Heavy pressure can distort stretchy fabrics.
Puckered Seams
Check your thread tension and stitch length. Sometimes loosening tension solves this problem.
Make sure you’re not pulling the fabric through the machine. Let the feed dogs do the work.
Uneven Squares
Measure and re-cut if needed. It’s better to fix this now than live with a crooked quilt forever.
A quarter-inch difference might not seem like much, but it adds up across a whole row.
Caring for Your T-Shirt Quilt
Washing Instructions
Wash in cool water on gentle cycle. Hot water can cause shrinking and fading.
Use mild detergent without bleach or fabric softener. These chemicals can break down fibers over time.
Drying and Storage
Air drying works best, but low heat in the dryer is okay for occasional use.
Store flat or loosely folded. Avoid cramming your quilt into small spaces where it might get permanent creases.
Time-Saving Tips for Busy Quilters
Batch Processing
Do all your cutting at once. Then apply all interfacing in one session. This saves setup time.
Chain piece your seams by feeding squares through the machine without cutting threads between them.
Simple Design Choices
Stick to basic grid layouts for your first quilt. You can try complex designs once you master the basics.
Straight-line quilting takes less time than fancy patterns but still looks great.
Prep Work Shortcuts
Pre-cut interfacing when you buy it. Store pieces with your t-shirts so everything’s ready when you start sewing.
Keep a dedicated cutting area set up if you have space. This eliminates setup time for each session.
Conclusion
Making a t-shirt quilt preserves memories while creating something useful and beautiful. The key is taking your time with preparation and using the right techniques for stretchy fabrics.
Your first t-shirt quilt won’t be perfect, and that’s okay. Each project teaches you something new. Focus on enjoying the process and celebrating those special memories woven into every stitch.
Start with a small project to build your confidence. Once you master the basic techniques, you can tackle larger quilts or try more advanced designs. The most important thing is to begin – your collection of meaningful t-shirts is waiting to become something extraordinary.
How many t-shirts do I need for a full-size quilt?
A full-size quilt typically needs 30-42 t-shirts, depending on your block size and layout. For 12-inch finished blocks, you’ll need about 30 shirts arranged in a 5×6 or 6×5 grid.
Can I mix different types of knit fabrics in one quilt?
Yes, but use the same weight interfacing on all pieces to keep them stable. Mixing cotton t-shirts with polyester blends or tank tops works fine as long as you prep each piece properly.
What’s the best batting for a t-shirt quilt?
Cotton or cotton-poly blend batting works best because it’s breathable and washable. Avoid thick batting since t-shirt quilts are already heavier than regular cotton quilts.
How do I handle t-shirts with side seams in my blocks?
Cut through the side seams and use the design area you want to feature. The interfacing will stabilize the fabric regardless of where seams fall within your block.
Should I pre-shrink interfacing before applying it?
No, fusible interfacing doesn’t need pre-shrinking. However, always test a small piece first to make sure it bonds well with your specific t-shirt fabric and doesn’t pucker when washed.