
Preventing Needle Injuries During Quilting
Quilting brings so much joy, but a jabbed finger can instantly ruin the fun. Keeping your hands safe isn’t just about comfort—it’s about staying healthy and productive. Let’s dive into the practical, expert-backed strategies that really work to keep you stitching safely.
Understanding the Real Risks Behind the Prick
A quick poke might seem harmless. But it can lead to more than just a drop of blood. Research from the Centers for Disease Control and Prevention (CDC) shows that even minor needlesticks can transmit bloodborne pathogens, though the risk is low in a home quilting environment. The main risks you face are infection from everyday bacteria and interrupting your flow of work.
Serious infections are rare, but not impossible. We also found that the repetitive motion of quilting can strain your hands. A sudden injury can aggravate this. That’s why prevention is your best friend.
Common Scenarios Where Injuries Happen
Injuries often occur during specific, predictable moments. Being aware of them is your first line of defense.
- Pushing the needle through multiple fabric layers. This requires force and can cause the needle to slip.
- Thread tangles and knots. Frustration leads to fumbling with sharp needle tips. Using needle threaders can reduce the frustration that leads to fumbling with sharp points.
- Picking up a fallen needle. Always dangerous if you grab blindly.
- Working with hand-sewing needles that have no thimble. This is the most common cause.
Setting Up Your Quilting Space for Safety
Your environment plays a huge role. A cluttered workspace increases the chance of accidental pricks. Many experts say a dedicated, well-organized space is fundamental for safe quilting.
The Essentials of a Safe Workspace
Think about lighting and surfaces first. Poor lighting means you can’t see the needle’s path clearly.
- Use bright, direct lighting. A good lamp positioned to eliminate shadows is key.
- Work on a solid, stable surface. A wobbly table increases slips.
- Keep your lap covered. A quilt batting or a thick towel catches fallen needles before they find your skin.
- Have a needle parking solution. A magnetic pin cushion or a small dish keeps sharp points contained when not in use.
The “No-Fumble” Zone Rule
We recommend creating a rule: never catch a falling needle. Let it drop. If it falls on your lap or the floor, stop and carefully retrieve it only after it’s completely still. The momentary delay saves you from a panicked grab that leads to injury.
Mastering Safe Hand-Sewing Techniques
This is where most of your control comes from. Proper technique transforms hand sewing from a hazard to a relaxing activity. The Journal of Hand Therapy has noted that ergonomic hand positions reduce strain and improve control.
How to Grip and Push the Needle Correctly
Your grip matters more than your strength. You should hold the needle firmly between your thumb and index finger, close to the eye. This gives you maximum control.
Use a thimble. Always. This is non-negotiable for safe hand sewing. A thimble protects your finger from the needle’s eye as you push. It also gives you a firm, flat surface to push against. Consider this your most important safety tool.
Choosing the Right Thimble for You
Thimbles aren’t one-size-fits-all. Comfort encourages consistent use.
| Thimble Type | Best For | Pros & Cons |
|---|---|---|
| Metal (Brass/Steel) | Heavy-duty pushing through thick layers | Durable, excellent push point. Can be noisy and less comfortable. |
| Leather | Regular hand sewing, comfort | Very comfortable, molds to finger. Wears out faster. |
| Rubber/Silicone | Grip, beginners | Great grip, affordable. Less protection for very tough fabrics. |
| Leather with Metal Tip | A mix of comfort and power | Best of both worlds. Often more expensive. |
Using Tools and Gadgets for Added Protection
Modern quilting tools are designed with safety in mind. Leveraging them reduces the need for brute force, which is often the cause of injury.
Needle Grippers and Pullers
Ever try to pull a stubborn needle through dense batting? It’s a prime moment for your hand to slip back onto the needle tip. That’s where grippers help.
A needle puller is a small tool with rubber or silicone pads. It clamps onto the needle and gives you extra pulling power. Many quilters report that these tools have eliminated their most frequent injuries.
Sewing Machine Safety for Piecing
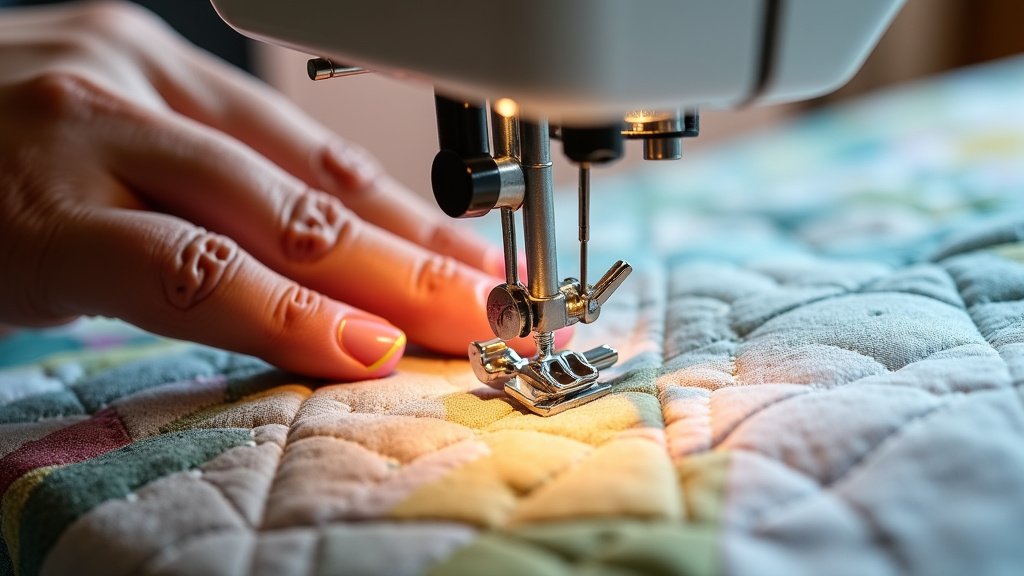
Even with a machine, injuries happen. You can get a needle breaking and flying, or put your finger too close to the presser foot. Always use the handwheel to manually advance the needle when getting close to your fingers. Keep your fingers outside the marked danger zone on your needle plate.
Handling Needles Before, During, and After Sewing
A simple routine with your needles prevents accidents before they start. This is about building habits.
The Needle Management Routine
Before you sew: Inspect your needle. A bent or burred needle is more likely to snag and slip. Replace it if needed. A sharp, fresh needle is a safe needle.
During your session: Use a needle minder. This magnetic tool safely holds your needle when you take a break. It keeps the sharp point hidden and secure.
After you finish: Store needles in a proper case. Never leave them loose in a project bag or on your table. As the CDC recommends for medical settings, proper sharps disposal starts with proper containment at home.
What to Do If a Needle Injury Happens
Even with all precautions, accidents can occur. Knowing how to respond quickly and correctly minimizes harm.
Immediate First Aid Steps
Stay calm and don’t pull the needle out if it’s deeply embedded. Apply gentle pressure around the area with a clean cloth. If the needle is broken under the skin, seek medical attention immediately.
For a simple puncture:
- Wash your hands thoroughly with soap and water.
- Clean the wound gently with mild soap and water.
- Apply an antibiotic ointment to prevent infection.
- Cover it with a bandage to keep it clean.
- Monitor for signs of infection like redness, swelling, or warmth in the next few days (Mayo Clinic).
Your Quick-Reference Safety Checklist
Pin this near your sewing space. Run through these five steps before you start each quilting session.
- Workspace Clear? Lighting is bright, and surfaces are stable.
- Thimble On? Your finger is protected before you take your first stitch.
- Needle Sharp? Inspected and ready for the fabric layers you’re using.
- Tools at Hand? Needle puller and minder are within reach.
- Drop Plan Ready? You know to let a falling needle drop safely.
- First Aid Kit Stocked? Basic supplies are accessible if needed.
Conclusion
You’ve learned the critical steps to quilt safely and confidently. From setting up a secure workspace to always using a thimble, every habit adds up. You now know how to handle needles, use helpful tools, and respond if an injury happens. The key takeaway is that prevention is simple and within your control. Your next step is to take the quick-reference checklist from above and place it right next to your sewing area. Make it a ritual before every session. This small action will protect your hands and keep your creative flow uninterrupted.
Frequently Asked Questions
What should I do if a needle breaks off under my skin?
If a needle breaks and a piece remains under your skin, do not attempt to remove it yourself. Apply gentle pressure with a clean cloth and seek medical attention immediately. A doctor can safely remove the fragment and prevent infection.
How often should I replace my sewing needles?
You should replace your needle as soon as you notice it is bent, burred, or not gliding smoothly through fabric. A dull or damaged needle requires more force to push, which significantly increases your risk of slipping and getting pricked.
Are needle injuries from quilting a real risk for bloodborne diseases?
Research from the CDC indicates the risk is very low in a home quilting setting. The primary concern is infection from everyday bacteria on your skin or needle. Proper wound cleaning and monitoring for redness or swelling are your best defenses.
Can I use a sewing machine safely for piecing without getting injured?
Yes, but you must stay focused. Always use the handwheel to manually advance the needle when your fingers are close. Keep your hands outside the marked danger zone on the needle plate and never leave the machine unattended while it is running.
What is the single most important safety tool for hand quilting?
The thimble is your most crucial safety tool. It protects your finger from the needle’s eye as you push and provides a firm surface for control. Experts consistently recommend wearing one every time you hand sew, without exception.
