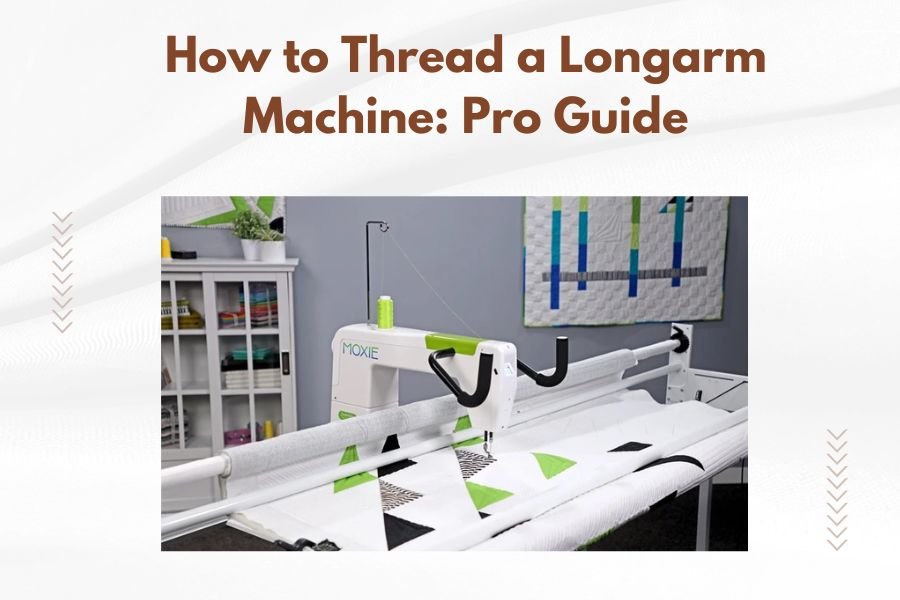
To thread a longarm machine, start by turning off the power and raising the needle to its highest position. Follow your machine’s threading path diagram, which typically guides thread from the spool through tension discs, take-up lever, and finally through the needle eye.
Most longarm machines use a similar threading sequence: spool pin to first guide, through tension assembly, around take-up lever, through remaining guides, and into the needle from front to back.
Understanding Your Longarm Threading System
Your longarm machine has a specific threading path that might look confusing at first. Think of it like following a roadmap – each stop along the way serves a purpose.
The thread travels through several key components before reaching the needle. Each component controls tension, guides the thread, or helps create proper stitches.
Key Threading Components
Every longarm machine has these basic parts in its threading system:
- Spool pin or thread stand
- Thread guides (usually numbered or color-coded)
- Tension discs or dials
- Take-up lever
- Needle bar thread guide
- Needle eye
Why Threading Order Matters
You can’t just randomly thread any path and expect good results. The specific order creates proper tension and thread flow.
Skip a step or go backwards, and you’ll get loose stitches, thread breaks, or uneven quilting. It’s like trying to bake a cake by adding ingredients in random order.
Pre-Threading Preparation Steps
Before you even touch the thread, take these safety and setup steps. They’ll save you time and prevent problems later.
Power Down and Position
Always turn off your machine first. This prevents accidental needle movement while your fingers are near moving parts.
Raise the needle to its highest position using the handwheel. This opens up the take-up lever area and makes threading much easier.
Choose the Right Thread
Not all threads work well in longarm machines. Cotton and polyester threads in 40-weight or 50-weight work best for most quilting projects.
Avoid cheap bargain threads. They often have weak spots, lint buildup, or inconsistent thickness that causes problems.
Check Your Needle
Install a fresh needle if you haven’t changed it recently. Dull or bent needles make threading harder and create poor stitch quality.
Use the right needle size for your thread weight. A 90/14 needle works well with most standard quilting threads.
Step-by-Step Threading Process
Now comes the actual threading. Take your time with each step – rushing leads to mistakes.
Step 1: Mount Your Thread
Place your thread spool on the spool pin or thread stand. The thread should unwind smoothly without catching or jerking.
If using a horizontal spool pin, position the spool so thread pulls off the top. For vertical pins, thread usually pulls from the side.
Step 2: Follow the Guide Path
Look for your machine’s threading diagram. It’s usually printed on a sticker near the threading area or in your manual.
Start at guide #1 (or the first marked guide). Pull about 18 inches of thread from the spool to give yourself working room.
Common First Guides
Most machines start with a thread guide at the top or side of the machine head. This guide redirects thread toward the tension system.
Some machines have a pre-tension guide before the main tension assembly. Don’t skip this if your machine has one.
Step 3: Navigate the Tension System
This is where many people get confused. The tension system usually involves threading between two discs or through a dial mechanism.
Pull the thread firmly between the tension discs. You should feel slight resistance – that’s the tension working properly.
Tension Threading Tips
Make sure the thread sits fully between the tension discs. Partially threaded tension creates uneven stitches.
If your machine has a tension release, engage it while threading. This opens the discs and makes threading easier.
Step 4: Through the Take-Up Lever
The take-up lever moves up and down as you sew. Thread it from right to left on most machines, but check your manual.
This lever feeds thread to the needle and helps form proper stitches. Missing this step causes major threading problems.
Step 5: Final Guides to Needle
After the take-up lever, you’ll thread through remaining guides leading to the needle area. These guides keep thread aligned properly.
The last guide is usually right above the needle. Thread goes through this guide, then directly into the needle eye.
Threading the Needle
Thread the needle from front to back on most longarm machines. Pull about 6 inches of thread through the eye.
If you’re having trouble seeing the needle eye, use a needle threader or small flashlight. Many quilters keep reading glasses handy just for threading.
Threading Troubleshooting Guide
Even experienced quilters run into threading issues sometimes. Here are solutions for common problems.
Thread Keeps Breaking
Thread breaks usually mean incorrect threading or too much tension. Rethread completely, following each step carefully.
Check for rough spots along the thread path. Burrs or damage in guides can cut thread during sewing.
Loose or Uneven Stitches
This often happens when you skip a guide or don’t thread the take-up lever properly. Double-check your threading path against the diagram.
Make sure thread sits properly in the tension discs. Tension that’s too loose creates sloppy stitches.
Thread Won’t Stay in Guides
Some thread guides have small clips or springs that hold thread in place. Make sure you’re seating the thread fully in these guides.
Slippery threads like polyester sometimes slip out of guides more easily than cotton threads.
Different Machine Brand Threading
While the basic process is similar, different longarm brands have unique features. Here’s what I found when researching popular brands.
| Machine Brand | Threading Direction | Special Features |
|---|---|---|
| Gammill | Right to left | Color-coded guides |
| APQS | Front to back | Numbered path system |
| Handi Quilter | Varies by model | Quick-change thread guides |
| Innova | Left to right | Tension release lever |
Brand-Specific Tips
Some brands use color-coding to make threading easier. Red guides might be for step 1, blue for step 2, and so on.
Others use numbered systems or arrows showing thread direction. Always consult your specific manual for exact threading paths.
Maintaining Proper Thread Tension
Threading correctly is only half the battle. You also need proper tension settings for good stitches.
Testing Tension Settings
After threading, test your tension on a practice sandwich of batting and fabric. Look for balanced stitches with no loops or puckering.
Start with your machine’s recommended tension setting, then adjust up or down as needed. Small adjustments work better than big changes.
Thread Weight and Tension
Heavier threads (like 30-weight) need less tension than lighter threads (50-weight). Adjust accordingly when changing thread types.
Metallic and specialty threads often need reduced tension and slower sewing speeds to prevent breaks.
Advanced Threading Considerations
Once you master basic threading, these advanced tips will improve your quilting results.
Multiple Thread Colors
When changing thread colors frequently, consider using prewound bobbins that match your top thread colors. This saves time and creates better-looking quilts.
Some quilters keep multiple machines threaded with different colors for complex projects.
Specialty Thread Threading
Metallic threads need special handling. Use a larger needle and reduce tension to prevent shredding.
Variegated threads look best when you maintain consistent tension throughout long quilting runs.
Thread Path Modifications
For problematic threads, try skipping one tension disc or guide to reduce friction. This works especially well with delicate threads.
Some quilters add thread nets or caps to prevent thread from unwinding too quickly from the spool.
Regular Maintenance for Better Threading
Keep your threading system clean and well-maintained for consistent results.
Cleaning Thread Guides
Lint and thread residue build up in guides over time. Clean them regularly with a small brush or compressed air.
Check for burrs or rough spots that could damage thread. Smooth any rough areas with fine sandpaper.
Tension System Care
Tension discs collect lint and thread fuzz. Clean between the discs periodically with a thin piece of fabric or special cleaning tools.
Some machines need occasional tension system lubrication. Check your manual for specific maintenance schedules.
Conclusion
Threading a longarm machine correctly is essential for beautiful quilting results. Take your time, follow the proper sequence, and don’t skip any steps in the threading path. Remember that each guide and component serves a purpose in creating balanced, even stitches. With practice, threading becomes second nature, and you’ll spend more time quilting and less time troubleshooting problems. Keep your machine clean, use quality thread, and always consult your manual when in doubt. Soon you’ll be threading like a pro and creating stunning quilts with confidence.
How long should I pull the thread tail after threading the needle?
Pull about 6 inches of thread through the needle eye. This length prevents the thread from pulling out during the first few stitches while not being so long that it gets tangled or caught on your quilting frame.
Can I thread my longarm machine while it’s running?
Never thread a longarm machine while it’s powered on. Always turn off the machine and raise the needle to its highest position before threading. This prevents injury and makes the threading process much easier and safer.
What happens if I thread the take-up lever in the wrong direction?
Threading the take-up lever incorrectly will cause poor stitch formation, thread bunching, or thread breaks. The thread won’t feed properly to the needle, creating loops or skipped stitches. Always rethread following your machine’s specific directional guide.
Why does my thread keep slipping out of the guides?
Thread slips out when it’s not properly seated in the guide clips or when using very smooth threads like polyester. Make sure to press the thread fully into each guide’s clip or spring mechanism, and consider using thread nets for slippery threads.
How often should I clean my threading system?
Clean your threading guides and tension system every 8-10 hours of quilting time or whenever you notice lint buildup. Heavy use or fuzzy threads may require more frequent cleaning to maintain smooth thread flow and prevent tension problems.