
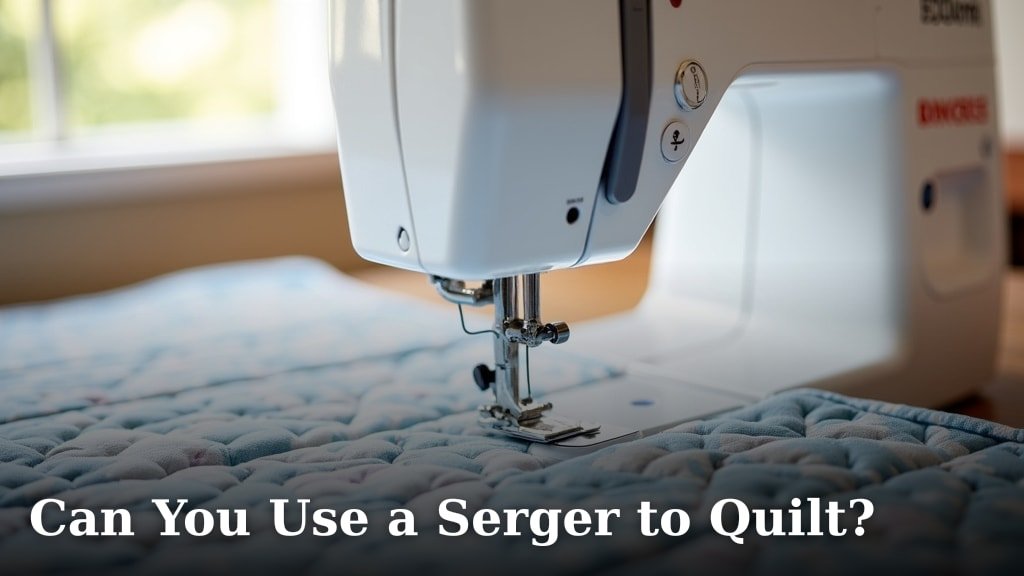
Yes, you can absolutely use a serger to quilt, but not in the way you might think. A serger excels at finishing quilt edges and joining fabric quickly. It’s not typically used for piecing your entire quilt top.
We found that a serger is a fantastic tool for specific quilting tasks. It can give your quilt projects a very professional, durable finish. Many quilters find it invaluable for binding and creating decorative seams, adding a unique touch to their work.
- Sergers are great for finishing quilt edges.
- They excel at quick seam joining for certain projects.
- Not ideal for piecing detailed quilt tops.
- Perfect for strong, professional bindings.
- Adds unique decorative seam options.
Ready to discover how to use your serger effectively in your quilting projects? Let’s dive into the details and make your quilts shine!
Sergers and Quilting: What You Need to Know
So, you’re curious about bringing your serger into your quilting world? That’s a great thought! While a serger isn’t your traditional quilting machine, it offers some unique advantages. We found that it truly shines for specific tasks, making your quilts stronger and often faster to finish. Think of it as a powerful helper for certain parts of your project.
You’ll discover that a serger can transform the way you approach finishing edges and even joining certain fabrics. It adds a professional touch that’s hard to achieve with a regular sewing machine alone. Let’s look at where it truly excels.
Understanding the Serger’s Role in Quilting
Many quilters wonder if a serger can replace their sewing machine for quilting. The short answer is no, not entirely. Your sewing machine is still king for piecing intricate quilt tops with precise seams. However, a serger brings its own set of superpowers to the quilting table.
We found that sergers are excellent for tasks requiring strong, stretchable seams. They trim and stitch in one pass, creating a very neat finish. This capability is what makes them so useful for specific quilting applications, particularly those involving edges and bulkier fabrics.
Where a Serger Excels for Quilters
- Finishing Edges: This is arguably where a serger shines brightest. It neatly trims and encloses raw edges.
- Quick Seam Construction: For simple, straight seams, a serger can be much faster than a regular machine.
- Binding Preparation: Creating sturdy, clean binding strips becomes a breeze.
- Decorative Stitching: Some sergers offer coverstitch or flatlock stitches for unique quilt embellishments.
- Garment-style Quilt Backs: If you’re using stretch fabrics for your quilt back, a serger is ideal.
Serger Benefits for Your Quilt Projects
Why would you want to use a serger for quilting? We found several compelling reasons. The main benefits center around speed, durability, and a clean finish. Imagine finishing a large quilt project faster, with edges that won’t fray. Sounds good, right?
A serger’s ability to trim and stitch simultaneously saves you time. This means less fussing with seam allowances and a smoother process. Plus, the extra threads in a serger stitch create a super strong seam. This is perfect for items that will see a lot of use or washing.
Enhanced Durability and Professional Finish
One of the biggest advantages is the increased durability your serger provides. A serged seam is less likely to unravel. This is especially important for quilts that will be loved and used often. Think about a baby quilt or a throw blanket – they need to withstand a lot.
The neat, trimmed edges also contribute to a professional look. No more stray threads peeking out from your quilt’s edges. Your projects will look like they came from a high-end boutique!
Limitations: When to Stick with Your Sewing Machine
While a serger is a fantastic tool, it’s not a magic wand for all quilting tasks. We need to be realistic about its limitations. You’ll quickly see why your trusty sewing machine still holds a special place for many quilting steps.
The main challenge with a serger is its lack of precision for piecing small, intricate quilt blocks. It trims fabric as it stitches, which makes exact seam allowances tricky for complex patterns. What about curves or tiny pieces? Your regular machine is definitely better here.
Precision Piecing and Complex Designs
For accurately piecing quilt blocks, especially those with many small pieces or intricate angles, your regular sewing machine is the superior choice. It allows you to sew with precise 1/4-inch seams without trimming. This control is essential for your blocks to come out the correct size and shape. Think of HSTs (half-square triangles) or fussy cutting – a serger would make these very difficult (The Quilting Company).
We found that trying to piece an entire quilt top with a serger often leads to frustration. The machine’s primary job is to finish edges, not to create perfectly matched points in a complex block. So, save the detailed work for your traditional sewing machine.
Serger vs. Sewing Machine for Quilting Tasks
Let’s break down where each machine truly shines. This will help you decide which tool to grab for different stages of your quilting journey. It’s about using the right tool for the right job, right?
| Quilting Task | Best Tool | Why? |
|---|---|---|
| Piecing intricate quilt blocks | Sewing Machine | Precise 1/4″ seams, no trimming, easy control for small pieces. |
| Joining large quilt top sections | Serger (carefully) | Faster seam construction, strong seam. |
| Finishing raw quilt edges | Serger | Trims and encloses edges, prevents fraying, professional look. |
| Attaching binding to quilt | Serger (for initial pass) | Strong, even seam, great for durability. |
| Quilting/Stitching layers together | Sewing Machine | Handles bulk, specialized quilting feet, stitch consistency. |
| Creating decorative topstitching | Sewing Machine | More stitch options, easier control. |
Practical Applications: How to Use Your Serger for Quilts
Okay, so you’re convinced your serger has a place in your quilting studio. Now, how do you actually use it? We’ve identified a few key areas where your serger can be a real game-changer. Getting these steps right will help you get the most out of your machine.
Remember, practice makes perfect. Don’t be afraid to try these techniques on scrap fabric first. You’ll quickly get a feel for how your serger handles different quilting fabrics.
Finishing Quilt Edges Before Binding
This is a big one. Before you add your binding, you might want to neaten up the edges of your quilt sandwich. A serger can create a lovely, secure edge all around your quilt. This helps stabilize the layers and gives a really clean base for your binding.
Simply align the raw edge of your quilt with the serger’s knife, and stitch. We found that this step greatly reduces bulk and fraying. It also ensures all three layers (top, batting, backing) are firmly held together before the final binding goes on. This makes for a much neater finish.
Creating Fast and Strong Quilt Backs
Do you ever piece your quilt backs from multiple fabrics? A serger is fantastic for this! For joining large, straight sections of fabric for a quilt back, a serger is incredibly efficient. It creates a strong seam that will hold up well to washing and use.
Because quilt backs often involve larger pieces and less precision than the quilt top, the serger’s speed and strong stitch are perfect. Just make sure your seam allowances are consistent. We found that it makes the process much quicker and more enjoyable.
Making Your Own Binding Strips
While you’ll likely attach the binding to the quilt with your sewing machine for that final secure topstitch, a serger can help you prepare the strips themselves. If you’re joining multiple smaller binding strips to create one long continuous piece, the serger can create those joining seams quickly and securely.
You can also use your serger to finish one long edge of your binding strip. This creates a ready-made, finished edge that can be quickly folded over and topstitched to your quilt. It’s a clever trick for speeding up a sometimes tedious step.
Tips for Serging Your Quilts
Ready to try it out? Here are some quick tips to help you get started with your serger in quilting. These little bits of advice can make a big difference in your results.
- Practice on Scraps: Always test your serger settings on fabric scraps that are similar to your quilt fabric.
- Use Good Quality Thread: Strong serger thread is essential for durable seams.
- Adjust Differential Feed: This helps prevent wavy seams, especially on different fabric types.
- Mind Your Knife: Be aware of the cutting knife and ensure you’re only trimming the intended seam allowance.
- Clean Your Machine: Lint can build up quickly. A clean machine runs better and makes better stitches.
- Read Your Manual: Your serger’s manual has specific guidance for your model.
Getting Started: Your Serger Quilting Checklist
Before you dive in, let’s make sure you’re set up for success. This quick checklist will help you gather what you need and prepare your workspace.
- Serger machine (threaded and ready)
- Good quality serger thread (often four cones)
- Fabric scraps for testing settings
- Quilt project ready for edge finishing or back piecing
- Basic sewing notions (scissors, pins)
Once you have these items, you’re ready to start exploring the possibilities of using your serger in your quilting projects. It’s a fantastic way to add speed and a professional touch.
Conclusion
So, can you use a serger to quilt? Absolutely! We’ve found it’s a powerful companion to your sewing machine, not a replacement. Your serger excels at tasks like finishing raw edges, speeding up quilt back construction, and preparing binding. It offers unmatched durability and a professional finish that truly elevates your projects.
While your sewing machine remains essential for intricate piecing, integrating your serger for specific steps will save you time and strengthen your quilts. Don’t be afraid to experiment! Grab some scraps and discover how this versatile machine can enhance your quilting journey today.
Frequently Asked Questions
Can a serger handle thick quilt layers like batting?
Yes, most sergers can manage the thickness of a quilt sandwich with batting. Adjust your differential feed and presser foot pressure for optimal results. Always test on scraps to ensure smooth feeding and a clean stitch.
Is it difficult to learn to quilt with a serger if I’m new to serging?
Learning any new machine takes practice. We recommend starting with simple tasks like finishing straight edges on practice fabric. Your machine’s manual and online tutorials are excellent resources for beginners.
What kind of thread should I use in my serger for quilting projects?
You should use good quality serger thread, often sold on larger cones. Polyester serger thread is a strong and durable choice for quilting. Match the thread color to your fabric or choose a neutral that blends well.
Can I make a whole quilt on a serger, including the quilt top?
While you technically could, it’s not ideal for most quilt tops. Sergers trim fabric as they sew, making precise 1/4-inch seam allowances and intricate piecing very challenging. Stick to your sewing machine for detailed quilt top construction.
Will using a serger make my quilts last longer?
Yes, in many cases. The strong, interlocked stitches of a serger create very durable seams that are less prone to fraying and unraveling. This can significantly increase the longevity of your quilt, especially for well-loved or frequently washed items.
