A broken spool pin can be fixed by replacing the damaged pin with a new one or using temporary solutions like tape wrapping or dowel rod substitutes.
Most spool pin repairs take 10-15 minutes and require basic tools like screwdrivers, pliers, or simple craft supplies you already have at home.
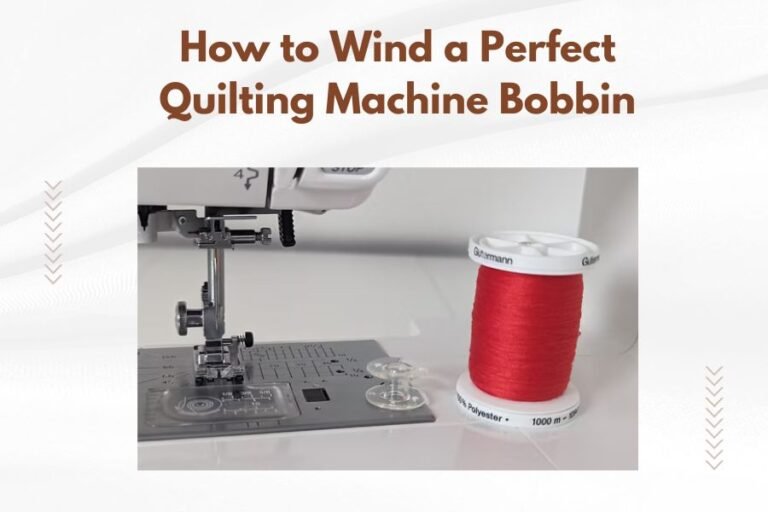
Nothing stops a quilting project faster than a broken spool pin. You’re ready to sew, thread loaded, and then snap – your spool pin breaks or wobbles uselessly.
Don’t panic. I’ve researched common spool pin problems and found several quick fixes that work well. You don’t need special skills or expensive parts.
Let’s get your quilting machine back to working condition so you can finish that beautiful project.
What Causes Spool Pins to Break
Spool pins break for predictable reasons. Understanding why helps you prevent future problems.
Heavy thread spools put extra stress on plastic pins. Large cones of quilting thread weigh more than regular spools. The constant pulling motion during sewing creates wear points.
Age makes plastic brittle. Older machines often have pins that crack or snap without warning. Temperature changes in your sewing room can make this worse.
Metal pins bend or break at connection points. The threads that screw into your machine wear down over time.
Signs Your Spool Pin Needs Repair
Watch for these warning signs before complete failure happens:
- Thread spools wobble or slide off easily
- Visible cracks in plastic pins
- Metal pins that don’t stand straight
- Loose threading where pins attach
- Rough edges that snag thread
Tools You’ll Need for Repairs
Most repairs use common household items. Gather these before starting:
- Small screwdriver set
- Needle-nose pliers
- Electrical tape or duct tape
- Super glue or epoxy
- Wooden dowel rods (various sizes)
- Sandpaper (fine grit)
You might already have everything needed. No special quilting tools required.
Quick Temporary Fixes
Sometimes you need your machine working right now. These temporary solutions buy you time until permanent repairs.
Tape Wrapping Method
This works great for cracked plastic pins that still have their basic shape.
Clean the pin first. Remove any loose plastic pieces. Wrap electrical tape tightly around the damaged area. Overlap each wrap by half the tape width.
Test with an empty spool first. Make sure it spins freely without catching.
Dowel Rod Substitute
Hardware stores sell wooden dowel rods in many sizes. Find one that matches your original pin diameter.
Cut the dowel to the right length with a small saw. Sand both ends smooth. This prevents thread snags.
If your machine has a threaded attachment, you’ll need to modify the dowel. Wrap tape around one end to create a snug fit in the pin holder.
Choosing the Right Dowel Size
Measure your broken pin first. Common sizes are 1/4 inch or 6mm diameter. The dowel should be slightly smaller than your thread spool hole.
Too thick and spools won’t fit. Too thin and they’ll wobble during sewing.
Permanent Repair Solutions
Permanent fixes last longer and work better than temporary patches. They’re worth the extra effort.
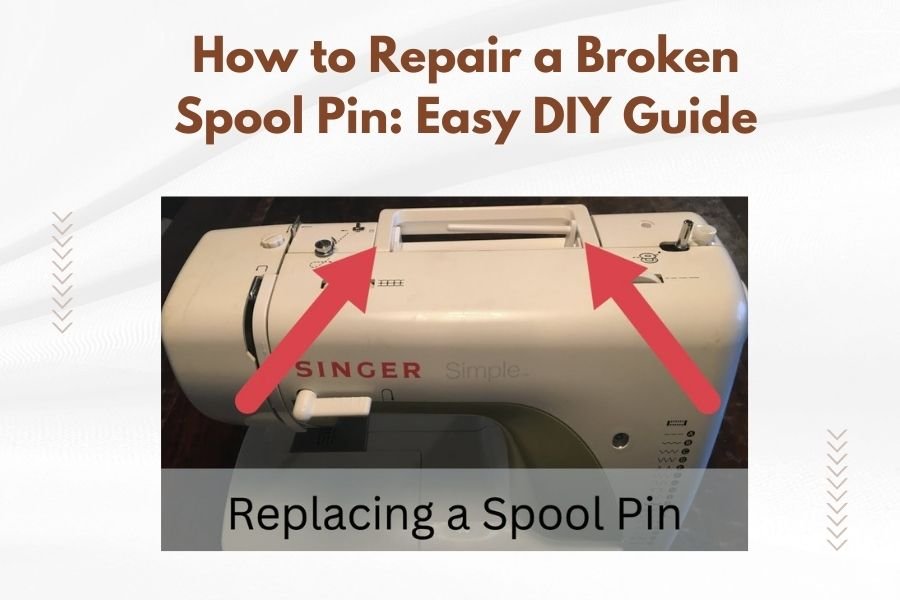
Replacing Plastic Pins
Many quilting machine manufacturers sell replacement spool pins. Check your manual for part numbers.
Remove the broken pin by unscrewing or pulling it out. Some pins press-fit into holders. Others screw in with small threads.
Install the new pin the same way the old one came out. Hand-tighten threaded pins – don’t over-tighten with pliers.
Finding Compatible Replacement Parts
If original parts aren’t available, generic replacements often work. Measure the broken pin’s diameter and length.
Sewing machine repair shops stock common sizes. Online retailers sell universal spool pin sets for popular machine brands.
Repairing Metal Pins
Bent metal pins can sometimes be straightened. Use pliers to carefully bend them back to vertical.
Work slowly. Metal can break if bent too quickly or repeatedly.
If the threading is damaged where the pin screws in, you might need professional help. Some repair shops can re-thread damaged connections.
Advanced Repair Techniques
These methods work for more serious damage when simple fixes won’t do.
Epoxy Reinforcement
Two-part epoxy can rebuild broken plastic pins. This works best when you have most of the original pieces.
Clean all surfaces first. Mix epoxy according to package directions. Use a toothpick to apply it precisely.
Hold pieces together until the epoxy sets. Most types cure in 5-10 minutes.
Sand any rough spots smooth after curing. Test fit with thread spools before using.
Safety Tips for Epoxy Use
Work in a well-ventilated area. Epoxy fumes can be strong. Wear disposable gloves to protect your skin.
Have acetone or rubbing alcohol ready to clean up mistakes quickly.
Custom Pin Solutions
Sometimes standard replacements don’t fit properly. You can make custom solutions.
Combine a dowel rod base with a metal rod top. Drill a small hole in the dowel. Insert a thin metal rod for the actual pin.
This gives you the stability of wood with the smooth function of metal.
Testing Your Repairs
Always test repairs before starting important projects. Use these steps:
- Install an empty spool first
- Check that it spins freely
- Test with thread loaded
- Run the machine slowly to check for wobbling
- Try both light and heavy thread types
If anything feels wrong, stop and readjust. Poor repairs can cause thread tension problems or machine damage.
When to Call a Professional
Some repairs are better left to experts. Consider professional help when:
- The pin holder mechanism is damaged
- Multiple pins are broken
- Your machine is still under warranty
- You’re not comfortable with the repair
Repair costs vary, but simple spool pin fixes are usually affordable. Many shops charge $20-50 for basic pin replacements.
Finding Qualified Repair Services
Look for shops that specialize in your machine brand. They’ll have the right parts and experience.
Ask about turnaround time. Simple repairs often take just a few days.
Preventing Future Spool Pin Problems
Good maintenance prevents most pin failures. Follow these tips:
Regular Cleaning
Dust and lint build up around spool pins. Clean them monthly with a soft brush or compressed air.
Remove thread bits that wrap around the pin base. These can cause binding and extra stress.
Proper Thread Loading
Don’t force oversized spools onto pins. Use spool caps when thread spools are wider than the pin.
Position spools so thread pulls straight off, not at an angle. This reduces side pressure on pins.
Thread Weight Considerations
Heavy decorative threads put more stress on pins. Consider using thread stands for very large cones.
External thread stands take weight off your machine’s pins entirely.
Cost Comparison of Repair Options
| Repair Method | Cost Range | Durability | Time Required |
|---|---|---|---|
| Tape wrap | Under $5 | Temporary | 5 minutes |
| Dowel substitute | $5-10 | Good | 15 minutes |
| New plastic pin | $10-25 | Excellent | 10 minutes |
| Professional repair | $20-50 | Excellent | 2-5 days |
Conclusion
Broken spool pins don’t have to stop your quilting projects. Most repairs take just minutes with basic tools you probably own.
Start with simple temporary fixes if you need immediate solutions. Tape wrapping or dowel substitutes get you sewing again quickly.
For long-term reliability, invest in proper replacement pins or professional repairs. Your quilting machine will thank you with years of smooth operation.
Remember to test any repair thoroughly before starting important projects. A few minutes of testing can save hours of frustration later.
Can I use any dowel rod as a spool pin replacement?
Not all dowel rods work well. Choose hardwood dowels like oak or maple for best durability. Softwood dowels can compress over time and create wobbling. Make sure the diameter matches your thread spools closely – too loose causes thread tension problems.
How long do temporary tape repairs typically last?
Tape repairs usually last 2-4 weeks with regular use. The constant friction from spinning thread spools gradually wears through tape wrapping. Electrical tape holds up better than regular tape, but all tape solutions are meant as short-term fixes until proper replacement.
Will using the wrong spool pin size damage my quilting machine?
Pins that are too large can crack your machine’s pin holder. Pins that are too small allow excessive wobbling, which stresses the attachment point and can cause premature wear. Always match the original pin dimensions as closely as possible for safe operation.
Should I repair both spool pins if only one is broken?
If your pins are the same age and material, consider replacing both. When one fails, the other often follows within months. Replacing both saves you from repeated repairs and ensures consistent thread feeding across your machine.
Can I prevent spool pins from breaking by changing my sewing habits?
Yes, several habits help extend pin life. Avoid yanking thread forcefully when it tangles. Use thread stands for very heavy spools. Don’t overtighten spool caps. Clean pins regularly to prevent lint buildup that causes binding and extra stress during use.