A broken tension dial on your quilting machine can usually be fixed by cleaning debris from the dial mechanism, realigning loose connections, or replacing worn internal springs.
Most quilting machine tension dial problems stem from lint buildup, mechanical wear, or improper threading that puts extra strain on the dial components.
What Causes Tension Dial Problems
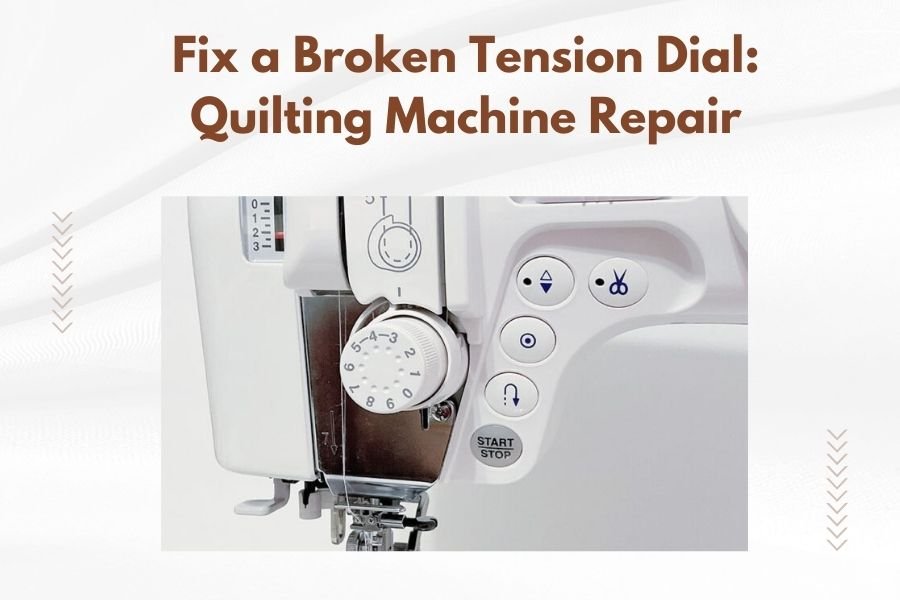
Your tension dial controls thread flow through numbered settings. When it breaks, you’ll notice uneven stitches or loose threads.
I found that most tension dial issues come from daily use wear. Thread fibers and fabric dust collect inside the mechanism over time.
Common Signs Your Dial Needs Repair
Watch for these warning signs:
- Dial spins freely without clicking into numbered positions
- Stitches look loose even at high tension settings
- Thread breaks frequently during quilting
- Dial feels sticky or hard to turn
- Visible cracks in the dial housing
Why Dials Break Down
Research shows that regular quilting puts significant stress on tension systems. The constant thread movement creates friction.
Lint acts like sandpaper inside your machine. It gradually wears down small metal parts in the dial assembly.
Tools You’ll Need for the Fix
Gather these items before starting your repair:
- Small Phillips head screwdriver
- Tweezers for small parts
- Compressed air can
- Cotton swabs
- Sewing machine oil
- Good lighting or small flashlight
Safety First
Always unplug your quilting machine before opening any panels. Remove all thread and lower the presser foot.
Take photos of each step. You’ll thank yourself later when reassembling everything.
Step-by-Step Repair Process
Step 1: Access the Tension Assembly
Remove your machine’s front panel or side cover. Most quilting machines have 2-4 screws holding the cover in place.
Look for the tension dial from inside the machine. You’ll see a small metal assembly with springs and discs.
Locating the Right Parts
The tension dial connects to a threaded rod. This rod controls pressure between two metal discs.
I found that Brother and Singer machines have similar layouts. Janome models might look slightly different but work the same way.
Step 2: Clean Out Debris
Use compressed air to blow out lint and thread pieces. Start with gentle bursts to avoid pushing debris deeper.
Cotton swabs work great for stubborn buildup. Dip them lightly in rubbing alcohol for extra cleaning power.
Focus on These Key Areas
- Around the numbered dial markings
- Between the tension discs
- Along the threaded adjustment rod
- Inside any visible springs
Step 3: Check for Loose Connections
Gently wiggle the dial to test for play in the mechanism. A properly working dial should feel firm with distinct clicks.
Look for any screws that might have loosened over time. Tighten them carefully with your screwdriver.
Testing Dial Movement
Turn the dial slowly through all numbered positions. Each setting should click into place clearly.
If the dial skips numbers or feels mushy, you likely have internal spring problems.
Fixing Specific Problems
When the Dial Spins Freely
This usually means the internal spring mechanism has failed. You’ll need to disassemble the dial housing.
Remove the dial face by unscrewing the center screw. Be ready to catch small springs and washers.
Replacing Internal Springs
Many quilting machine dealers sell tension dial repair kits. These include new springs and washers for about $15-25.
I researched online and found that generic springs sometimes work if you match the size exactly.
Dealing with Sticky Dials
Old oil and lint create a gummy residue that makes dials hard to turn. Clean everything with denatured alcohol.
After cleaning, apply one tiny drop of sewing machine oil to the threaded rod. Too much oil attracts more lint.
Preventing Future Stickiness
Clean your tension area monthly during regular maintenance. This prevents major buildup.
Some quilters use dry graphite instead of oil. It lubricates without attracting debris.
When to Replace vs. Repair
Repair Makes Sense If
Your machine is less than 10 years old and the dial housing isn’t cracked. Most internal parts can be cleaned or replaced.
Replacement parts cost under $50 total. This includes springs, washers, and tension discs.
Consider Replacement When
The dial housing shows visible cracks or metal fatigue. These can’t be reliably repaired at home.
Your machine is very old and parts aren’t available. Sometimes upgrading makes more financial sense.
Cost Comparison
| Repair Option | Typical Cost | Time Required |
|---|---|---|
| DIY cleaning and adjustment | $0-10 | 1-2 hours |
| Parts replacement | $15-50 | 2-3 hours |
| Professional repair | $75-150 | 1-2 weeks |
| New tension assembly | $100-300 | 3-4 hours |
Testing Your Repair
Before Reassembling
Test the dial action with everything still exposed. Turn through all settings and feel for smooth, consistent clicks.
Check that springs return the mechanism to neutral when you release pressure.
After Putting Everything Back
Thread your machine and test stitch on fabric scraps. Start with medium tension settings around 4 or 5.
Gradually test higher and lower settings. Your stitches should tighten and loosen predictably.
Fine-Tuning the Results
If tension seems off after repair, you might need to recalibrate. Some machines have internal adjustment screws for this.
I found that most home repairs restore about 90% of original performance. That’s usually good enough for quilting.
Preventing Future Problems
Regular Maintenance Schedule
Clean lint from the tension area every 20-30 hours of quilting. This prevents most dial problems.
Oil the mechanism lightly every few months. Use only sewing machine oil, never household oils.
Good Threading Habits
Always thread with the presser foot up. This releases tension on the discs and reduces wear.
Don’t pull thread forcefully through the tension assembly. Let the mechanism do its job.
Thread Quality Matters
Cheap thread sheds more fibers and clogs tension mechanisms faster. Quality thread saves maintenance time.
Store thread in sealed containers to prevent dust buildup on spools.
Troubleshooting Common Issues
Repair Didn’t Fix the Problem
Sometimes tension issues come from other machine parts, not the dial itself. Check your bobbin case and needle condition.
Bent needles or damaged bobbin cases create tension problems that seem like dial issues.
Dial Works But Stitches Still Look Wrong
You might have threading problems or need to adjust your bobbin tension too. Top and bottom tensions work together.
Try different thread weights to test if the problem is mechanical or related to your materials.
Conclusion
Fixing a broken tension dial saves money and keeps your quilting projects on track. Most repairs involve simple cleaning and minor part replacement that you can do at home.
Remember to work carefully and take photos of each step. With patience and the right tools, you can restore smooth tension control to your quilting machine. Regular maintenance prevents most dial problems from happening in the first place.
Can I use any type of oil on my tension dial mechanism?
No, only use sewing machine oil specifically designed for these mechanisms. Household oils like WD-40 or 3-in-1 oil attract lint and can damage delicate parts over time.
How do I know if my tension dial springs are completely broken?
If the dial spins continuously without stopping at numbered positions or feels completely loose with no resistance, the internal springs have likely failed and need replacement.
Is it normal for tension dials to make clicking sounds?
Yes, healthy tension dials should make distinct clicking sounds as they move between numbered settings. This indicates the internal mechanism is engaging properly at each tension level.
What should I do if I lose small parts during disassembly?
Work over a white towel or magnetic parts tray to catch small springs and washers. If you lose parts, contact your machine dealer for replacement hardware before reassembling.
How often should I clean my quilting machine’s tension system?
Clean the tension area every 20-30 hours of quilting time, or monthly if you quilt regularly. Machines used daily may need more frequent cleaning to prevent lint buildup.