
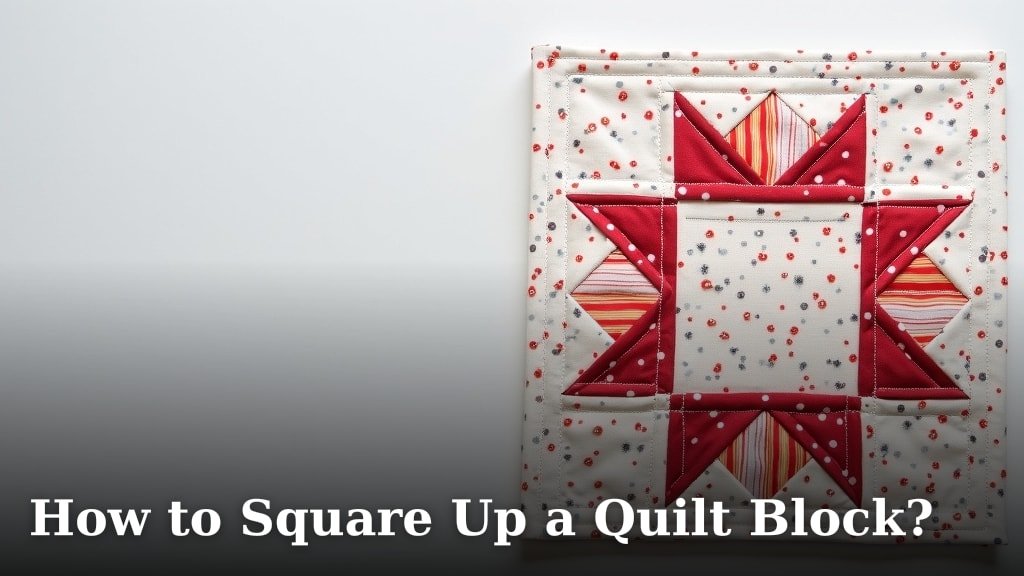
To square up a quilt block, you should trim all four sides of your pieced block until it measures the correct size. This process uses a rotary cutter, a cutting mat, and a clear quilting ruler to make sure all your blocks are perfectly square and accurate.
You might be wondering why squaring up is so important, right? Well, consistent quilt blocks are key for successful quilting. They ensure your quilt top lays flat, your seams match up nicely, and your finished project looks professional and beautiful.
- Achieve perfect quilt block sizes.
- Use a rotary cutter, mat, and ruler.
- Ensure accurate and even seams.
- Create a flat, professional-looking quilt.
- Eliminate wavy borders and puckers.
Let’s walk through exactly how to square up a quilt block, step by step, so you can achieve quilt-making success.
Perfecting Your Quilt Blocks: A Guide to Squaring Up
Squaring up a quilt block means trimming your freshly pieced block to its exact, desired size. Think of it like a haircut for your fabric – you’re evening out all the edges to make it perfectly neat and uniform.
This critical step ensures all your blocks are the same dimensions before you sew them together. Without it, you might end up with a wobbly quilt top or misaligned seams. No one wants that, right?
Why Squaring Up is Your Secret Weapon
You might be tempted to skip this step, especially if your block looks “pretty good.” But trust us, it’s worth the extra few minutes. Squaring up makes a huge difference in the final look and feel of your quilt.
- Better Seam Matching: When blocks are square, your seams line up almost magically.
- Flat Quilt Top: Even blocks prevent your quilt top from bowing or rippling.
- Easier Assembly: Sewing square blocks together is much less frustrating.
- Professional Finish: Your quilt will look store-bought, not homemade (in the best way!).
Tools You’ll Need for Precise Trimming
Before you start, gather your supplies. Having the right tools makes the job much easier and more accurate.
- Rotary Cutter: A sharp blade is key for clean cuts. We recommend a 45mm or 60mm size.
- Self-Healing Cutting Mat: This protects your work surface and your blade. Make sure it’s larger than your block.
- Clear Acrylic Quilting Ruler: Look for one with clear markings and a 45-degree line. A square ruler, like 6.5″ x 6.5″ or 12.5″ x 12.5″, is ideal.
- Iron and Ironing Board: For pressing your block before and after trimming.
- Your Pieced Quilt Block: Freshly sewn and ready for its trim!
Preparing Your Quilt Block for Squaring
Preparation is everything! Before you even think about the rotary cutter, you need to properly press your block. This step alone can fix many small issues.
Take your pieced block to the ironing board. Gently press your seams open or to one side, whichever your pattern recommends. Avoid stretching the fabric as you press. Just a gentle up-and-down motion is best.
A well-pressed block lies flat and true, which is exactly what you need for accurate trimming. Any puckers or wrinkles will throw off your measurements.
Step-by-Step Guide to Squaring Up Your Quilt Block
Ready to get started? This process is straightforward once you get the hang of it. We’ll break it down into easy steps.
Step 1: Determine Your Target Size
What size should your block be? Your quilt pattern will tell you the finished block size. For example, if your pattern says 6″ finished, your trimmed block needs to measure 6.5″ x 6.5″ before you sew it into the quilt. That extra half-inch accounts for your seam allowances.
Always double-check your pattern for the correct unfinished size. This is a common point of confusion for new quilters, so don’t feel bad if you have to look it up!
Step 2: Place Your Block on the Cutting Mat
Lay your pressed quilt block flat on your cutting mat. Make sure it’s smooth and free of any wrinkles. Position it so you have plenty of space around all four sides for trimming.
Sometimes it helps to align one edge of your block with a grid line on your mat. This gives you a good starting point, though your ruler will do most of the precision work.
Step 3: Trim the First Two Sides
This is where your ruler comes in. We’re going to establish two perfectly square sides first.
- Place your clear ruler over your block. Find the 45-degree diagonal line on your ruler.
- Align this 45-degree line with a prominent diagonal seam on your quilt block. This helps to center your block and ensures it’s not crooked.
- Adjust your ruler so that the raw edges of your block extend beyond the desired size markings on two adjacent sides of your ruler. For example, if your block should be 6.5″, make sure you can see at least 6.5″ of fabric extending past the ruler on two sides.
- Hold the ruler firmly with your non-cutting hand. With your rotary cutter, trim off the excess fabric along two adjacent sides of your block. Always cut away from your body!
You’ve now created a perfect 90-degree corner! This first cut is often the most important for setting up the rest of your trimming. Researchers at the National Quilting Association often emphasize the importance of this initial alignment for overall accuracy (NQA Journal, Vol. 25).
Step 4: Rotate and Trim the Remaining Two Sides
Now, rotate your cutting mat (or your block) 180 degrees. This brings the two freshly trimmed, square edges closer to you.
- Place your ruler back on the block. Align the previously trimmed edges precisely with the desired measurement lines on your ruler. For a 6.5″ block, align the trimmed edges with the 6.5″ marks on your ruler.
- Make sure the block fills the square formed by these lines on your ruler. You should have very little to trim off, just a tiny sliver, ideally.
- Hold the ruler steady and trim off the excess fabric from the remaining two raw edges.
And just like that, your block is squared up! It should now measure exactly the unfinished size specified in your pattern. Feel free to measure it again to confirm your work.
Tips for Getting a Perfect Trim Every Time
Even with good instructions, sometimes it takes practice. Here are a few pointers to help you along the way:
- Keep Your Blade Sharp: A dull blade can chew fabric, making uneven cuts. Change it often!
- Press, Press, Press: We can’t say it enough. A flat block is a trim-ready block.
- Don’t Oversize: Trim your blocks to the correct unfinished size. Don’t add extra.
- Look at the Lines: Use the grid lines on your ruler and mat. They are there to help you.
- Practice Makes Perfect: Your first few blocks might feel awkward. Keep going; you’ll get faster and more accurate.
Here’s a quick checklist to ensure you’ve covered all your bases:
- Block is fully pressed.
- Rotary cutter has a sharp blade.
- Ruler is aligned with a diagonal seam (first cut).
- First two sides are trimmed square.
- Block is rotated 180 degrees.
- Remaining two sides are trimmed to final size.
Common Squaring Up Challenges and Solutions
Even seasoned quilters run into little snags. Don’t worry if your block isn’t perfect on the first try. Here are some common issues and how to fix them.
Challenge 1: My Block is Too Small After Trimming
Oh no, the dreaded small block! This usually happens if your initial seam allowances were too wide. If your seams are closer to 1/2″ instead of a perfect 1/4″, your block will naturally come out smaller.
Solution: Check your 1/4″ seam allowance. Sew a few test strips of fabric and measure them. Adjust your sewing machine’s needle position or use a 1/4″ foot to get a more accurate seam. For the current small block, you might need to redo it, or, for a very slight difference, you might be able to ease it in when joining blocks, but that’s not ideal.
Challenge 2: My Block is Crooked or Skewed
This means your angles aren’t quite 90 degrees. It often happens if the initial cut wasn’t perfectly aligned or if the fabric shifted during sewing or pressing.
Solution: Focus on aligning the 45-degree line on your ruler with a main diagonal seam in your block during the first two cuts. This line is your best friend for getting true angles. Also, be careful not to stretch your fabric when pressing, as that can distort its shape.
| Issue | Likely Cause | Best Solution |
|---|---|---|
| Block too small | Inaccurate 1/4″ seam allowance during piecing. | Adjust sewing machine’s seam allowance. |
| Block is crooked | Poor initial ruler alignment; fabric stretching. | Use 45-degree ruler line; gentle pressing. |
| Uneven cuts | Dull rotary blade; unsteady hand. | Change blade; practice firm, even pressure. |
| Too much fabric trimmed | Ruler shifted; misread measurement. | Hold ruler firmly; double-check measurements. |
Remember, quilting is a skill that improves with practice. Don’t be discouraged by mistakes. Each one teaches you something new! You’re building a beautiful, lasting piece of art, and taking the time to square up your blocks is a big step toward a truly stunning finish.
Conclusion
Squaring up your quilt blocks is a small step that makes a huge difference in your finished project. You’ve learned how to properly prepare your blocks, use your tools effectively, and execute the precise trimming technique. Remember, accuracy here pays off later with perfectly matched seams and a flat quilt top. Don’t rush this stage; embrace the precision. With practice, you’ll find this process becomes quick and intuitive, leading you to create truly professional and beautiful quilts every time.
Frequently Asked Questions
What if my ruler doesn’t have a 45-degree line?
Most standard quilting rulers have a 45-degree line. If yours doesn’t, you can still square up your blocks. You’ll need to rely more heavily on aligning the fabric’s natural grain and making sure your first two cuts create a perfectly perpendicular corner before rotating and trimming the final two sides.
Can I square up multiple blocks at once to save time?
While tempting, it’s generally not recommended to stack blocks for squaring up. Fabric can shift easily, leading to inaccurate cuts. For the best precision, square up each block individually. This ensures every single block meets your desired dimensions.
How often should I change my rotary cutter blade?
The frequency depends on how much you quilt, but a good rule of thumb is to change it as soon as you notice any fraying, skipped threads, or difficulty cutting. A sharp blade is essential for clean, accurate cuts and safer use. Keeping spare blades on hand is always a good idea.
My quilt block is a bit larger than my ruler. How do I square it?
If your block is bigger than your ruler, you’ll need to use your cutting mat’s grid lines in conjunction with your ruler. Trim one or two sides using your ruler and the mat’s lines as a guide. Then, align those trimmed edges with the markings on your mat and ruler to extend your measurement and trim the remaining sides.
Should I square up my quilt blocks before or after pressing?
Always press your quilt block thoroughly before squaring it up. Pressing flattens seams and removes any puckers or distortions. A perfectly flat block is much easier to measure and trim accurately. Skipping this step can lead to crooked or unevenly sized blocks.
