
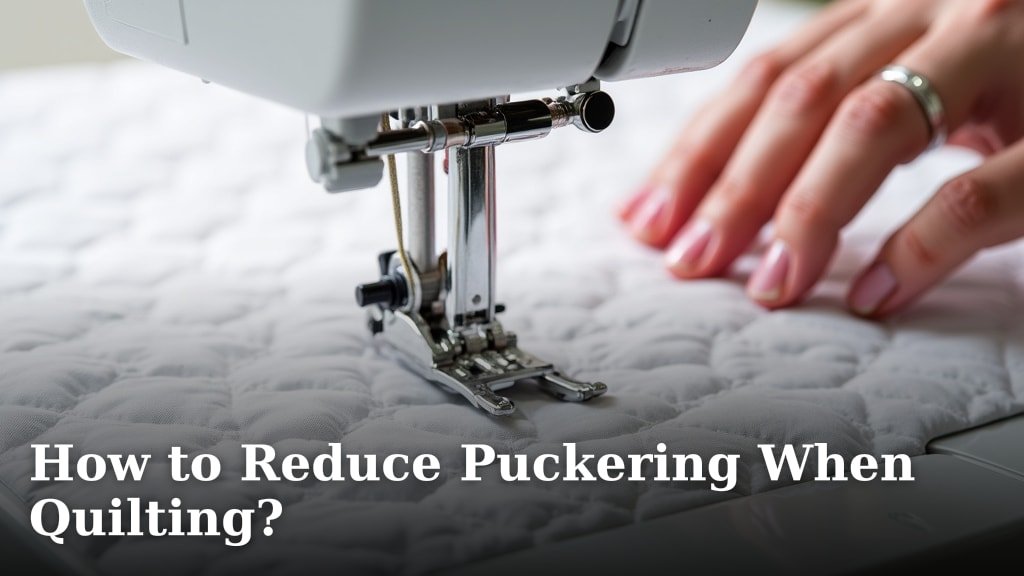
The easiest way to reduce puckering when quilting is to ensure you have even tension and a well-basted quilt sandwich. Proper technique and a little patience go a long way in achieving a smooth finish. We found that most puckering issues stem from uneven fabric handling.
You know that feeling when your beautiful quilt top looks crinkled and uneven after quilting? It’s frustrating, right? We’ve all been there! Puckering happens when fabric layers aren’t feeding through your machine at the same rate, often due to tension issues or improper basting. Many quilters struggle with this common problem.
TL;DR:
- Achieve balanced tension on your sewing machine.
- Baste your quilt layers thoroughly and properly.
- Use the correct needles and thread for your fabrics.
- Practice even stitching and slow down your pace.
- Consider walking feet or specialty presser feet.
Let’s walk through exactly how to tackle this quilting headache and achieve those beautifully flat, smooth quilts you dream of.
Mastering Your Machine for Puckering Prevention
Achieving a smooth, pucker-free quilt starts with understanding your sewing machine. Your machine is an amazing tool, but it needs a little help from you to perform its best.
Understanding Thread Tension
Thread tension is often the silent culprit behind puckering. If the top thread or bobbin thread is too tight or too loose, your fabric layers won’t feed evenly. It’s like a tug-of-war where one side is pulling harder than the other.
Balancing Top and Bobbin Tension
Ideally, your top and bobbin threads should have equal tension. When they look the same on both sides of your fabric, you’ve found the sweet spot. We found that most machines have a factory setting that works well for many fabrics, but you might need to adjust it for quilting.
- Test on scrap fabric: Always use the same layers you’ll be quilting.
- Look at stitches: If the top thread shows on the bottom, your top tension is too loose. If the bobbin thread shows on the top, your top tension is too tight.
- Adjust slowly: Make tiny adjustments to your top tension knob. We found small changes make a big difference.
Matching Thread Weights
The type of thread you use matters too. Many experts recommend using the same weight thread in both the top and bobbin for quilting. If you use a heavier bobbin thread with a lighter top thread, it can create an imbalance, contributing to puckering (University of Kentucky Extension).
Needle and Thread Choices Matter
Did you know your needle isn’t just for pushing thread? It’s a tiny magician that can either help or hinder your quilting journey. Using the wrong needle or thread can cause skipped stitches, thread breaks, and yes, puckering.
Selecting the Right Needle
For quilting, we found that a sharp needle or a quilting needle works best. These needles have a very fine point that easily pierces through multiple layers of fabric without snagging. A universal needle might push fabric fibers instead of piercing them cleanly.
- Needle size: For most quilting, a 90/14 or 80/12 needle is a good starting point.
- Change often: Needles get dull. We found that changing your needle every 8-10 hours of sewing, or after every large project, is a good habit. A dull needle can cause damage to your fabric and lead to uneven stitches.
Choosing Your Thread
Polyester or cotton threads are popular choices for quilting. What’s the difference? Polyester is strong and has a little stretch, while cotton has less stretch and is natural. We found that a good quality, low-lint thread helps prevent thread buildup in your machine, which can affect tension.
Avoid very thick or very thin decorative threads for piecing and quilting unless your machine is specifically set up for them. These can be difficult to balance tension with, leading to frustration and puckering.
The Art of a Perfect Quilt Sandwich
Think of your quilt as a delicious sandwich – each layer needs to be aligned perfectly to keep it from falling apart. If your layers shift, you’re almost guaranteed to get puckers.
Basting Techniques for Stability
Basting is the process of holding your three quilt layers (backing, batting, and top) together. This step is critical. We can’t stress this enough. Rushing basting often leads to hours of fixing puckers later.
Spray Basting for Smoothness
Many quilters love spray basting for its ability to create a very smooth, wrinkle-free bond. It’s like a temporary glue holding your layers. Here’s what we found works best:
- Work in sections: Lay your backing flat, tape it down, then spray a section. Smooth your batting onto it. Repeat.
- Overlap sprays: Make sure you overlap your spray areas to avoid gaps where layers can shift.
- Light touch: Don’t overdo the spray! A light, even coat is all you need (Schmetz Needles).
Pin Basting with Precision
Pin basting is another excellent method. It involves using safety pins to secure the layers. The trick is using enough pins! We found that pins placed every 3-4 inches, in a grid pattern, work wonders.
- Use curved safety pins: These open and close easily, and their curve helps them go through the layers without distorting them.
- Start from the center: Place your first pin in the very center of the quilt. Work your way outwards in rows.
- Smooth as you go: Always smooth the fabric from the center to the edges before placing each pin. This helps push out any air bubbles or wrinkles.
Other Basting Methods
While spray and pin basting are popular, there are other methods. Some quilters use long basting stitches with a sewing machine or hand-baste with large running stitches. The goal is always the same: keep those layers from moving!
Quilting with Care and Control
Once your sandwich is ready, the actual quilting begins. This is where your technique really shines. Slow and steady wins the race when it comes to smooth quilting.
Even Stitching and Speed Control
Your machine is designed to move fabric evenly, but you guide it. If you push or pull too hard, you’ll disrupt the machine’s feed, causing inconsistent stitch lengths and puckers. Think of it like dancing with your quilt; you want to lead gently.
Finding Your Rhythm
Pace yourself. Many experts suggest a medium, consistent speed for quilting. If you go too fast, you might lose control. Too slow, and your stitches can become uneven or tiny, causing fabric to bunch up.
Practice on small scraps first. Develop a comfortable rhythm where your hands guide the fabric smoothly and your foot pedal maintains a steady speed. We found that a little practice goes a long way here.
Using a Walking Foot
This is a game-changer for many quilters! A walking foot has its own set of feed dogs on the top, helping to grip and move the top layer of your quilt at the same rate as the bottom layers. It’s like having a second pair of hands gently feeding your quilt. If you’re struggling with puckering, a walking foot is often the first suggestion we hear (National Quilters Circle).
Is it magic? Not quite, but it’s close! We highly recommend trying one if you don’t already have it. It won’t eliminate all puckering, but it vastly reduces it.
Presser Foot Pressure and Feed Dog Settings
Your machine has settings you might not even know about! Don’t be afraid to experiment with them. They’re there to help.
Adjusting Presser Foot Pressure
Your presser foot holds your fabric down. If it’s too tight, it can compress your fabric layers too much, leading to drag and puckering. If it’s too loose, the fabric might not feed evenly. Most machines have a knob or lever to adjust this.
Many experts suggest lowering your presser foot pressure slightly when quilting. This allows the bulkier quilt sandwich to move more freely under the foot. Test this on scraps to see what works for your machine and fabric.
Engaging or Disengaging Feed Dogs
Feed dogs are the tiny teeth under your presser foot that pull the fabric. For regular sewing, they are always up. For free-motion quilting, you might drop them (disengage them) to allow for more movement. For straight-line quilting, keep them engaged!
Make sure they are fully engaged for traditional straight-line or gently curved quilting. We found that sometimes feed dogs can be partially engaged, causing uneven feeding and frustrating puckers.
Troubleshooting and Prevention Checklist
Sometimes, despite your best efforts, a pucker might appear. Don’t panic! Here’s a quick checklist to help you pinpoint the problem and prevent future ones.
| Problem Area | Potential Cause | Solution |
|---|---|---|
| Fabric Drag/Bunching | Too much friction under foot; layers shifting. | Use a walking foot; reduce presser foot pressure; re-baste. |
| Uneven Stitches | Inconsistent speed; tension imbalance. | Maintain steady speed; adjust top/bobbin tension. |
| Tiny Puckers Throughout | Dull needle; improper thread. | Change needle frequently; use quality quilting thread. |
| Large Wrinkles/Folds | Poor basting; fabric not smoothed. | Re-do basting from the center out, smoothing thoroughly. |
| Fabric Distortion | Pushing/pulling fabric too hard. | Let machine feed fabric; guide gently. |
Here’s your quick anti-puckering checklist:
- Clean and oil your machine regularly.
- Use a fresh, sharp quilting needle for each project.
- Confirm your machine’s thread tension is balanced.
- Baste your quilt sandwich thoroughly and evenly.
- Slow down and maintain a consistent quilting speed.
- Consider using a walking foot for straight-line quilting.
Conclusion
You’ve now got a full toolkit for tackling those stubborn puckers! Remember, a smooth quilt comes down to a few key areas. Achieving balanced tension, preparing a perfectly basted quilt sandwich, and practicing careful, consistent quilting are your biggest allies. We found that giving each of these steps the attention they deserve truly transforms your quilting experience. Don’t be afraid to slow down and experiment with your machine’s settings. With a little practice, your quilts will be beautifully flat and pucker-free. Try implementing just one new tip today and see the difference!
Frequently Asked Questions
Why do I get puckers even with a walking foot?
While a walking foot is incredibly helpful, it’s not a magic bullet. Puckering can still occur due to incorrect thread tension, a dull needle, or insufficient basting. Ensure your walking foot is properly attached and check other settings like presser foot pressure.
Can pushing or pulling my fabric cause puckers?
Absolutely. Your sewing machine’s feed dogs are designed to move the fabric at an even pace. If you push or pull too aggressively, you override this, causing layers to shift unevenly. Try to guide your fabric gently and let the machine do the feeding.
How often should I clean my sewing machine to prevent puckering?
Lint buildup can affect tension discs and feed dogs, contributing to uneven feeding and puckering. We found that cleaning under the needle plate and in the bobbin area after every project, or every 8-10 hours of sewing, is a good habit to prevent issues.
Is it better to use different thread colors for top and bobbin tension tests?
Yes, using different thread colors (one light, one dark) can make it much easier to see when your top and bobbin tensions are balanced. This allows you to quickly identify if one thread is pulling through to the opposite side more than it should.
My quilt is small, do I still need to baste thoroughly?
Yes, thorough basting is essential regardless of quilt size. Even small quilts can pucker if their layers shift during quilting. Proper basting ensures all layers remain securely aligned, which is key to a smooth finish on any project.
