
To use quilting templates, you will first choose the right template for your project, then position it correctly on your fabric, and carefully cut or mark around its edges to achieve precise and consistent shapes for your quilt blocks. We found that this method helps ensure your pieces fit together perfectly, making your quilting journey much smoother. It’s all about making your work look professional.
Quilting templates are often made from clear acrylic or plastic, and they act as guides. They help you cut out shapes like squares, triangles, circles, and more complex designs with great accuracy. Using them can save you a lot of time and guesswork, especially for repetitive patterns, leading to beautifully assembled quilts.
- Learn how templates ensure accurate cuts.
- Discover picking the right template for each project.
- Find out about positioning and holding your template steady.
- Understand cutting and marking techniques with templates.
- See how templates can simplify complex designs.
Ready to make your quilting dreams a reality? Let’s walk through exactly how to master quilting templates, step by step, so you can create stunning stitches with ease.
Mastering Your Quilting Templates
You can achieve perfectly cut fabric pieces for your quilt by understanding basic template usage. This means your quilt blocks will fit together smoothly, giving your projects a professional finish.
Choosing the Right Template for Your Project
Selecting the correct template is your first step. Think about the shapes your quilt design needs. Are you working with squares, triangles, or something more unique?
Understanding Template Materials
Most templates are made from clear acrylic. This material is strong and lets you see the fabric underneath. Some specialized templates might be made from other durable plastics.
- Acrylic Templates: These are the most common. They are thick enough to guide your rotary cutter safely.
- Plastic Templates: Sometimes thinner, these might be better for marking rather than rotary cutting directly.
Standard Template Shapes
Templates come in a vast array of shapes. You’ll find sets for basic geometric figures and others for more complex designs.
| Template Type | Common Uses | Key Benefit |
|---|---|---|
| Square Templates | Basic quilt blocks, border pieces | Ensures perfect 90-degree corners |
| Triangle Templates | Half-square triangles, flying geese | Accurate angles for precise points |
| Circle/Curve Templates | Appliqué, drunkard’s path blocks | Smooth, consistent curves |
| Specialty Templates | Hexagons, sashing, intricate patterns | Simplifies complex shapes |
Preparing Your Fabric for Template Cutting
Before you even touch your template, prepare your fabric. Proper fabric preparation prevents miscuts and ensures your quilt pieces are uniform.
Washing and Pressing Fabric
Always wash and press your fabric first. This removes any sizing and pre-shrinks the material. Ignoring this step can lead to distortion later on (Quilters Guild of America).
- Wash fabric according to its care instructions.
- Press out all wrinkles until the fabric is perfectly flat.
- Allow fabric to cool completely before cutting.
Layering and Stabilizing Fabric
You might cut multiple layers of fabric at once. This saves time but requires careful layering. Neatly fold or stack your fabric, ensuring all edges align evenly. Using a non-slip mat helps prevent shifting.
The Art of Positioning Your Template
Placing your template correctly on the fabric is crucial for accurate cuts. A slight shift can ruin your piece, so take your time with this step.
Aligning with Fabric Grain
Always try to align your template with the fabric grain. The grain runs parallel to the selvage (the finished edge of the fabric). Cutting on the grain results in less stretchy, more stable pieces.
For squares and rectangles, aim to have two sides of your template perfectly parallel to the selvage.
Maximizing Fabric Usage
Think about fabric economy. Position your template to minimize waste. You can nest shapes closely together, leaving just enough space for your cutting tool.
We found that planning your cuts ahead by visualizing the layout can save a lot of fabric.
Holding Your Template Steady
A wobbly template leads to inaccurate cuts. You need to hold it firmly in place throughout the cutting or marking process.
Using Template Grippers
Many quilters use specialty grippers or non-slip rings on the back of their templates. These clear silicone or rubber dots create friction. They help the template “stick” to your fabric without actually adhering.
Applying Consistent Pressure
Use your non-dominant hand to apply firm, even pressure directly onto the template. Spread your fingers out over the template’s surface. Make sure no part of the template lifts as you cut or mark.
Practice holding your template on scrap fabric until you feel confident in your grip. It should feel stable and immovable.
Cutting Techniques with Templates
Once your template is positioned and held securely, it’s time to cut. Your choice of cutting tool depends on the template and your comfort level.
Rotary Cutter Method
The rotary cutter is usually the fastest and most accurate method. Always use a sharp blade; a dull blade can chew your fabric or slip.
- Place your template.
- Hold it firmly with your non-dominant hand.
- Hold the rotary cutter upright with your dominant hand.
- Press down firmly and roll the cutter along the template’s edge.
- Cut away from your body, maintaining contact with the template.
- Always use a self-healing cutting mat underneath.
Scissor Cutting Method
For more intricate shapes or if you prefer scissors, mark around the template first. Then, carefully cut along your marked lines.
This method is slower but gives you more control over curved or delicate shapes. Just be sure your scissors are sharp fabric scissors, not household ones.
Marking Techniques with Templates
Sometimes you need to mark a design onto your fabric rather than cut it directly. Templates are excellent for this too.
Choosing Your Marking Tool
Select a marking tool that is safe for your fabric and will disappear later. Options include:
- Fabric Pens: Water-soluble, air-soluble, or heat-erasable pens. Always test on a scrap piece first.
- Tailor’s Chalk: Great for darker fabrics, but can smudge. Use a sharp edge for fine lines.
- Pencils: White or colored fabric pencils work well, especially on darker fabrics.
Accurate Marking Process
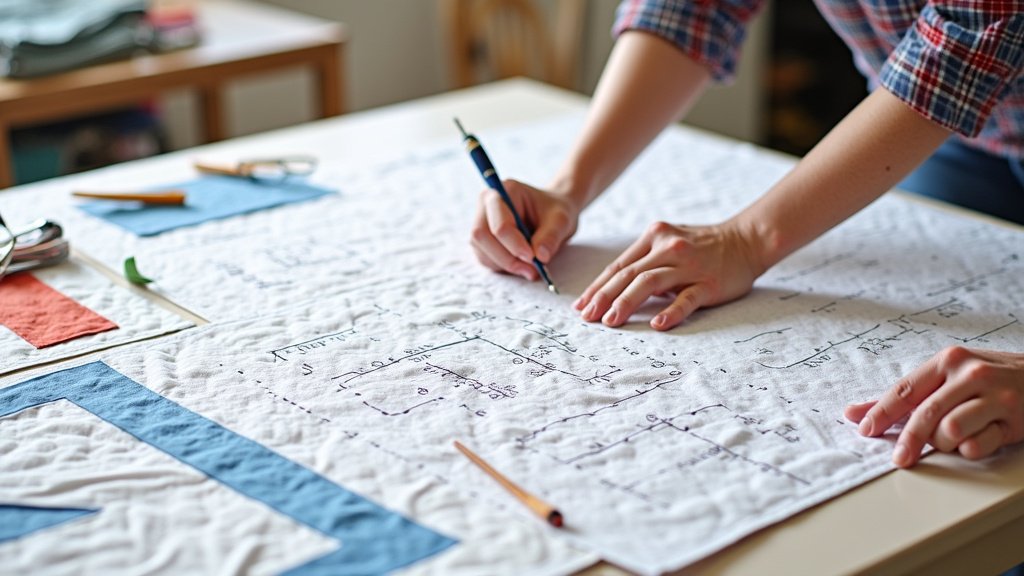
Position your template and hold it steady. Trace firmly around the desired edges. If the template has internal markings (like for seam allowances), mark those too.
Remove the template carefully to avoid smudging your marks. You now have a precise guide to cut or stitch along.
Troubleshooting Common Template Issues
Even seasoned quilters encounter problems. Here are some common struggles and how to fix them.
Slipping Templates
If your template slides, your grip might not be firm enough, or you might need better grippers. Try applying more pressure with your hand or investing in new non-slip pads. Some quilters swear by specific brands of gripping mats (American Quilter’s Society).
Inaccurate Cuts
Are your cuts not quite straight or the wrong size? Check your rotary cutter blade; it might be dull. Re-evaluate your pressure on the cutter. Ensure you are pressing the cutter firmly against the template’s edge throughout the entire cut.
Wasted Fabric
If you’re finding too many expensive scraps, review your fabric layout strategy. Are you nesting your shapes efficiently? Try making a small sketch of your cutting plan before you start.
Maintaining Your Templates
Proper care extends the life of your templates and keeps them clear and easy to use.
Cleaning and Storage
Clean your templates regularly with a soft cloth and mild soap and water. Avoid harsh chemicals that can cloud acrylic. Store them flat in a safe place, away from extreme heat or sunlight, which can cause warping.
Checking for Damage
Periodically inspect your templates for nicks or scratches along the edges. Such damage can lead to inaccurate cuts. If a template is significantly damaged, it’s often best to replace it for precision.
Your Template Usage Checklist
Before you begin your next quilting project, quickly review this checklist:
- Did you wash and press your fabric?
- Is your template clean and undamaged?
- Do you have non-slip grippers on your template?
- Is your rotary cutter blade sharp?
- Have you aligned the template with the fabric grain?
- Are you applying firm, even pressure to the template?
Conclusion
Mastering quilting templates empowers you to create stunning, professional-looking quilts with ease. By carefully choosing your templates, preparing your fabric, and holding everything steady, you ensure every cut and mark is precise. You’ve learned how to troubleshoot common issues and maintain your tools for lasting accuracy. We encourage you to practice these techniques on scrap fabric. Soon, you’ll be cutting intricate shapes and assembling complex blocks with confidence and joy, taking your quilting projects to the next level.
Frequently Asked Questions
What’s the best way to clean my acrylic quilting templates?
You should clean your acrylic templates with a soft cloth, mild soap, and lukewarm water. Avoid harsh chemical cleaners or abrasive sponges. These can scratch or cloud the clear acrylic over time, making it harder to see your fabric underneath.
Can I use regular household scissors with quilting templates instead of a rotary cutter?
While you can use scissors for marking and then cutting, a rotary cutter pressed directly against an acrylic template typically gives you much straighter and more accurate cuts in less time. If using scissors, always mark your line first and then cut carefully along it with sharp fabric scissors for best results.
How do I prevent my fabric from shifting while I’m cutting with a template?
To prevent fabric shifting, always place your fabric on a non-slip cutting mat. You can also use non-slip grippers or sandpaper dots on the back of your template. Most importantly, press down firmly and evenly on the template with your non-dominant hand while you cut.
Are all quilting templates the same thickness?
No, not all quilting templates are the same thickness. Acrylic templates, often designed for rotary cutting, tend to be thicker to provide a safe guide for the blade. Thinner plastic templates might be better suited for marking around with a pen or chalk, rather than using them directly with a rotary cutter.
My rotary cutter sometimes “jumps” over the template edge. What am I doing wrong?
If your rotary cutter jumps, your blade might be dull, or you might not be applying enough downward pressure on the cutter. Always ensure your blade is sharp, and press it firmly against the template edge throughout the entire cut. Keep your other hand firmly on the template to prevent it from moving.
