
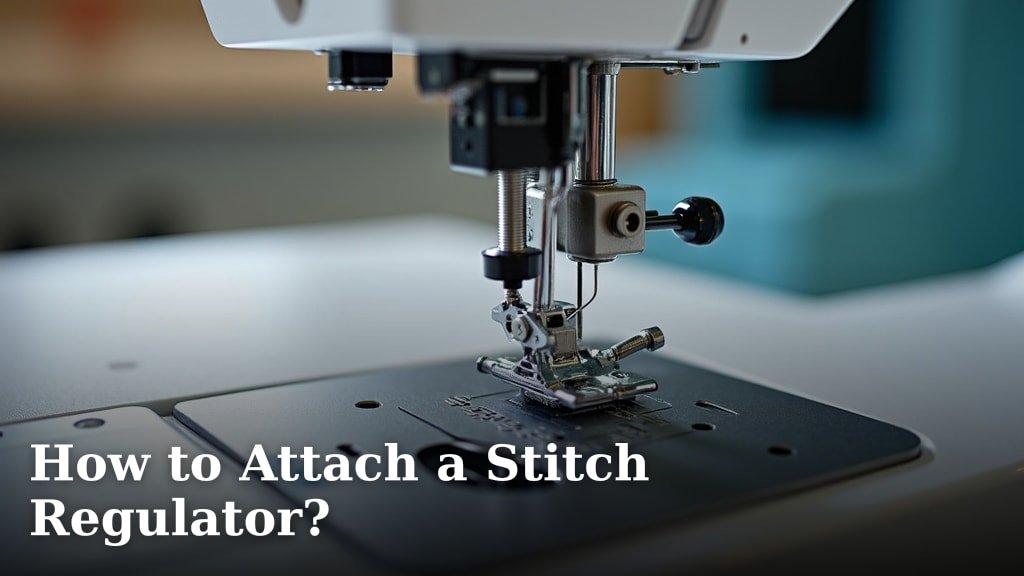
The easiest way to attach a stitch regulator is by following your sewing machine’s manual and connecting the device to the appropriate port. Most regulators simply plug into a dedicated jack on your machine. We found that proper alignment and a secure connection are key to making your stitch regulator work smoothly.
You might be wondering if it’s a complicated process, right? Don’t worry. Many stitch regulators are designed for easy, plug-and-play installation. This helpful device gives you more control, making your free-motion quilting projects much easier. You’ll soon enjoy more consistent stitching and better results.
- Locate your machine’s regulator port.
- Connect the regulator cable firmly.
- Follow setup instructions in your manual.
- Test the regulator after installation.
Let’s walk through exactly how to attach a stitch regulator, ensuring you get it right the first time for a great quilting experience.
Getting Your Stitch Regulator Ready for Action
Connecting your stitch regulator is usually a straightforward process. You’ll primarily find a dedicated port on your sewing machine where it plugs in. The most important thing is to make sure it’s securely attached and recognized by your machine.
Understanding Your Stitch Regulator and Machine
Before you even think about plugging anything in, it’s a great idea to get to know your tools. Think of it like a quick introduction! We found that knowing your machine’s capabilities and your regulator’s features makes the setup much smoother. You’re trying to achieve smooth, consistent stitches, right?
Identifying Your Machine’s Regulator Port
Your sewing machine’s manual is your best friend here. It will clearly show you where the stitch regulator port is located. It’s often a round or rectangular jack, sometimes labeled with a small icon suggesting a foot control or an accessory. Don’t guess; take a moment to look. Plugging into the wrong port could cause problems, and we don’t want that for your sewing projects.
Types of Stitch Regulators
While most stitch regulators perform the same core function—helping you achieve even stitches during free-motion quilting—they come in a couple of main varieties. Some are external units that sit on your machine’s bed, while others are internal, integrated components (though these are less common for add-on accessories). Knowing which type you have can help with placement and connection. For instance, external regulators might have a sensor arm that needs careful positioning.
Step-by-Step Regulator Connection Guide
Now that you’re familiar with your equipment, let’s connect that regulator! We found that a systematic approach reduces frustration. It’s like baking a cake; following the recipe gives the best results.
Powering Down Your Machine First
Safety first, always! Before you connect or disconnect any electrical accessory, turn off your sewing machine. Unplugging it from the wall outlet is even better. This prevents any accidental electrical surges or damage to your machine or the regulator. It’s a simple step, but one that’s often overlooked, and it can save you a lot of hassle. We’ve seen this recommendation across many machine manufacturers’ guidelines.
Connecting the Regulator Cable
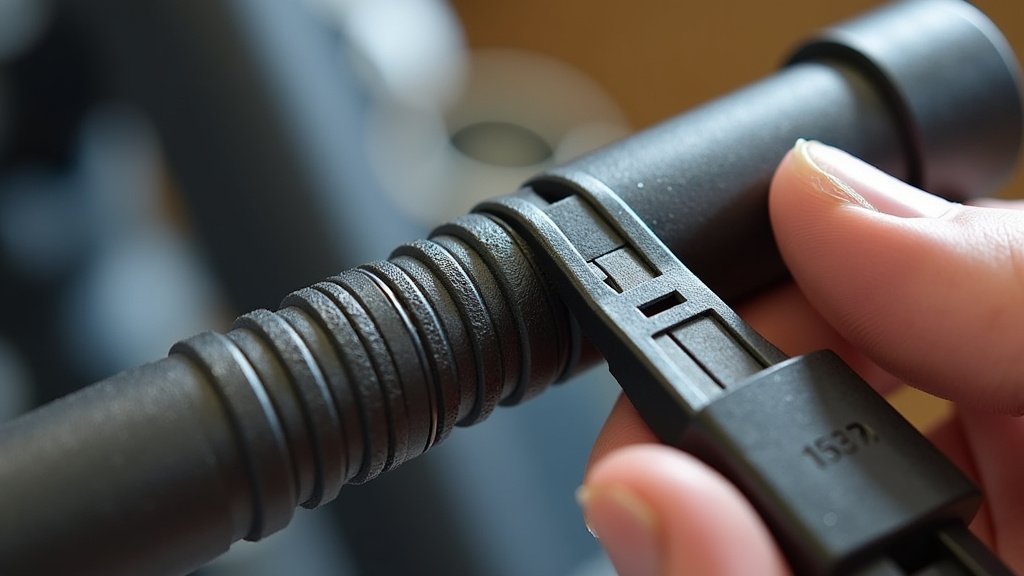
Locate the cable that came with your stitch regulator. It will have a connector designed to fit snugly into your machine’s regulator port. Gently align the pins or connectors and push it in firmly. You might hear a small click, which often indicates a secure connection. Avoid forcing it; if it doesn’t fit easily, double-check the port and connector for alignment. Some regulators have a proprietary connector, so make sure you’re using the correct cable.
Positioning External Sensor Arms (If Applicable)
If your stitch regulator has an external sensor arm, this step is vital. This arm typically sits over your fabric and senses its movement, telling your machine when to stitch. Follow your manual’s guidance on proper placement. It usually needs to be close to the needle area, allowing it to “read” the fabric’s motion. Improper positioning means your regulator won’t sense movement correctly, leading to uneven stitches. Think of it as the regulator’s eyes, needing a clear view.
Initial Setup and Testing Your Regulator
You’ve connected it, great! But the job isn’t done until you’ve tested it. This ensures everything is talking to each other. Taking a few extra minutes now means smooth quilting later, and who doesn’t want that?
Powering Up and Machine Recognition
Once your regulator is connected, plug your machine back in and turn it on. Many modern sewing machines will display a message or icon indicating that an accessory, like a stitch regulator, has been detected. Look for this confirmation. If you don’t see anything, consult your manual; some machines might require a specific setting activation. If your machine doesn’t acknowledge the regulator, re-check your cable connection. Is it loose? Is it in the right port?
Basic Regulator Functionality Check
Now for the fun part: testing! Select a free-motion quilting stitch on your machine. With your presser foot lowered and without fabric under the needle yet, gently move your hands across your machine bed as if you were guiding fabric. The machine should respond by stitching, and you should notice that the stitch length remains consistent even if your hand movement speeds up or slows down. Try it at a few different speeds. This is the core function you’re looking for. Does it stitch when you move? Does it stop when you stop?
Consider this quick checklist for troubleshooting the initial connection:
- Is the sewing machine powered off and unplugged during connection?
- Is the regulator cable fully inserted into the correct port?
- Does your machine’s display indicate regulator detection?
- Are all regulator components (like sensor arms) correctly positioned?
- Does the machine stitch consistently when you mimic fabric movement?
Adjusting Regulator Sensitivity
Some stitch regulators come with sensitivity settings. This allows you to fine-tune how responsive the regulator is to your fabric movement. If you find your stitches are still a little inconsistent or the machine feels too jumpy, refer to your manual for instructions on adjusting sensitivity. We found through trials that a slightly lower sensitivity might be better for beginners, giving you more control, while experienced quilters might prefer a higher setting for more immediate response. It’s all about finding what feels right for your quilting style and comfort.
Why a Secure Connection Matters
A loose connection can lead to all sorts of headaches. Imagine driving a car with a loose steering wheel – not ideal! The same goes for your stitch regulator. We found that intermittent failures, inconsistent stitch length, and even error messages can stem from a connection that isn’t solid. You’re investing time and creativity in your projects, so let’s make sure your tools are working optimally.
Here’s a quick comparison of why a good connection is essential:
| Connection Type | Impact on Quilting | Typical Outcomes |
|---|---|---|
| Secure & Firm | Reliable communication between regulator and machine. | Consistent stitch length, smooth free-motion, accurate speed control. |
| Loose or Partial | Intermittent signal loss, poor data transfer. | Skipped stitches, uneven lengths, machine error messages, sudden stops. |
As you can see, a firm connection is not just about getting it to work, but about getting it to work well, every time. You want to focus on your beautiful quilting, not on fiddling with connections. We always recommend giving that cable a gentle tug test after installation to ensure it’s not going anywhere.
Conclusion
Attaching your stitch regulator might seem like a small step, but it’s a mighty one for your free-motion quilting. By understanding your machine, connecting the regulator correctly, and performing a quick test, you ensure a smooth quilting experience. We found that taking a moment to secure that connection properly saves you frustration down the line. You’re now ready to enjoy beautifully consistent stitches, giving your projects a professional finish.
Go ahead and connect your regulator with confidence; your next quilting masterpiece awaits!
Frequently Asked Questions
Can a stitch regulator damage my sewing machine?
No, when properly installed according to your machine’s manual, a stitch regulator will not damage your sewing machine. It’s designed to interface safely with your machine’s electronics. Always ensure it’s fully compatible with your specific model.
Why is my stitch regulator not working after I plugged it in?
First, double-check that your machine is powered on and the regulator’s cable is fully inserted into the correct port. Sometimes, a loose connection is the culprit. Also, confirm your machine’s settings are appropriate for free-motion quilting, as this can affect regulator recognition.
Do all sewing machines have a port for a stitch regulator?
No, not all sewing machines are designed to accommodate a stitch regulator. It’s typically found on mid-to-high-end quilting or embroidery machines. Always consult your machine’s manual or the manufacturer’s website to confirm compatibility before purchasing a regulator.
How do I know if my stitch regulator is compatible with my sewing machine?
Compatibility is crucial. We found it’s best to check your sewing machine’s model number against the regulator’s specifications. Most regulator manufacturers provide a list of compatible machines. Your machine’s manual will also indicate if it supports a stitch regulator.
Can I use a stitch regulator with a regular sewing foot instead of a free-motion foot?
A stitch regulator is specifically designed to work in conjunction with a free-motion quilting foot. This foot allows the fabric to move freely in any direction. Using a regular sewing foot will not allow the fabric movement necessary for the regulator to function correctly.
