
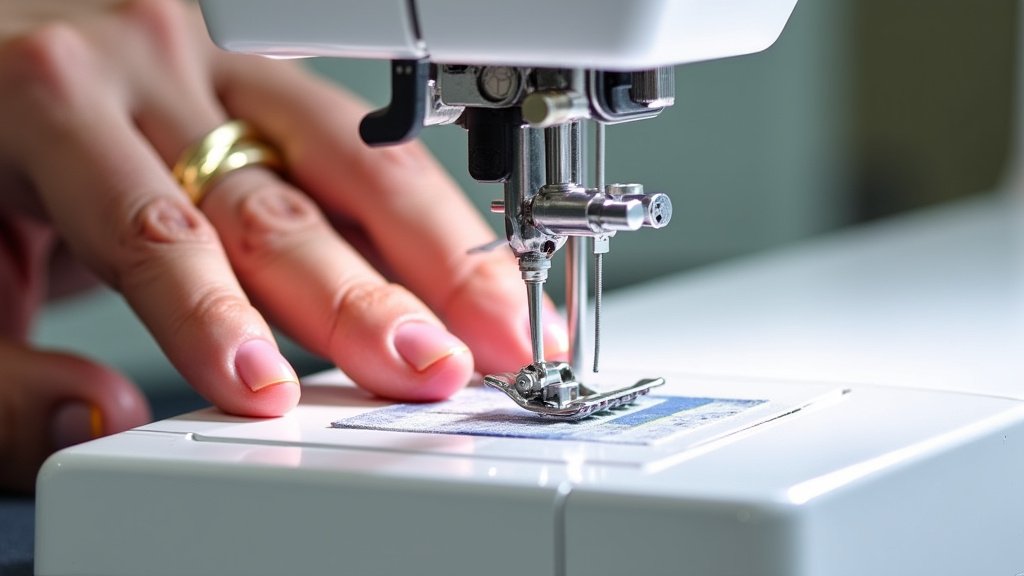
To change a needle on a quilting machine, first, power off your machine for safety. Then, gently loosen the needle clamp screw, usually located on the needle bar. Carefully remove the old needle and insert the new one, ensuring the flat side faces the back, then tighten the screw securely.
Replacing your sewing machine needle regularly is a small task with big benefits for your quilting projects. A fresh, sharp needle prevents skipped stitches and fabric snags. It also keeps your finished quilts looking neat and professional.
- Turn off your machine for safety.
- Loosen the needle clamp screw.
- Remove the old needle.
- Insert the new needle correctly.
- Tighten the screw firmly.
Are you ready to ensure your quilting machine always performs its best? Let’s walk through the simple steps to keep your needle in top shape.
Mastering Your Quilting Machine: Changing the Needle with Confidence
Changing the needle on your quilting machine is a routine maintenance task. It might seem small, but it’s incredibly important for the success of your projects. Let’s make sure you feel confident every time you do it.
Understanding Why and When to Change Your Needle
Why replace a needle that still looks okay? Well, even if it looks fine to your eye, a needle can become dull or bent through normal use. Think of it like a chef’s knife – it needs to be sharp to cut cleanly. A dull needle struggles to penetrate fabric cleanly.
The Impact of a Worn Needle
A worn needle is a common culprit behind many quilting frustrations. It can cause a surprising number of problems. You might notice your machine acting a little off.
- Skipped stitches: This happens when the needle can’t properly form a loop for the bobbin thread to catch.
- Fabric snags or tears: A dull point can snag delicate quilting cotton, leaving unsightly holes or pulls.
- Puckered seams: When the needle struggles, it can pull the fabric, leading to uneven or puckered seams.
- Loud thumping sounds: If your machine suddenly sounds louder while sewing, a dull needle could be forcing its way through fabric.
- Broken threads: A damaged needle can fray and break your thread as it passes through the eye.
Many quilters find that changing their needle regularly helps avoid these headaches. It keeps your machine happy and your projects looking beautiful (University of Nebraska-Lincoln Extension).
How Often Should You Change Your Needle?
There’s no single perfect answer, but we found a good rule of thumb. Generally, you should change your needle after about 8-10 hours of sewing time. If you’re working on a big project, this could mean changing it a few times.
What if you’re not keeping track of hours? A simple guideline is to change it with every new project. Think of it as starting fresh with each new quilt. If you notice any of the issues listed above, don’t wait. Change that needle right away!
Gathering Your Tools: What You’ll Need
Before you even touch your machine, let’s make sure you have everything ready. This prevents you from stopping mid-task to find something. A little preparation goes a long way!
- New quilting machine needle: Make sure it’s the correct type and size for your project and machine.
- Small screwdriver (often included with your machine): This is for loosening and tightening the needle clamp screw.
- Small trash can or magnet: For safely disposing of the old needle. Old needles are sharp!
- Good lighting: A well-lit workspace makes it much easier to see what you’re doing.
Choosing the Right Needle for Your Quilting Project
This is a big one! Using the right needle makes all the difference. Just like you wouldn’t use a hammer to drive a screw, you wouldn’t use a denim needle for delicate silk. Quilting has its own special needle type.
Quilting Needles vs. Universal Needles
You might see many types of needles at your local fabric store. For quilting, you want needles specifically labeled “Quilting” or “Microtex Sharp.” These needles have a sharper, narrower point. This design allows them to pierce through multiple layers of fabric and batting without damaging the fibers. Universal needles are okay for general sewing but might not give you the cleanest stitches on a quilt.
| Needle Type | Best Use | Key Feature |
|---|---|---|
| Quilting | Piecing, machine quilting, appliqué | Sharp, tapered point for clean piercing through layers. |
| Universal | General sewing on wovens, knits | Slightly rounded point, less ideal for thick layers. |
| Microtex Sharp | Silk, microfibers, laminates, piercing intricate details | Very sharp, slim point; sometimes preferred for precise piecing. |
Understanding Needle Sizes
Needle sizes can be a bit confusing at first. You’ll usually see two numbers, like 70/10 or 90/14. The larger the number, the heavier the fabric it’s designed for. For most quilting, a size 75/11 or 80/12 is a good all-around choice. If you’re using very fine fabric or thread, you might go down to a 70/10. For thicker batting or machine quilting, you might size up to a 90/14.
Matching the needle size to your fabric and thread weight prevents many issues. A needle that’s too small for your thread will shred the thread. A needle that’s too large will leave noticeable holes in your fabric. Finding that sweet spot is key!
Step-by-Step Guide: Changing the Needle Safely and Correctly
Now for the main event! This process is quick once you’ve done it a few times. Don’t worry if it feels a little awkward at first.
Safety First: Turning Off Your Machine
This cannot be stressed enough. Always, always, power off and unplug your machine before you do any maintenance, especially around the needle area. Do not just turn off the power switch; actually unplug it. This prevents any accidental foot pedal presses or sudden movements of the needle bar. Your fingers will thank you!
Loosening and Removing the Old Needle
Locate the needle clamp screw. It’s usually a small thumb screw or requires a little screwdriver. Gently turn it counter-clockwise to loosen it. You don’t need to remove the screw completely, just enough so the needle slides down freely.
Now, carefully grasp the old needle and pull it straight down and out. Be mindful that the old needle is sharp, even if dull for sewing. Place it directly into your designated safe disposal container. Never just toss it in the regular trash where someone could get poked.
Inserting the New Needle: The Flat Side Rule
This is the most crucial part! Take your new needle. You’ll notice one side of the shank (the top part that goes into the machine) is round, and the other side is flat. The general rule for most quilting machines is that the flat side of the needle should face the back of the machine. This ensures the needle is correctly oriented for the bobbin hook to catch the thread.
Carefully insert the new needle up into the needle clamp as far as it will go. It should sit snugly against the top of the clamp. Many models have a small stop inside to ensure it’s inserted fully.
Securing the New Needle
Once the needle is fully inserted and oriented correctly (flat side to the back!), tighten the needle clamp screw. Turn it clockwise until it’s snug. Don’t overtighten, as this can damage the screw or the machine, but make sure it’s firm enough that the needle won’t slip out during sewing. Give the needle a gentle tug to double-check it’s secure.
Final Checks and Testing Your Machine
You’re almost there! Before you dive into your next quilting block, let’s do a quick check to ensure everything is perfect.
Threading Your Machine
Now that the new needle is in place, re-thread your machine from scratch. We found that this helps ensure the thread is properly seated in all tension disks and guides, giving you the best possible stitch quality. Make sure your bobbin is also correctly inserted.
Test Stitching
Grab a scrap piece of fabric and batting similar to your project. Do a few lines of test stitching. Check for:
- Smooth, even stitches on both the top and bottom of the fabric.
- No skipped stitches or loops.
- No strange noises from the machine.
- The fabric moves smoothly under the presser foot.
If everything looks good, congratulations! You’ve successfully changed your quilting machine needle. You’re ready to get back to creating beautiful quilts with confidence.
Quick Needle Change Checklist
Here’s a simple checklist to keep handy:
- Machine unplugged?
- Right needle type/size selected?
- Needle clamp screw loosened properly?
- Old needle safely disposed of?
- New needle inserted flat side to the back?
- Needle inserted all the way up?
- Needle clamp screw securely tightened?
- Machine re-threaded correctly?
- Test stitched successfully?
Conclusion
You’ve seen how a few simple steps can make a big difference in your quilting. Regularly changing your needle means fewer frustrations and more enjoyment. Remember to always prioritize safety by unplugging your machine. Using the right needle for your project also makes a huge impact.
This routine maintenance truly helps your machine perform its best. You are ready to create beautiful, professional-looking quilts with confidence. Go ahead and tackle your next project!
Frequently Asked Questions
What signs indicate I desperately need to change my quilting needle?
Sometimes you need to change your needle even if you haven’t hit the 8-10 hour mark. Look for obvious signs like skipped stitches, loud thumping noises, or fabric snags. If your thread keeps breaking, that’s another strong indicator.
Can I use a universal needle for quilting in a pinch?
While a universal needle will technically work, it is not ideal for quilting. Universal needles have a slightly rounded point. This can lead to more resistance when piercing multiple layers of fabric and batting. We found it often results in less precise stitching and potential fabric damage.
How do I safely dispose of old sewing machine needles?
Safely disposing of old needles is very important to prevent accidental pokes. We recommend using a dedicated sharps container, like a needle disposal box, or an old, sturdy plastic container with a secure lid. Once full, seal it and check local regulations for disposal.
Why does the flat side of the needle shank face the back on most machines?
Orienting the flat side to the back ensures the needle is correctly positioned for your machine’s bobbin hook. This specific alignment allows the hook to properly catch the top thread, forming a secure stitch. Incorrect placement will lead to skipped stitches or tension issues.
Will changing my needle improve my machine’s tension issues?
A fresh, sharp needle can indeed improve some tension issues. A dull or bent needle can disrupt the thread path and the stitch formation. However, if tension problems persist after changing the needle, you might need to re-thread your machine or adjust your tension settings.
