
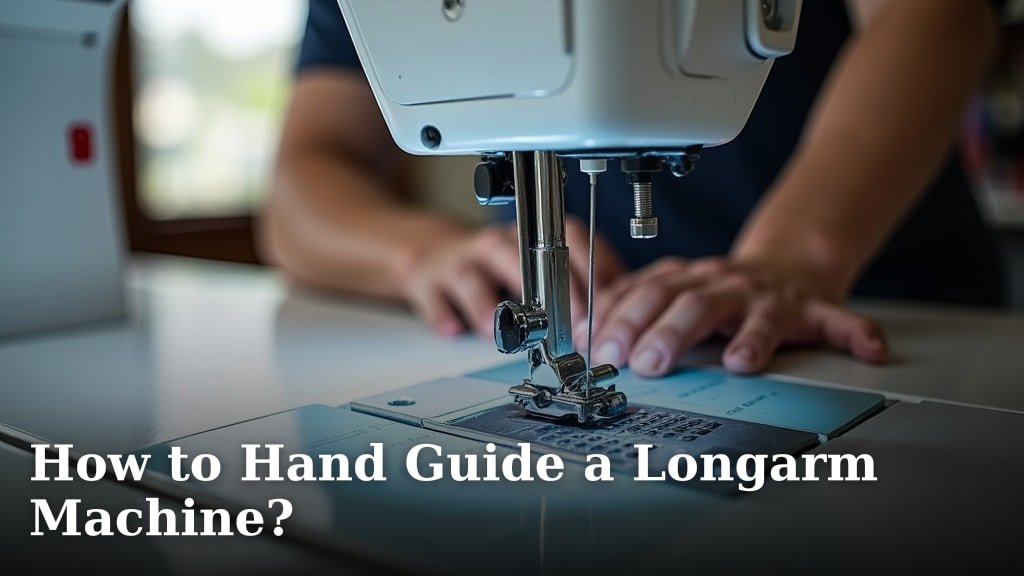
The easiest way to hand guide a longarm machine is to focus on smooth, consistent movements, allowing the machine to glide over your quilt. You’ll use your hands to control the machine’s direction and speed, creating beautiful stitches without a computer. It’s all about gentle control and practice.
Many quilters find that hand guiding offers creative freedom and a tactile connection to their work. We found that understanding your machine and fabric helps you achieve that perfect stitch every time. Think of it as painting with thread; your hands are the brush.
- Get comfortable with your longarm setup.
- Learn how to move the machine smoothly.
- Practice different quilting patterns.
- Manage your quilt top and backing correctly.
- Troubleshoot common issues like tension.
Ready to feel the fabric and guide your creativity? Let’s walk through exactly how to hand guide a longarm machine, step by step, so you can achieve those beautiful, flowing quilting designs you dream of.
Mastering Your Longarm: Hand Guiding Techniques
Hand guiding your longarm machine puts you in direct control of the quilting process. It allows you to create unique, flowing designs with precision and artistry.
Understanding Your Machine and Workspace
Before you even think about stitching, it’s vital to get to know your tools. A well-prepared workspace sets the stage for success. Think of it as preparing your canvas before you paint.
Optimizing Machine Settings
Your longarm isn’t a “set it and forget it” tool. We found that adjusting a few key settings makes a huge difference. These tweaks help you achieve smooth, consistent stitches.
- Stitch Regulator: Most longarms have a stitch regulator. This feature helps maintain even stitch length as you move the machine. We recommend starting with this turned on.
- Speed Control: Set your machine speed to a comfortable pace. You want to be able to control the movement without feeling rushed. You can always increase it later.
- Needle Type and Size: Use a needle appropriate for your thread and fabric. A sharp, new needle prevents skipped stitches and fabric damage.
- Thread Choice: Match your thread weight and type to your project. Polyester or cotton threads are common choices.
Ergonomic Setup for Comfort
Longarm quilting often involves prolonged standing or sitting. Your comfort is key to avoiding fatigue and maintaining control. We found that a few simple adjustments can prevent strain.
- Table Height: Adjust your machine table so you can stand or sit comfortably. Your elbows should be at about a 90-degree angle when holding the handles.
- Lighting: Good lighting reduces eye strain. Position lights so there are no shadows on your quilting area.
- Floor Mats: Anti-fatigue mats can make a big difference if you stand for long periods.
- Hydration and Breaks: Remember to take short breaks and stay hydrated. Your body will thank you.
Preparing Your Quilt Sandwich for Hand Guiding
The foundation of good quilting is a well-prepared quilt sandwich. This layer of fabric, batting, and backing needs careful attention. Many experts say proper layering prevents puckers and frustrations (Quilters Guild of America).
Layering Your Quilt Properly
Your quilt top, batting, and backing must be smooth and secure. Any wrinkles or shifting can lead to uneven stitches. It’s like preparing a perfectly smooth surface for drawing.
Here’s a quick checklist for laying out your quilt:
- Backing Fabric: Ensure your backing fabric is at least 4-6 inches wider than your quilt top on all sides. This gives you extra room for loading.
- Batting: Lay the batting smoothly over the backing. Make sure it’s flat and free of wrinkles. Trim it to be slightly larger than your quilt top.
- Quilt Top: Center your quilt top over the batting. Take time to smooth out any creases. Use your hands to gently flatten the layers.
- Pinning or Basting: Baste your layers together carefully. You can use large safety pins (pin basting) or a basting spray. The goal is to prevent any shifting during quilting.
Loading onto the Longarm Frame
Loading your quilt onto the frame is a careful process. The way you load it impacts how smoothly your machine glides. We found that a taught, even load makes hand guiding much easier.
| Step | Description |
|---|---|
| Attach Backing | Attach the backing fabric first, ensuring it’s square and taut. Pin or clamp it securely to your frame rollers. |
| Attach Batting | Carefully float the batting over the backing. Ensure it’s smooth and centered. You might pin the edges to hold it. |
| Attach Quilt Top | Lay the quilt top over the batting. Again, ensure it’s centered and completely flat. Attach the edges to the frame rollers, making it taut but not stretched. |
| Check Tension | Roll the layers onto the take-up roller. Check that all layers are evenly tensioned. Avoid overtightening. |
The Art of Hand Guiding: Movement and Control
Now for the exciting part—moving the machine! Hand guiding is about developing muscle memory. It’s like learning to draw with a pencil; practice makes perfect.
Holding the Handles
How you hold the machine handles affects your control. Your grip should be firm yet relaxed. Many quilters prefer a “steering wheel” grip.
- Relax Your Shoulders: Tension in your body will transfer to your arms and hands. Try to keep your shoulders down and relaxed.
- Even Pressure: Apply even pressure to both handles. This helps the machine move in a straight line or smooth curve.
- Finger Placement: Your fingers should comfortably wrap around the handles. Avoid clenching your fists.
- Lead with Your Body: Don’t just use your arms. Use your core and legs to help guide the machine. Move your whole body with the machine’s flow.
Developing Smooth Movement
Smoothness is the secret sauce for beautiful hand-guided quilting. You want the machine to glide effortlessly. We found that using your body’s natural sway helps create fluidity.
- Start Slow: Begin with very slow movements. Focus on making smooth, continuous lines.
- Practice Straight Lines: Try moving the machine in a perfectly straight line horizontally, then vertically. This builds foundational control.
- Practice Curves: Gradually introduce gentle curves. Think of making large, sweeping arcs. Your body will naturally follow the curve.
- Maintain Consistent Speed: Strive for a consistent speed. This helps your stitch regulator maintain even stitch length. It takes focus and practice.
Techniques for Different Designs
Hand guiding opens up a world of design possibilities. You can create everything from simple stippling to complex custom designs. Think of your machine as an extension of your own hand.
Basic Free-Motion Designs
Start with simple, repetitive patterns to build confidence. These designs are forgiving and help you master machine control. Many quilters begin with stippling or loops.
- Stippling: This is a dense, meandering pattern with no sharp corners. Your goal is to avoid crossing your own lines. It’s a great way to practice continuous movement.
- Loops: Create interlocking loop-de-loops. Focus on making them consistently sized. You can vary loop sizes for different effects.
- Meander: A slightly more open version of stippling. You can vary the size and flow of the meandering lines.
Drawing with Your Machine
Once you’re comfortable with basic movements, you can start “drawing” with your machine. This is where your creativity truly shines. You might even surprise yourself with what you can create.
For more custom designs, consider these tips:
- Use a Pounce Pad: Transfer designs to your quilt top using a pounce pad and stencil. This gives you lines to follow.
- Mark with a Washable Pen: Lightly draw your design directly onto the fabric with a washable fabric pen.
- Visualize the Path: Before you stitch, visualize the path your machine will take. Trace it with your finger in the air.
- Segment Large Designs: Break down complex designs into smaller, manageable sections. Quilt one section at a time.
Troubleshooting Common Hand Guiding Issues
Even experienced quilters encounter snags. Don’t let common problems deter you. Most issues have simple solutions. We found that a calm, methodical approach works best.
Addressing Thread Breaks and Tension
Thread breaks and messy tension are usually symptoms of a larger issue. These are often the first things quilters notice when something is off.
- Check Thread Path: Ensure your upper thread is correctly seated through all guides. A common culprit is a missed guide.
- Re-thread: Sometimes, simply re-threading the machine does the trick. Remove the bobbin and upper thread completely before re-threading.
- Adjust Top Tension: If your bobbin thread is pulling to the top, your top tension is too loose. Tighten it slightly.
- Adjust Bobbin Tension: If your top thread is pulling to the bottom, your bobbin tension is too loose or your top tension is too tight. Start by increasing bobbin tension slightly.
- Use Quality Thread: Cheap thread is often prone to breaking. Invest in good quality thread for smoother quilting.
Uneven Stitches and Skipped Stitches
Uneven or skipped stitches can make your quilt look less professional. These issues often relate to machine movement or needle condition.
- Consistent Movement: The most common reason for uneven stitches is inconsistent machine movement speed. Try to maintain a steady pace.
- Needle Condition: A dull or bent needle causes skipped stitches and can damage fabric. Change your needle frequently.
- Needle Insertion: Ensure your needle is inserted correctly and fully into the machine.
- Machine Speed: If you’re moving too fast for your machine’s stitch regulator, you might get skipped stitches. Slow down.
Practicing and Growing Your Skills
Like any craft, hand guiding a longarm machine improves with practice. Don’t expect perfection on your first try. Every stitch is a learning opportunity.
Tips for Consistent Improvement
Dedication and a willingness to experiment are your best tools. Many experts say that consistent, short practice sessions are more effective than infrequent, long ones (Journal of Craft Education).
- Practice Regularly: Even 15-20 minutes of practice a few times a week can significantly improve your skills.
- Use Practice Sandwiches: Don’t feel you need to practice on your “good” quilts first. Use scrap fabric and batting.
- Watch Videos: There are many online tutorials. Watching others quilt can offer new ideas and techniques.
- Join a Guild: Connecting with other quilters can provide support and learning opportunities. You can share tips and troubleshoot together.
- Embrace Imperfection: Remember that handmade items have character. Don’t strive for machine-like perfection, but rather artistic expression.
Hand guiding your longarm offers a deeply satisfying quilting experience. By understanding your machine, preparing your quilt carefully, and practicing consistent movement, you’ll unlock a new level of creative freedom. Your hands truly become the artist’s brush, bringing your fabric art to life.
Conclusion
You’ve now got a solid foundation for hand guiding your longarm machine. Remember, it’s all about patience and practice. We’ve gone over optimizing your setup, preparing your quilt, mastering movement, and tackling common issues. Each step builds your confidence and control.
Embrace the journey. Your unique touch is what makes hand-guided quilting so special. Don’t be afraid to experiment and develop your own style. Grab some practice fabric and start making those beautiful stitches today!
Frequently Asked Questions
How can I prevent my shoulders from getting sore while longarm quilting?
To prevent shoulder soreness, focus on an ergonomic setup. Adjust your table height so your arms are at a comfortable 90-degree angle. Also, remember to take frequent breaks and stretch your shoulders and neck.
What’s the best way to practice without wasting good fabric?
The best way to practice is by creating “quilt sandwiches” from scrap fabric and batting. You don’t need fancy materials for practice. This lets you experiment with patterns and machine movements without stress.
My stitches are inconsistent – some are long, some are short. What am I doing wrong?
Inconsistent stitch length usually means your machine movement speed is varying. Try to maintain a steady, consistent pace as you guide the machine. Your stitch regulator works best with predictable movement.
Can I truly create custom designs without a computer on my longarm?
Absolutely! Hand guiding gives you complete creative control. You can draw designs directly on your quilt with washable pens or use stencils and a pounce pad as guides. Your hands become the artist’s tool.
How often should I change my needle when hand guiding?
Change your needle frequently, especially for larger projects or if you notice skipped stitches. A general rule is every 8-10 hours of quilting time, or at the start of a new project. A fresh needle makes a big difference.
