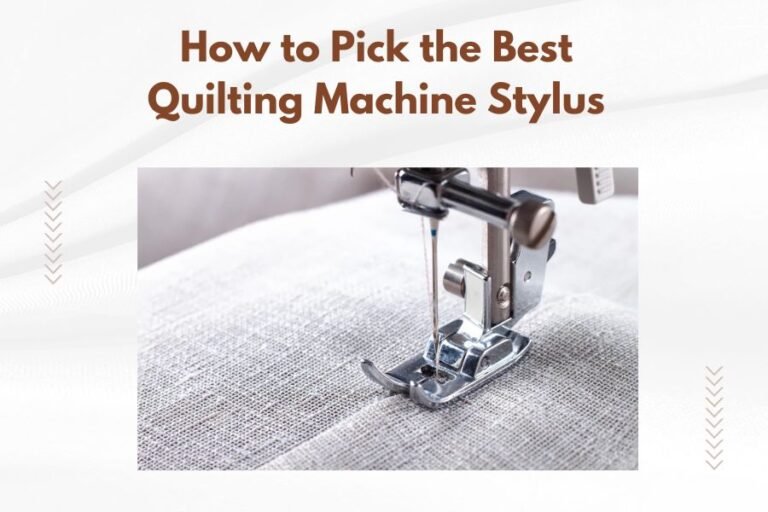
To tighten a loose presser foot quickly, turn off your sewing machine and locate the presser foot screw on the presser foot holder assembly.
Use a small screwdriver to turn this screw clockwise until the presser foot sits firmly against the feed dogs without wobbling.
Why Your Presser Foot Gets Loose
Your presser foot doesn’t just randomly decide to wiggle around. Several things cause this annoying problem.
Constant vibration from your sewing machine gradually loosens the screw. Think of it like a jar lid that slowly works itself loose when you shake it repeatedly.
Heavy fabrics put extra stress on the presser foot mechanism. When you’re quilting thick batting or multiple fabric layers, that pressure works against the screw’s grip.
Normal Wear and Age
Older machines show more presser foot loosening. The metal threads wear down over time, making the connection less secure.
I found that machines used daily tend to need presser foot adjustments every few months. It’s just part of regular maintenance.
Wrong Installation
Sometimes the presser foot wasn’t tightened properly from the start. If someone changed feet recently and didn’t secure it well, you’ll notice wobbling quickly.
Different presser feet have slightly different attachment points. What worked for your walking foot might not work perfectly for your free-motion foot.
Tools You Need for the Fix
You won’t need a full toolbox for this repair. Most fixes require just one or two simple items.
- Small flathead screwdriver (usually 2-3mm wide)
- Phillips head screwdriver (backup option)
- Good lighting or flashlight
- Reading glasses if you need them
Some machines come with a small screwdriver in the accessory kit. Check your manual’s tool list before buying anything new.
Step-by-Step Tightening Process
Safety comes first. Always turn off and unplug your machine before working on any parts.
Step 1: Position Your Machine
Move to a well-lit area where you can see the presser foot clearly. Raise the presser foot lever to give yourself working room.
Remove any thread or fabric scraps around the foot area. You want clean access to the screw.
Step 2: Locate the Adjustment Screw
Look for a small screw on the side or back of the presser foot holder. This isn’t the screw that holds the foot to the shank – it’s usually higher up on the assembly.
The screw might be silver, black, or match your machine’s color. It’s typically about the size of a pencil eraser.
Step 3: Test the Current Tightness
Gently wiggle the presser foot with your fingers. Notice how much it moves side to side or front to back.
A properly adjusted foot should have no noticeable play when you push it gently.
Step 4: Make the Adjustment
Insert your screwdriver into the adjustment screw. Turn clockwise (right) to tighten, but go slowly.
Make quarter turns and test the foot movement after each adjustment. You don’t want to over-tighten and damage the threads.
Finding the Sweet Spot
The goal is snug but not seized. Your presser foot should sit firmly without any wiggle, but the lever should still raise and lower smoothly.
If the foot becomes hard to lift, you’ve gone too far. Back off the screw a quarter turn.
Different Machine Types Need Different Approaches
Not all sewing machines use the same presser foot system. Your approach might vary slightly.
Modern Electronic Machines
Newer machines often have more accessible adjustment screws. The manufacturer designed them expecting users to make these adjustments.
Many electronic machines have larger, easier-to-reach screws with better tool access.
Vintage Mechanical Machines
Older machines sometimes hide the adjustment screw in tighter spaces. You might need to remove the presser foot completely to reach it.
Vintage machines were built when people expected to maintain their own equipment. The screws are usually very durable once you find them.
Quilting-Specific Machines
Quilting machines handle heavier workloads, so their presser foot assemblies are often more robust. The adjustment screws might be larger or have locking mechanisms.
Some quilting machines have two adjustment points – one for side-to-side stability and another for front-to-back movement.
When Simple Tightening Won’t Work
Sometimes turning the screw doesn’t solve the problem. Here’s what else might be wrong.
Stripped Screw Threads
If the screw turns but never gets tight, the metal threads are probably worn out. This happens with very old machines or ones that were over-tightened before.
You’ll need a replacement screw from a sewing machine repair shop. Don’t try to force a damaged screw – it’ll make things worse.
Bent Presser Foot Shank
Dropping your machine or hitting the presser foot hard can bend the shank slightly. No amount of screw adjustment will fix a bent part.
A bent shank needs professional repair or replacement. I found that trying to bend it back usually breaks it completely.
Worn Presser Foot Holder
The entire presser foot holder assembly can wear out over many years of use. The mounting points get loose and wobbly.
This repair usually requires professional service, but it’s often worth it for a quality machine.
Preventing Future Loosening
A few simple habits will keep your presser foot tight longer.
Regular Maintenance Checks
Test your presser foot stability every few weeks. Catching looseness early prevents it from getting worse.
Add this to your regular machine cleaning routine. When you’re removing lint and oiling, give the presser foot a quick wiggle test.
Proper Fabric Handling
Don’t yank fabric out from under the presser foot. This puts sideways stress on the mechanism and loosens screws faster.
Lift the presser foot before removing fabric. It takes an extra second but saves maintenance time later.
Appropriate Presser Foot Selection
Use the right foot for your project. Forcing a regular foot to handle heavy quilting work stresses the attachment points.
Walking feet and quilting feet are designed for thick layers. Regular feet aren’t built for that kind of stress.
Troubleshooting Common Problems
What do you do when the fix doesn’t work perfectly?
Presser Foot Still Wobbles After Tightening
Check if you’re adjusting the right screw. Some machines have multiple screws, and only one controls stability.
Make sure the presser foot is fully seated on its shank before tightening. A partially attached foot will always feel loose.
Screw Won’t Turn
Old machines sometimes have stuck screws from years of dust and oil buildup. Don’t force it with excessive pressure.
Try a drop of sewing machine oil on the screw and let it sit for a few minutes. Then try gentle back-and-forth movements to break it free.
Over-Tightened the Adjustment
If your presser foot won’t lift smoothly, you’ve tightened too much. Back off the screw gradually until the lever works normally.
Remember that snug is better than super tight. Over-tightening can damage both the screw and the presser foot mechanism.
Signs You Need Professional Help
Some presser foot problems are beyond simple home fixes.
Multiple Loose Parts
If your presser foot bar, needle clamp, and other parts are all getting loose, something bigger is wrong. The machine’s overall tension and alignment might need professional attention.
Recurring Problems
When you’re tightening the same screw every week, the underlying cause needs fixing. A repair technician can identify worn parts or alignment issues.
I found that machines needing constant adjustments usually have one worn component affecting everything else.
Cost Considerations
Most presser foot adjustments cost nothing except your time. The tools are basic and the process is simple.
Professional repairs for damaged parts typically range from $30-80, depending on your machine type and local labor rates.
| Problem Type | DIY Cost | Professional Cost |
|---|---|---|
| Loose screw adjustment | $0 | $25-40 |
| Replacement screw | $3-8 | $30-50 |
| Presser foot holder replacement | $15-35 | $50-80 |
Machine-Specific Tips
Different brands have slightly different approaches to presser foot adjustment.
Brother Machines
Brother machines typically have very accessible adjustment screws. Look for a silver screw on the right side of the presser foot holder.
Singer Models
Singer uses various designs depending on the model year. Older Singers often have the adjustment screw on the back of the assembly.
Janome and Elna
These brands usually place adjustment screws in easy-to-reach positions. The screws are often larger than other brands, making adjustment simpler.
Conclusion
Tightening a loose presser foot is one of the easiest sewing machine repairs you can do yourself. With just a small screwdriver and a few minutes, you can restore your machine’s stability and improve your sewing quality.
Remember to work slowly and test frequently as you make adjustments. The goal is a snug, stable presser foot that still moves smoothly when you operate the lever.
Regular maintenance checks will catch loosening before it becomes a real problem. When you keep your presser foot properly adjusted, your quilting projects will have more consistent stitches and fewer fabric feeding issues.
What should I do if the adjustment screw is completely missing?
Contact your machine manufacturer or a local sewing machine repair shop for a replacement screw. Don’t try to substitute with hardware store screws, as they may not fit properly or could damage your machine’s threads.
How often should I check my presser foot tightness?
Check your presser foot stability every month during regular maintenance, or immediately if you notice uneven stitching or fabric feeding problems. Machines used daily may need more frequent checks.
Can I use thread locker or similar products on the adjustment screw?
Avoid thread locker compounds on sewing machine parts. These products can make future adjustments difficult and may damage delicate machine mechanisms. Proper tightening without over-torquing is usually sufficient.
Why does my presser foot keep loosening even after tightening?
Recurring looseness usually indicates worn screw threads, a bent shank, or misalignment in the presser foot assembly. These issues typically require professional diagnosis and repair rather than repeated home adjustments.
Is it normal for different presser feet to feel different when attached?
Yes, various presser feet have slightly different weights and attachment points, which can affect how they feel when installed. However, none should wobble or feel loose when properly tightened, regardless of the foot type.