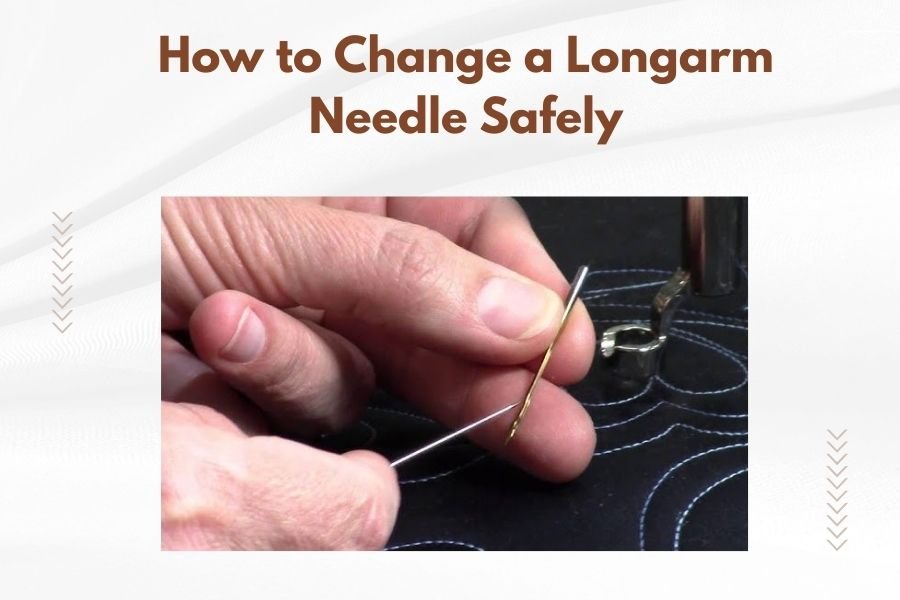
Changing a longarm needle safely requires turning off your machine, raising the needle to its highest position, and loosening the needle clamp screw before carefully removing the old needle.
Always insert the new longarm needle with the flat side facing away from you and tighten the screw firmly to prevent needle drops or thread breaks during quilting.
When Do You Need to Change Your Longarm Needle?
Your longarm machine will tell you when it needs a fresh needle. Listen to your quilting buddy – it’s trying to help you create better work.
Thread keeps breaking? That’s your first warning sign. A dull or damaged needle creates rough edges that slice through thread like a tiny razor blade.
Skipped stitches mean your needle isn’t piercing fabric cleanly anymore. You’ll see gaps in your quilting lines where stitches should be.
Visual Signs Your Needle Needs Replacing
Hold your needle up to good light. Look for these red flags:
- Bent or curved needle shaft
- Dull or rounded needle point
- Nicks or burrs on the needle surface
- Discolored needle from heat buildup
How Often Should You Change Needles?
Research from quilting machine manufacturers suggests changing needles every 8-10 hours of active quilting time. Heavy fabrics like denim wear needles faster.
I found that many longarm quilters keep track by marking quilting hours on a calendar. Smart quilters change needles at the start of each new quilt project.
Safety First: Preparing Your Longarm Machine
Safety isn’t boring when you’re dealing with sharp objects moving at high speeds. Your fingers will thank you for taking these steps seriously.
Turn Off and Unplug Your Machine
Always power down your longarm machine completely. Don’t just pause it or put it in standby mode. Unplug the power cord if you want extra peace of mind.
Accidents happen when machines start unexpectedly. Even experienced quilters can bump the wrong button by mistake.
Position the Needle at Its Highest Point
Use your machine’s hand wheel to slowly raise the needle to its highest position. This gives you the most working room and prevents the needle from falling into the machine.
The highest position also takes tension off the needle clamp, making removal easier on your fingers.
Check Your Lighting
Good light prevents fumbling around with small parts. Position a bright lamp near your needle area if your machine light isn’t enough.
Shadows can hide which direction you’re turning screws. You don’t want to over-tighten and damage your needle clamp.
Step-by-Step Needle Removal Process
Removing your old needle takes patience, not force. Think of it like removing a splinter – gentle and steady wins.
Locate the Needle Clamp Screw
Find the small screw that holds your needle in place. Most longarm machines have this screw on the right side of the needle clamp.
Some machines use a thumb screw you can turn by hand. Others need a small screwdriver or Allen wrench.
Loosen the Clamp Screw
Turn the screw counterclockwise to loosen it. Don’t remove the screw completely – just loosen it enough to release the needle.
Hold the needle with your other hand as you loosen the screw. Needles can drop and disappear into your machine’s inner workings.
What If the Screw Won’t Turn?
Stuck screws happen, especially if you’ve been quilting for hours and thread buildup creates a sticky mess. Try these fixes:
- Clean thread lint from around the screw
- Use a proper-fitting screwdriver to avoid stripping
- Apply gentle, steady pressure instead of quick jerks
Remove the Old Needle Carefully
Pull the needle straight down and out of the clamp. Don’t wiggle it side to side – this can damage the needle clamp opening.
Place the old needle in a safe container immediately. You don’t want sharp needles rolling around your workspace.
Selecting the Right Replacement Needle
Not all needles work the same magic on every fabric. Choosing the right needle size and type makes quilting feel effortless instead of like wrestling a bear.
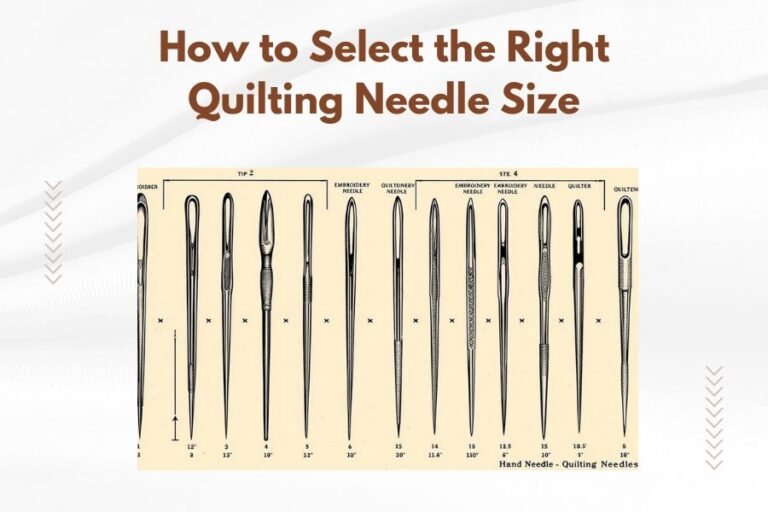
Understanding Needle Sizes
Needle sizes use two numbering systems that can confuse new quilters. The smaller number is European (70, 80, 90), and the larger number is American (10, 12, 14).
Smaller numbers mean finer needles for delicate fabrics. Larger numbers indicate heavy-duty needles for thick materials.
| Fabric Weight | Needle Size | Best For |
|---|---|---|
| Lightweight | 70/10 – 80/12 | Cotton, silk, thin batting |
| Medium Weight | 90/14 | Standard quilting cotton |
| Heavy Weight | 100/16 – 110/18 | Denim, canvas, thick batting |
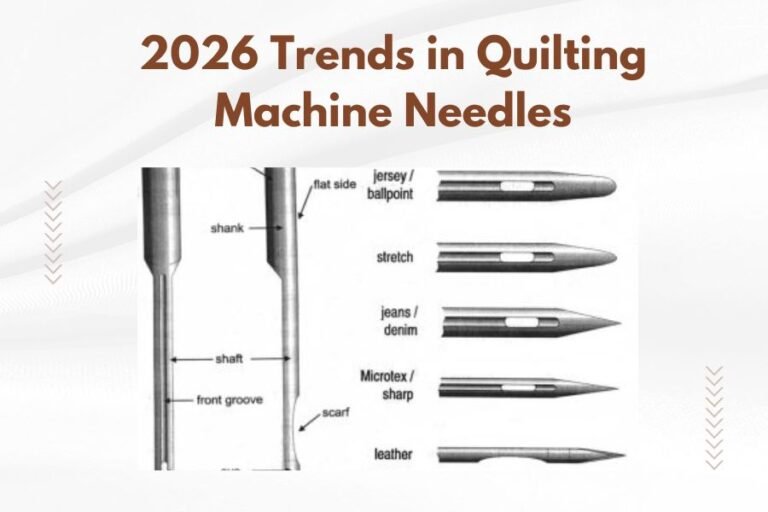
Popular Needle Types for Longarm Quilting
Universal needles work for most quilting projects. They have a slightly rounded point that pushes between fabric threads instead of cutting them.
Quilting needles have a special tapered point designed specifically for pieced fabrics and batting. Many longarm quilters swear by them.
Specialty Needles Worth Knowing
Topstitching needles have larger eyes for thick decorative threads. Metallic needles have special coatings to prevent metallic thread from shredding.
I found that many quilters keep a variety pack handy for different thread types and fabric combinations.
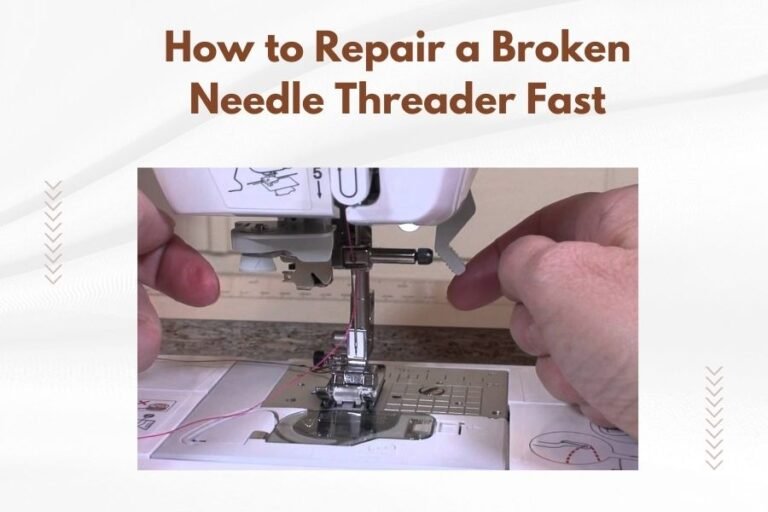
Installing Your New Longarm Needle
Installing a needle correctly prevents 90% of quilting headaches. Get this step right, and your machine will purr like a happy cat.
Check Needle Orientation
Every longarm needle has a flat side and a rounded side on its shank. The flat side must face the correct direction for your specific machine.
Most longarm machines require the flat side to face away from you, toward the back of the machine. Check your manual to be sure.
Insert the Needle Fully
Push the needle up into the needle clamp as far as it will go. You should feel it stop against the top of the clamp opening.
A needle that isn’t fully seated will cause timing problems and poor stitch formation. Push firmly but don’t force it.
Hold the Needle Steady
Keep the needle positioned correctly while you tighten the clamp screw. Needles can rotate or drop if you let go too soon.
Use your non-dominant hand to hold the needle while your dominant hand operates the screwdriver.
Tighten the Clamp Screw Properly
Turn the screw clockwise until it’s snug. The needle should be firmly held but not crushed by over-tightening.
A loose needle will work its way down during quilting and cause major problems. A crushed needle shank can break under stress.
Testing Your New Needle Installation
Smart quilters always test their work before diving into an important project. A few test stitches now can save hours of frustration later.
Check for Proper Needle Movement
Turn your machine’s hand wheel slowly to move the needle through a complete stitch cycle. Watch for any wobbling or binding.
The needle should move smoothly up and down without hitting any machine parts. Listen for unusual scraping or grinding sounds.
Test Stitch Quality
Thread your machine and make several test stitches on scrap fabric similar to your project materials.
Good stitches should be even in length with proper thread tension on both top and bottom. No skipped stitches or thread breaks.
Common Problems and Quick Fixes
Skipped stitches often mean your needle isn’t fully inserted or is the wrong type for your thread. Thread breaks can indicate over-tightened tension or a damaged needle.
Puckered fabric suggests your needle is too large for the fabric weight. Switch to a smaller size for better results.
Maintenance Tips to Extend Needle Life
Taking care of your needles helps them take care of your quilts. Simple maintenance habits save money and improve your quilting experience.
Keep Needles Clean
Thread lint and fabric residue build up on needles during quilting. Clean needles with a soft brush or lint-free cloth regularly.
Some quilters use a bit of rubbing alcohol on a cotton swab to remove stubborn buildup. Just make sure the needle is completely dry before quilting.
Store Needles Properly
Keep spare needles in their original packaging or a dedicated needle case. This prevents damage from rolling around loose in drawers.
Label containers with needle sizes and types. You don’t want to guess which needle is which when you’re in the middle of a quilting session.
Track Your Needle Usage
Keep a simple log of when you change needles and how many hours you quilted. This helps you spot patterns in needle wear.
I came across quilters who write the installation date on their needle packages with a permanent marker. Simple but effective tracking method.
Troubleshooting Common Needle Problems
Even careful quilters run into needle issues sometimes. Knowing how to diagnose and fix problems keeps your quilting momentum going.
Needle Keeps Breaking
Frequent needle breaks usually mean you’re using the wrong needle size for your fabric or pulling the quilt while stitching.
Check that your needle isn’t hitting the throat plate or other machine parts. Bent needles break easily under normal quilting stress.
Thread Shredding or Breaking
Rough or damaged needles can slice thread as it passes through. Inspect your needle tip under good light for nicks or burrs.
Using the wrong needle type for specialty threads causes shredding too. Metallic threads need special needle coatings to prevent damage.
Poor Stitch Quality
Uneven stitches can result from a loose needle that moves during quilting. Check that your needle clamp screw is properly tightened.
Wrong needle size creates tension problems that show up as loose or tight stitches. Match your needle size to your fabric and thread combination.
Conclusion
Changing a longarm needle safely comes down to preparation, patience, and proper technique. Turn off your machine, position the needle at its highest point, and take your time with each step. The few extra minutes you spend doing it right prevent hours of frustration and potential damage to your quilting projects.
Remember that fresh needles are one of the simplest ways to improve your quilting results. When your machine starts acting up with thread breaks or skipped stitches, try a new needle before troubleshooting more complex issues. Your quilts will look better, and your machine will run more smoothly with this simple maintenance habit.
How do I know which direction the flat side of the needle should face?
Check your longarm machine’s manual for the exact orientation, but most machines require the flat side to face away from you toward the back of the machine. Some older machines may have different requirements, so always verify with your specific model’s instructions.
What happens if I don’t insert the needle all the way up into the clamp?
A needle that isn’t fully seated will cause timing problems, leading to skipped stitches, poor thread tension, and potentially damage to your machine’s timing mechanism. Always push the needle up until it stops against the top of the needle clamp opening.
Can I use regular sewing machine needles in my longarm quilting machine?
Most longarm machines use standard sewing machine needles, but always check your manual first. Some industrial longarm machines require special needle systems, and using the wrong type can damage your machine or create safety hazards.
Why does my new needle seem loose even after tightening the screw?
This usually means either the needle isn’t fully inserted into the clamp or there’s thread buildup preventing proper seating. Remove the needle, clean the clamp area thoroughly, and reinstall the needle, making sure it goes all the way up into the clamp before tightening.
How should I dispose of used longarm needles safely?
Place used needles in a puncture-proof container like an empty pill bottle or needle disposal container. Never throw loose needles in regular trash where they could injure sanitation workers. Many fabric stores and sewing machine dealers accept used needles for proper disposal.