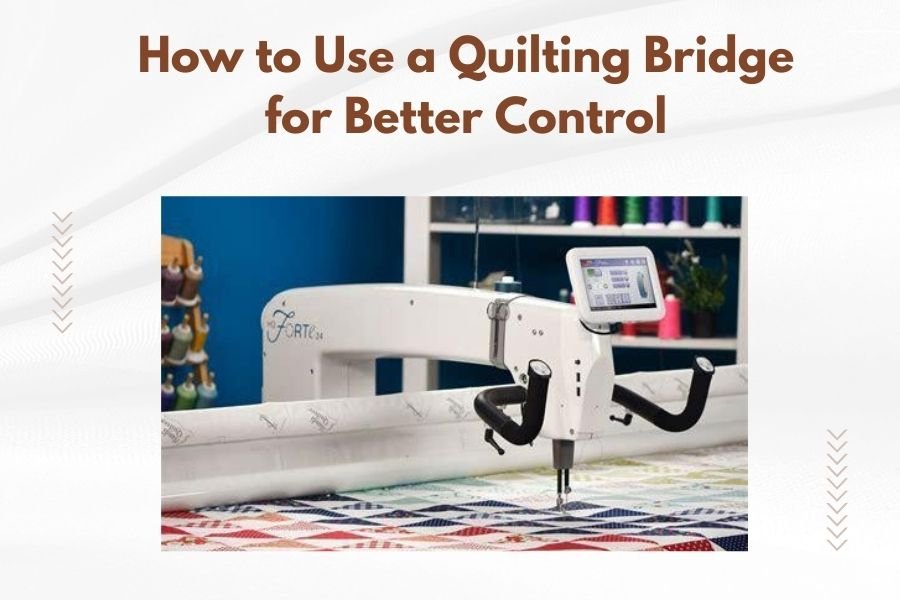
A quilting bridge is a quilting machine attachment that extends your workspace and provides better fabric control by creating a stable surface around your needle area.
Using a quilting bridge properly involves positioning it to support your quilt sandwich while maintaining smooth fabric movement for precise stitching control.
You’ve probably noticed your quilts bunching up or dragging when you’re working on larger projects. That frustrating moment when your beautiful quilt top starts pulling in the wrong direction? A quilting bridge can solve that problem.
Think of a quilting bridge like a helpful assistant that holds your fabric steady. It creates an even surface that supports your quilt while you focus on making perfect stitches.
What Is a Quilting Bridge and Why Do You Need One
A quilting bridge is a flat platform that attaches to your quilting machine. It fills the gap between your machine bed and the table surface. This creates one smooth, continuous workspace.
Without a bridge, your quilt hangs down into that gap. The weight pulls your fabric in different directions. This makes it hard to control your stitching and can cause puckers or uneven tension.
From what I read in quilting forums, many sewers don’t realize how much easier quilting becomes with proper support. The bridge eliminates fabric drag and gives you better control over every stitch.
Common Problems a Quilting Bridge Solves
Research shows that fabric support issues cause most beginner quilting frustrations. Here’s what a quilting bridge fixes:
- Fabric bunching and pulling during quilting
- Uneven stitch tension from weight drag
- Difficulty controlling large quilts
- Fatigue from fighting against fabric weight
- Puckering in finished quilt sections
Types of Quilting Bridges Available
You’ll find several bridge styles designed for different quilting setups. Each type serves the same basic purpose but fits different machine configurations.
Acrylic Extension Tables
These clear plastic bridges attach directly to your machine. They’re lightweight and give you a see-through surface. Many quilters prefer these because they don’t block your view of the needle area.
Acrylic bridges work well for most home quilting machines. They’re easy to clean and don’t scratch your fabric.
Metal Bridge Attachments
Metal bridges offer more stability for heavy quilts. They’re stronger than acrylic but can be heavier to move around. Some models include adjustable height settings.
I found that metal bridges last longer with frequent use. They handle the weight of bed-sized quilts without bending.
Wooden Extension Platforms
Wood bridges provide a traditional feel with excellent stability. They’re usually custom-made to fit specific machine models. These bridges often include storage compartments underneath.
DIY vs Store-Bought Options
You can build your own bridge or buy a manufactured one. Store-bought bridges fit precisely and include mounting hardware. DIY bridges let you customize the size and features but require woodworking skills.
How to Set Up Your Quilting Bridge Correctly
Proper setup makes all the difference in how well your bridge works. Take time to get this right the first time.
Measuring Your Workspace
Start by measuring the gap around your machine. You need to know the distance from your machine bed to your table edge. Also measure the height difference between surfaces.
Most quilting machines sit 2-4 inches above the table surface. Your bridge needs to match this height exactly.
Positioning the Bridge
Place your bridge so it creates one level surface with your machine bed. There should be no gap or height difference where they meet.
The bridge should extend at least 12 inches from your machine on all sides. This gives enough support for medium-sized quilts.
Testing the Setup
Before quilting, test your setup with a practice piece. Slide fabric across the entire surface. It should move smoothly without catching or dropping.
Check that your machine’s presser foot clears the bridge edge. Some bridges need slight adjustments to avoid interference.
Step-by-Step Guide to Using Your Quilting Bridge
Once your bridge is installed, using it becomes second nature. Here’s how to get the best results.
Preparing Your Quilt Sandwich
Layer your quilt top, batting, and backing as usual. Pin or baste the layers together. The bridge works with any quilting preparation method.
Make sure your quilt edges are trimmed evenly. Uneven edges can catch on the bridge and cause pulling.
Loading Your Quilt
Start with your quilt center positioned over the needle. Let the excess fabric rest on the bridge surface. The weight should be distributed evenly.
Don’t let large sections hang off the bridge edges. This defeats the purpose of having support.
Supporting Heavy Sections
For king-size quilts, you might need additional support beyond the bridge. Use a separate table or chair to hold sections that extend past your bridge.
Controlling Fabric Movement
With your bridge supporting the quilt weight, you can focus on guiding the fabric direction. Use gentle pressure to move the quilt as you stitch.
The bridge lets you maintain consistent fabric tension. You won’t fight against gravity pulling your quilt downward.
Quilting Techniques That Work Best with a Bridge
Some quilting methods benefit more from bridge support than others. Here’s what works best.
Free-Motion Quilting
Free-motion quilting requires smooth fabric movement in all directions. A bridge gives you the stable surface needed for flowing designs.
You can create large continuous patterns without fighting fabric drag. The bridge supports your quilt while you focus on design accuracy.
Straight-Line Quilting
Long straight lines need consistent fabric support to stay even. A bridge prevents the fabric weight from pulling your lines off track.
Walking foot quilting works perfectly with bridge support. You get smooth, even stitches across the entire quilt surface.
Border Quilting
Quilting borders can be tricky because of uneven weight distribution. A bridge supports the border area while keeping the quilt center stable.
Maintenance and Care for Your Quilting Bridge
Keeping your bridge clean and properly adjusted ensures years of reliable use.
Regular Cleaning
Wipe down your bridge surface after each quilting session. Fabric lint and thread pieces can build up and cause drag.
Use a soft cloth with mild soap for deeper cleaning. Avoid harsh chemicals that might damage the surface or leave residue.
Checking for Wear
Inspect your bridge regularly for scratches or rough spots. These can snag fabric and cause pulls in your quilts.
Sand out minor scratches on wooden bridges. Replace acrylic bridges if they develop deep scratches or cracks.
Storage Tips
Store your bridge in a safe place where it won’t get scratched or damaged. Some bridges fold or detach for easier storage.
Troubleshooting Common Bridge Issues
Even with proper setup, you might encounter some problems. Here’s how to fix the most common issues.
Fabric Catching or Snagging
If your fabric catches on the bridge edges, check the surface smoothness. File down any rough spots or sharp edges.
Sometimes the problem is height mismatch between your machine bed and bridge. Adjust the bridge height until both surfaces are perfectly level.
Bridge Moving During Quilting
A sliding bridge disrupts your quilting flow. Check that all mounting hardware is tight. Add non-slip pads under the bridge feet if needed.
Heavy quilts can shift lightweight bridges. Consider upgrading to a heavier bridge or adding weights for stability.
Needle Clearance Problems
If your needle hits the bridge, you need to adjust the positioning. The needle should clear the bridge edge by at least half an inch.
Advanced Tips for Better Bridge Control
Once you’re comfortable with basic bridge use, these advanced techniques will improve your quilting even more.
Using Multiple Support Points
Large quilts need support beyond just the bridge area. Set up additional tables or surfaces to hold quilt sections as you work different areas.
I came across quilters who use ironing boards as moveable support surfaces. This lets them adjust support as they progress through their quilting.
Coordinating Bridge Height with Chair Height
Your working height affects how well you can control fabric movement. Adjust your chair so your elbows are slightly bent when your hands rest on the bridge surface.
This ergonomic setup reduces fatigue and gives you better control over fabric positioning.
Bridge Accessories That Help
Some bridges accept additional accessories like rulers guides or fabric grips. These add-ons expand what you can accomplish with your bridge setup.
| Bridge Type | Best For | Average Cost |
|---|---|---|
| Acrylic Extension | Home quilting, visibility | $150-300 |
| Metal Platform | Heavy quilts, frequent use | $200-400 |
| Wooden Bridge | Custom setups, storage | $300-600 |
Conclusion
A quilting bridge transforms your quilting experience by providing the stable support your fabric needs. With proper setup and technique, you’ll notice immediate improvements in stitch quality and quilting control.
Remember that the bridge is just a tool to support your creativity. Once you’re comfortable using it, you can focus on perfecting your quilting designs instead of fighting fabric management issues.
Start with basic bridge techniques and gradually work up to more advanced applications. Your quilting skills will improve as you learn to work with proper fabric support.
Can I use a quilting bridge with any sewing machine?
Most quilting bridges are designed for specific machine models or brands. Check compatibility before purchasing. Some universal bridges work with multiple machine types, but custom-fit bridges usually provide better support and stability.
How much space do I need around my machine for a quilting bridge?
Plan for at least 24 inches of clearance on all sides of your machine. This gives your bridge room to extend properly and provides workspace for maneuvering large quilts. Smaller spaces can work but may limit the size of projects you can handle comfortably.
Do quilting bridges work for small lap quilts or just large projects?
Bridges help with quilts of all sizes by providing consistent fabric support. Even small quilts benefit from the stable surface, especially during free-motion quilting or detailed work where precise control matters most.
What’s the difference between a quilting bridge and a regular sewing table extension?
Quilting bridges are specifically designed to support the weight and bulk of quilt sandwiches during the quilting process. Regular sewing extensions focus on providing flat workspace for garment construction and typically don’t offer the same level of support for thick, heavy materials.
How do I know if my quilting bridge is set up correctly?
Test by sliding a quilt sandwich across the entire surface from your machine bed onto the bridge. There should be no catching, dropping, or height differences. The fabric should move smoothly in all directions without resistance or pulling.